User’s Manual
18
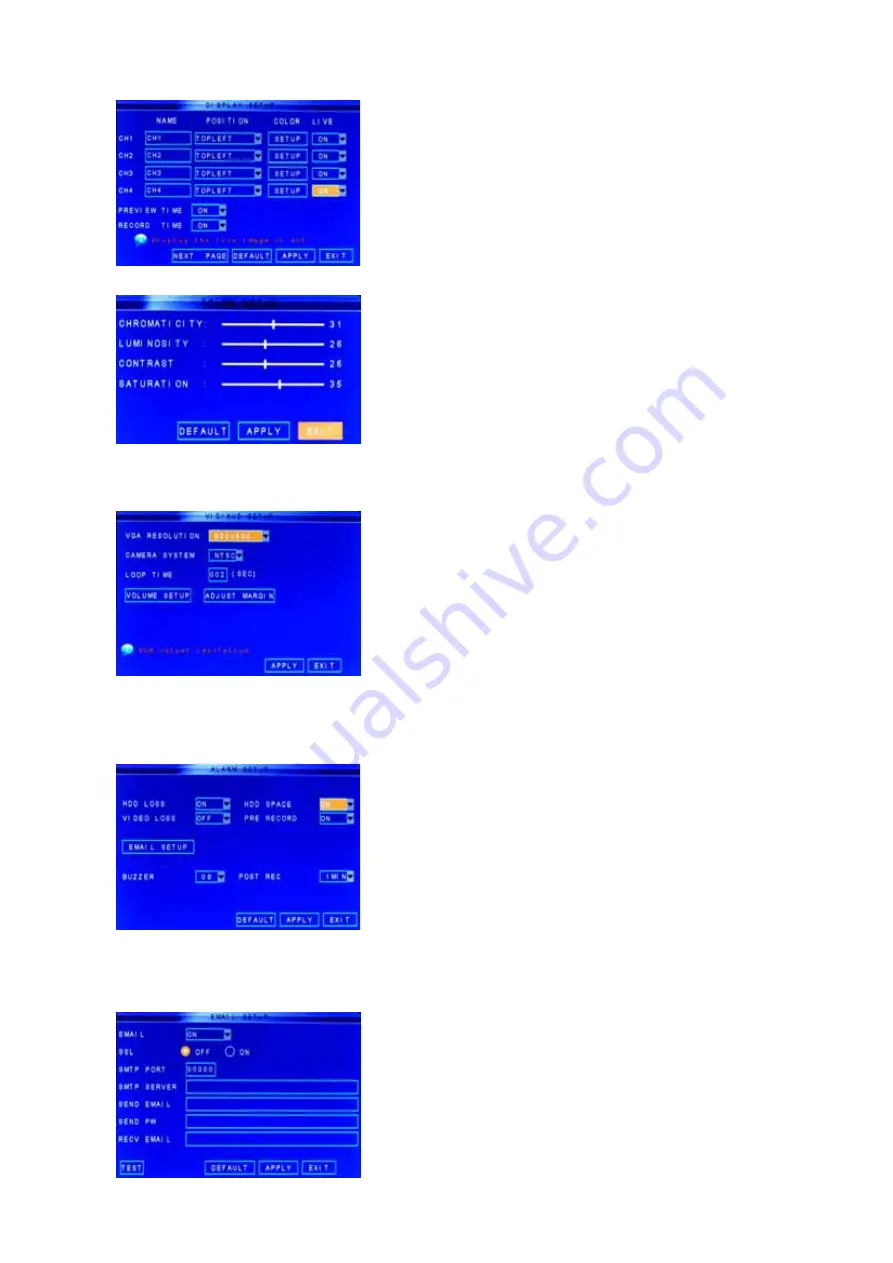
5.2.4.4 Display
To set up your cameras, select “Main Menu”
Basic
Display to open the DISPLAY SETUP menu.
CH Name:
set up the name display of each channel.
Position
: display position of each channel.
Color
: Click to open sub-menu to adjust image brightness,
saturation, contrast and hue settings of each channel.
LIVE
: enable to display the channel.
PREVIEW Time
: enable to show the time.
Record Time
: enable to show the time of the record.
COLOR SETUP Menu allows you to adjust image
Chromaticity (hue), Luminosity (saturation), contrast and
saturation of each channel.
Click “APPLY” to and then click “OK” to save the adjusted
settings. Click “EXIT” to cancel the modification, or click
“DEFAULT” to restore all settings to the factory default
settings.
5.2.4.5 Video/Audio
Click “Main Menu”
“Basic”
“Video/Audio” to setup
Video and Audio output options such as resolution and
format. You can also preset a channel display sequence
timing or adjust the volume. Margin is the position of the
display for better fitting of your screen.
5.2.5 Advanced Setups
5.2.5.1 Alarm
To configure the Alarm mode of each channel, click
“Main Menu”
“Advanced”
“Alarm” to enter into
“ALARM SETUP” menu.
HDD Loss:
Set action when HDD is operating irregularly.
HDD Space:
Set this to trigger the alarm(s) when the
“HDD Overwrite” option is disabled and the HDD is full.
Video Loss:
Set this to trigger the alarm when any of the
camera signal is distorted or loss.
PreRecord
: Your DVR temporarily store the 5 seconds of
video before any alarm is triggered. Set this to “ON” if you
would like the pre-recorded 5 seconds to be saved to your
HDD also.
Buzzer
: Set the time the alarm signal will continue once it
is triggered.
Post Recording
: Configure these options for how long the
DVR will record after alarm is triggered.
Click the “EMAIL SETUP” button to configure the outgoing
mail server information.


