Version 1.0 Date
:
29/08/2018
-
2-
www.raise3d.com
Step 1:
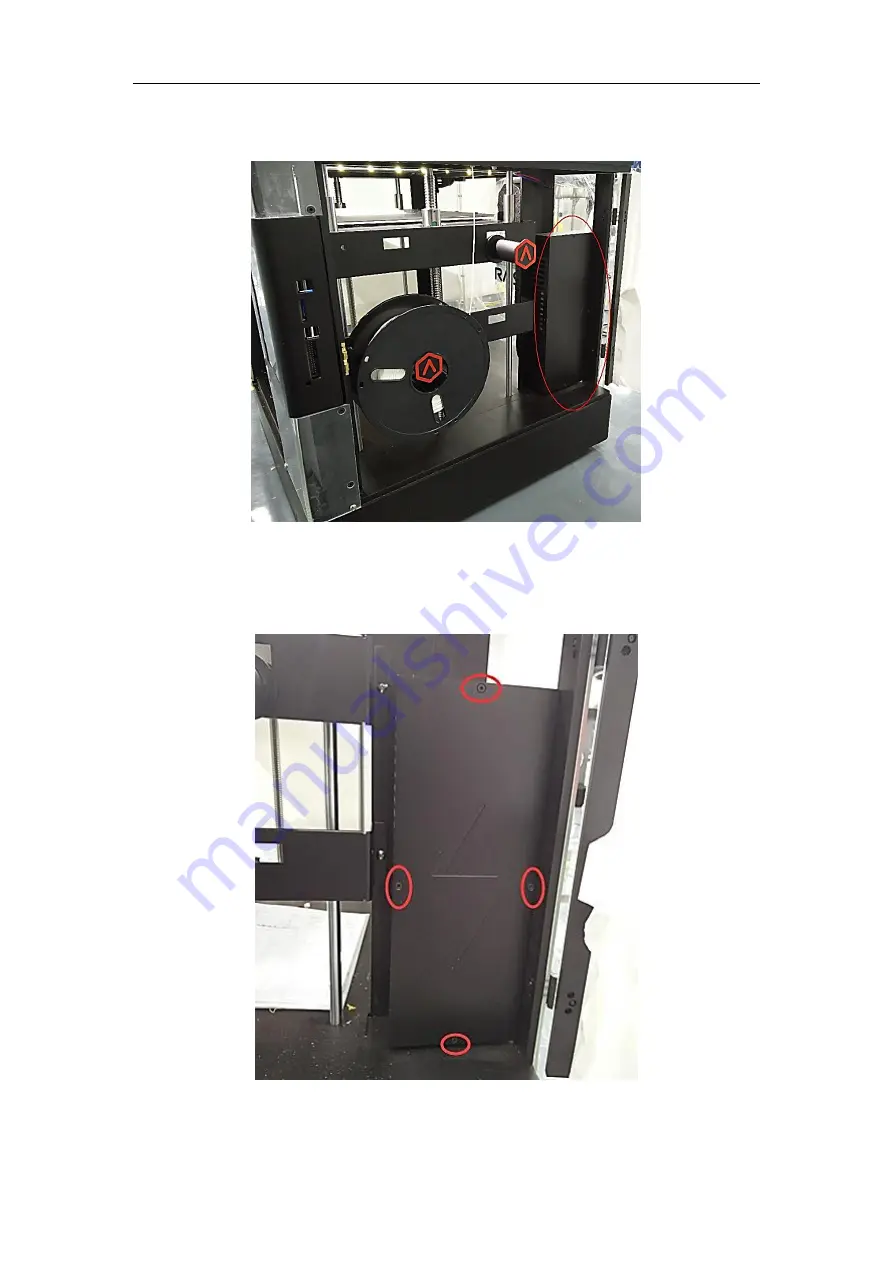
Locate the electronic box located at the right side of your printer.
Step 2:
Unscrew the four attachment screws with the 2mm hex wrench to remove the cover.
Страница 1: ...om Manual N2 Series 104 Voltage Adjust of A4988 v1 0 Preparation 1 Unload filament 2 Move the build plate to center height 3 Turn off the power Tools Multimeter 2mm hex wrench Small Philips head screwdriver The one we use here is 2mm in diameter ...
Страница 2: ...rsion 1 0 Date 29 08 2018 2 www raise3d com Step 1 Locate the electronic box located at the right side of your printer Step 2 Unscrew the four attachment screws with the 2mm hex wrench to remove the cover ...
Страница 3: ...88 stepper drivers Red Step 4 Using the multimeter touch the red probe to the adjustable screw on the driver Touch the black probe to the lower screw of the second green terminal this is the negative electrode of the heat board Then multimeter should display the current voltage of the driver ...
Страница 4: ...rewdriver to turn the adjustable screw The voltage will to up when turned clockwise and down when turned counterclockwise Step 6 Make changes slowly and measure the voltage periodically until the measurement reads 0 9V Repeat last two steps until the goal of 0 9V is reached END ...