background image

• 

• 

• 

• 

• 

• 

• 

• 

• 

• 

• 

• 

• 

• 

• 

Thi

equipmen

i

s a 

Clas

I

o

doubl

insulated


electrical  appliance.  It has been designed in such a 

wa

tha

i

doe

no

requir

e a 

safet

connectio

to


electrical earth.


Rea

thes

instructions


-


Al

th

safety


an

operatin

instruction

shoul

b

read


befor

e t

hi

s p

roduc

t is o

perated


Kee

thes

instructions

 - 

Th

safet

an

operatin

instruction

shoul

b

retaine

fo

futur

e r

eference


Hee

al

warnings


-


Al

warning

o

the


appliance and in the operating 

instructions


shoul

d be a

dhere

d t

o


Follo

al

instructions


-


Al

operatin

an

us

e i

nstruction

s s

houl

d be f

ollowed


D

no

us

thi

apparatu

nea

water


-


Th

applianc

shoul

no

b

use

near


Wate

o

moisture


-


fo

example

i

n a 

wet


basemen

o

nea

r a 

swimmin

pool

an

th

like.


Clea

n o

nl

y w

it

h d

r

y c

loth.


D

no

bloc

an

ventilatio

openings.


Instal

l in a

ccordanc

e w

it

h t

h

e m

anufacturer

instructions.


Do not install near any heat sources 

such


a

radiators

hea

registers

stoves

o

othe

apparatu

s (

includin

g a

mplifiers

) t

ha

t p

roduc

heat


D

no

defea

th

safet

purpos

o

the


polarize

o

groundin

plug

A


polarized


plu

ha

tw

blade

wit

on

wide

tha

th

other

A


groundin

plu

ha

tw

blade

an

a third grounding prong. The wide blade 

or


the third prong is provided  for your 

safety.


I

th

provide

plu

doe

no

fi

int

your


outlet

consul

a

electricia

fo

replacemen

o

f t

h

e o

bsolet

e o

utlet.


Protec

th

powe

cor

fro

bein

walked


o

o

pinche

particularl

a

th

plugs,


convenienc

receptacles

an

a

th

point


wher

e t

he

y e

xi

t f

ro

m t

h

e a

pparatus.


Onl

us

attachments/accessorie

specifie

b

y t

h

e m

anufacturer.


Us

onl

wit

th

cart

stand

tripod

bracket

o

tabl

specifie

b

th

manufacturer

or


sol

wit

th

apparatus

Whe

n a 

car

o

rac

is used, use caution when moving the 

cart/

apparatus combination to avoid injury 

from


tip-over


Unplu

th

apparatu

durin

lightning


storms or when unused for long periods 

of


time.


Refe

al

servicin

t

qualifie

personnel.


Servicing is required when the 

apparat

us has 

bee

damage

i

an

way

suc

a

th

powe

suppl

cor

o

plu

i

damaged

liqui

has


bee

spilled

o

object

hav

falle

int

the


apparatus

o

th

apparatu

ha

bee

expose

t

rai

o

moisture

doe

no

operat

normally

o

r h

a

s b

ee

n d

ropped.


Pleas

kee

th

uni

i

n  a 

well-ventilated


environment.

W

ARNING: 

T

o reduce the risk of fire or electric 

shock

d

no

expos

thi

apparatu

t

rai

or


moisture. The apparatus should not be exposed 

t

drippin

o

splashing

Object

fille

with


liquids, such as vases should not be placed on 

apparatus. 

WARNING:


Th

batterie

shal

no

b

exposed


t

excessiv

hea

suc

a

sunshine

fir

o

the


like.

WARNING

Th

wal

socke

plu

i

use

a

a


disconnect device, the disconnect device should 

be readily accessible.

WARNING:


T

o reduce the risk of electric shock, 

d

no

remov

cove

r (

o

back

a

ther

ar

no


user-serviceable 

p

arts inside. Refer servicing to 

qualified personnel.

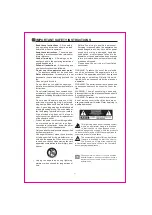
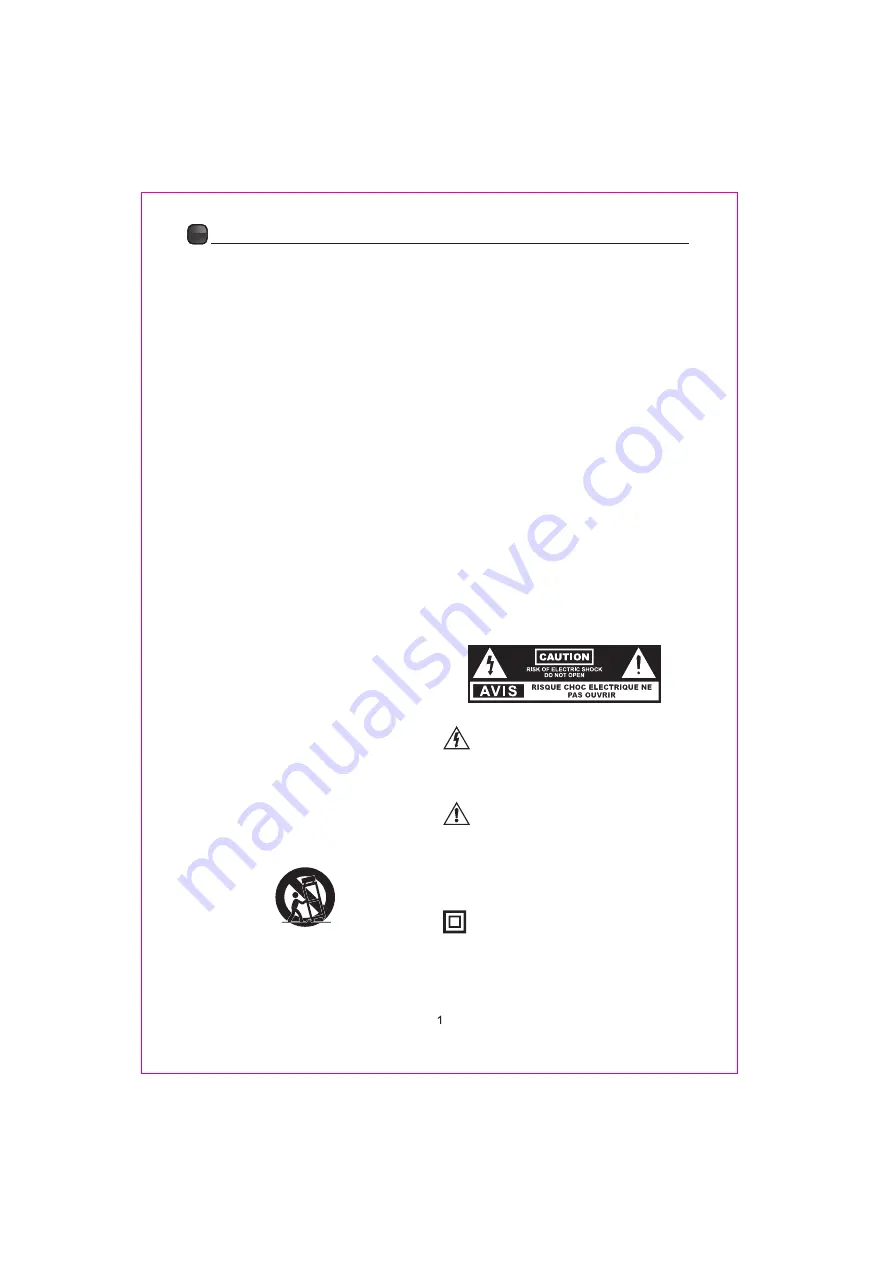
Thi

lightnin

flas

wit

arrowhea

symbol


withi

a

equilatera

triangl

i

intended


t

aler

th

use

t

th

presenc

o

non-

insulate

dangerou

voltage


withi

th

product

s


enclosur

tha

ma

b

o

sufficien

magnitud

to


constitute a risk of electric shock.

Th

exclamatio

poin

withi

a

equilateral


triangl

i

intende

t

aler

th

use

to


th

presenc

o

importan

operating


an

maintenanc

instructions


i

th

literature


accompanying the appliance. 

IMPORT

ANT SAFETY INSTRUCTIONS

Содержание PLDED5069

Страница 1: ...Model PLDED5069 ...

Страница 2: ...5 5 7 7 8 8 9 9 9 10 11 12 12 12 14 16 18 21 23 26 IMPORTANT SAFETY INSTRUCTIONS ...

Страница 3: ...31 30 28 29 ...

Страница 4: ... only with the cart stand tripod bracket or table specified by the manufacturer or sold with the apparatus When a cart or rack is used use caution when moving the cart apparatus combination to avoid injury from tip over Unplug the apparatus during lightning storms or when unused for long periods of time Refer all servicing to qualified personnel Servicing is required when the apparatus has been da...

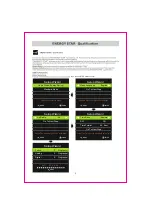
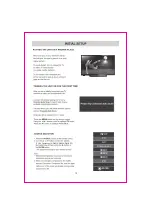
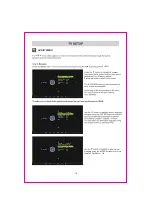
Страница 5: ...Picture Mode MENU ENTER Setup Wizard Time Zone Eastern DST Time Format Go To Next Step Off 24 hour Select The Time Zone Daylight Saving Time MENU ENTER Setup Wizard Air Cable Air Go To Next Step Select The Antenna Type Then Auto Scan MENU ENTER Setup Wizard Found 0 Program s 0 Program s 0 Program s Analog Digital 68 RF CH 54 MENU then press ENTER button to enter ...

Страница 6: ......

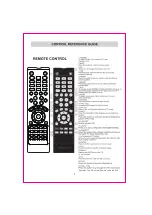
Страница 7: ...E Remarks The Universal Remote code is 808F 44 14 4C 16 17 18 19 1C 03 51 1E 1D 1F 1A 1B 01 45 4B 42 46 05 4A 00 10 15 11 13 0C 0B 0D 0E 4F 4D 41 4E 12 06 07 08 02 50 52 56 55 0F 54 53 0A 04 40 43 ...

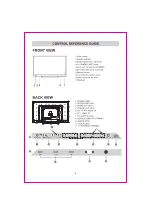
Страница 8: ...5 A B 5V 500mA PC AUDIO Y Pr Pb VIDEO R L AUDIO AV IN HEADPHONE R L AUDIO OUT COAXIAL SERVICE PORT HDMI2 HDMI1 HDMI3 RF VGA A B YPbPr YPbPr ...

Страница 9: ...3 4 5 6 7 6 1 2 ...

Страница 10: ...7 ...

Страница 11: ...8 ...

Страница 12: ...9 ...

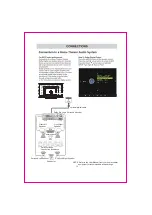
Страница 13: ... Off optional digital cable Front Left Speaker Center channel Dolby Surround Connection illustration Surround Left Speaker Surround Right Speaker NOTE Refer to the User Manual from your home theater equipment for recommended audio settings Subwoofer Front Right Speaker Dolby Pro Logic Surround Receiver ...

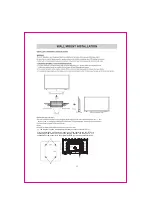
Страница 14: ...When installing a wall hanging please remove the shell after the two ST6 x 15 self tapping screws see chart put on the hanging bracket use remove ST6 x 15 self tapping screw assembly in the original position not screws substitute with it 11 15 7 15 7 x 15 7 15 7 400mm x 400mm ...

Страница 15: ...INPUT TV AV TV AV Component HDMI1 HDMI2 HDMI3 PC 12 Component HDMI1 HDMI2 HDMI3 PC ENTER ...

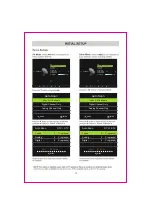
Страница 16: ...an DTV ATV Found 0 Program s 0 Program s 0 Program s Analog Digital 68 RF CH 54 MENU Scan All Channels Auto Scan Scan All Channels Digital Channel Only Analog Channel Only MENU ENTER Auto Scan DTV ATV Found 0 Program s 0 Program s 0 Program s Analog Digital 68 RF CH 54 MENU Scan All Channels Channel Air Cable Auto Scan Favorite Show Hide Channel NO ChannelLabel DTVSignal Air l Good 5 1 ...

Страница 17: ...DNR Off DLC Off Picture Picture Mode Standard Color Mode Cool Zoom Mode Cinema 3DNR Off DLC Off Color Mode Normal Cool Warm Personal Use the button to highlight Zoom Mode Navigate using the ENTER buttons to turn this feature Wide Normal Cinema or Zoom ENTER Standard Dynamic Soft Personal Energy ENTER Over Scan On Over Scan On Over Scan On 14 5 ...

Страница 18: ...icture Picture Mode Standard Color Mode Cool Zoom Mode Cinema 3DNR Off DLC Off Use the button to highlight DLC Navigate using the ENTER buttons to turn this feature On or Off Over Scan On Over Scan On Picture Picture Mode Standard Color Mode Cool Zoom Mode Cinema 3DNR Off DLC Off Use the button to highlight Over Scan Navigate using the ENTER buttons to turn this feature On or Off Over Scan On 15 ...

Страница 19: ...Music Equalizer Move Sports Personal 5 Audio Equalizer Standard Audio Language English Digital Output PCM Surround Audio Only Off Off AVC Off Audio Equalizer Standard Audio Language English Digital Output PCM Surround Audio Only Off Off AVC Off Digital Output ENTER Navigate using the ENTER buttons to turn this feature PCM RAW or Off 16 ...

Страница 20: ...Audio Equalizer Standard Audio Language English Digital Output PCM Surround Audio Only Off Off AVC Off AVC Audio Equalizer Standard Audio Language English Digital Output PCM Surround Audio Only Off Off AVC Off Navigate using the ENTER buttons to turn the Audio Only turn the Audio only ON or Off Navigate using the ENTER buttons to turn the Audio only ON or Off ENTER 17 ...

Страница 21: ...al Time Sleep Timer Time Zone DST Time Format Auto Sync Clock WakeUp Off Eastern Off 24 hour On 2015 4 29 2 33 2015 4 28 12 00 ENTER among Atlantic Eastern Central Mountain Pacific Alaska Hawaii Time Sleep Timer Time Zone DST Time Format Auto Sync Clock WakeUp Off Eastern Off 24 hour On 2015 4 29 2 33 2015 4 28 12 00 Use the button to highlight DST Navigate using the ENTER buttons to turn the ON o...

Страница 22: ...5 4 28 12 00 Time Sleep Timer Time Zone DST Time Format Auto Sync Clock WakeUp Off Eastern Off 24 hour On 2015 4 29 2 33 2015 4 28 12 00 Use the button to highlight Clock Navigate using the ENTER buttons to turn the Set the menu time manually Use the button to highlight Time Format Navigate using the ENTER buttons to turn the 12 hour or 24 hour Use the button to highlight Auto Sync Navigate using ...

Страница 23: ... Time Zone DST Time Format Auto Sync Clock WakeUp Off Eastern Off 24 hour On 2015 4 29 2 33 2015 4 28 12 00 Use the button to highlight Wake Up Navigate using the ENTER buttons to turn the setup TV auto wake up time 20 ...

Страница 24: ... Spanish Setup Menu Language Transparency Closed Caption Restore Default Setup Wizard BlueScreen English 25 Off Use the button to highlight Transparency Navigate using the ENTER buttons to turn this feature 0 25 50 75 100 Setup Menu Language Transparency Closed Caption Restore Default Setup Wizard BlueScreen English 25 Off Use the button to highlight Closed Caption Navigate using the ENTER buttons...

Страница 25: ...gs Use the button to highlight Setup Wizzard Navigate using the ENTER buttons to Concise set menu guide can be used for quick TV simple setting Setup Menu Language Transparency Closed Caption Restore Default Setup Wizard BlueScreen English 25 Off Setup Menu Language Transparency Closed Caption Restore Default Setup Wizard BlueScreen English 25 Off Use the button to highlight Blue Screen Navigate u...

Страница 26: ...Parental Controls Navigate using the ENTER buttons to input a new 4 digit code by two times Use the button to highlight Change Password Lock Change Password System Lock Unrated Lock Input Block US Canada RRT Setting Reset RRT Off Off Use the button to highlight System Lock Navigate using the ENTER buttons to turn the ON or Off 23 ...

Страница 27: ... Off Off Lock Change Password System Lock Unrated Lock Input Block US Canada RRT Setting Reset RRT Off Off Use the button to highlight US Navigate using the ENTER buttons to turn the TV or MPAA Use the button to highlight Input Block Navigate using the ENTER buttons to turn the Block or Unblock Use the button to highlight Unrated Lock Navigate using the ENTER buttons to turn the ON or Off ...

Страница 28: ...ck Change Password System Lock Unrated Lock Input Block US Canada RRT Setting Reset RRT Off Off Use the button to highlight Canada Navigate using the ENTER buttons to turn the Canada Eng or Canada Fre 25 ...

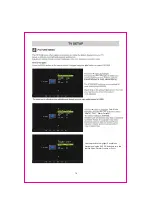
Страница 29: ...light Auto Scan Navigate using the buttons to turn the Scan all channels Digital channel only Analog channel only Use the button to highlight Favorite 26 Channel Air Cable Auto Scan Favorite Show Hide Channel NO ChannelLabel D Good TVSignal Cab 5 1 le Channel Air Cable Auto Scan Favorite Show Hide Channel NO ChannelLabel D Good TVSignal Cab 5 1 le ...

Страница 30: ...S HD MENU ENTER Air Cable Set TV signal model Channel No Show the channel numbers Channel Label Modify the channel label DTV Signal Show the strength of DTV signal NOTE 27 Channel Air Cable Auto Scan Favorite Show Hide Channel NO ChannelLabel D Good TVSignal Cab 5 1 le ...

Страница 31: ...28 1366 768 1920 1080 ...

Страница 32: ...29 ...

Страница 33: ...30 10W 10W 50 LED TV 50 inches 1920x 1080 300 nits 176 H 176 V 6 5ms 1080i 1080p 135W ...

Страница 34: ...31 ...

Отзывы: