


1.Press MENU. The OSD opens.
2.Press or to highlight Video, then press
to enter the Video menu.
3.Press or highlight an option, then press
or to adjust the option. You can
adjust:
Picture Mode-Adjusts the Picture Mode.
You can select Standard, Movie, User or Vivid.
Brightness-Increases the brightness to add
more light to dark areas of the picture.Decrease the brightness to add more dark
to light areas of the picture.
Contrast-Increase the contrast to adjust the white areas of the picture.
Decreases the contrast to adjust the black areas of the picture.
Saturation- Adjust the intensity of the colours.
HUE-Adjust the overall colour of the picture.
Sharpness-Increases the sharpness level to show clearer and clearer images.
Decreases the level to show a smoother picture.
Color temperature-Changes the color temperature. You can select Cool, Standard,
or Warm.
Advanced Video-Accesses advanced video settings such as DNR, Black Level,
Extender, White Peak Limiter, Flesh Tone.
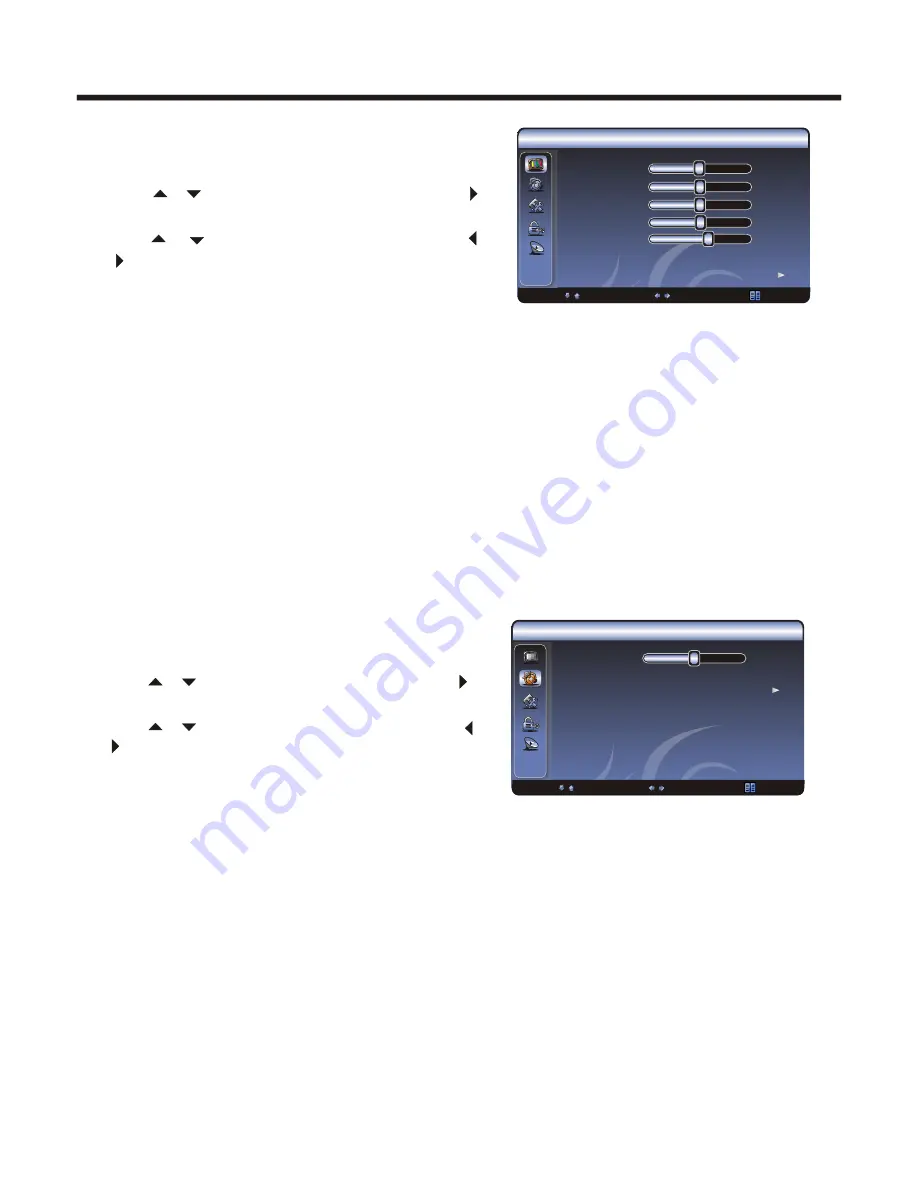
1.Press MENU. The OSD opens.
2.Press or to highlight Audio, then press
to enter the Audio menu.
3.Press or highlight an option, then press
or to adjust the option. You can
adjust:
Balance-Adjusts the volume of the left and
right speakers.
Sound Surround-Turns the surround sound effect on or off.
Equalizer-You can select the frequency you want to adjust and change its value.
Auto Volume Control-Turns automatic volume control on or off. The option keeps
the audio in a preset range to eliminate large spikes in volume.
SPDIF Type-Selects the SPDIF type. You can select PCM, Dolby Digital,
or Off.
◆
◆
◆
◆
◆
◆
◆
◆
◆
◆
◆
◆
◆
Menu operation
- 14 -
Video mode adjustment
Audio mode adjustment
Note: Via SPDIF Type, you can choose the optical digital audio out type.
If Audio Volume Control is On, that means audio out control is activated.
ENTER Enter
Select EXIT Exit
Audio
Setup
Pare nt al
Audio Mode Standard
Balance 0
Bass 50
Treble 50
Sound Surround On
SPDIF Type PCM
Auto Volume Control On
Video
Brightness
Picture Mode
User
50
50
50
0
4
Contrast
Saturation
HUE
Color Temperature Cool
Advanced Video
: Select
Adjust
: Back
Sharpness
Audio
0
Equalizer
Auto Volume Control Off
SPDIF Type PCM
Sound Surround On
: Select
Adjust
: Back
Balance


