8933657
The Master 3-Burner Forge
V1.0
8
For technical questions call 1-800-665-8685
INSTALLATION LOCATION
WARNING! Install the forge at least one meter from all walls or make
sure the walls are constructed of fire brick or a similar heat resistant
material. Wood and non-heat resistant structures can ignite.
1. Bolt the forge to a steel workbench or a bench constructed with fire
brick capable of handling the generated heat (see specifications).
2. The forge access opening must face away from all structures, as
heat and flame may escape.
2.1 This also allows enough room for easy insertion and removal
of the heated metal blank.
3. The location must have sufficient ventilation to remove the forge’s
fumes and to provide enough air to allow combustion.
3.1 Do not position the forge so the breeze carries the fumes
towards you. Position it so there is a cross breeze.
3.2 Install under an exhaust hood or duct if possible.
ASSEMBLY
DANGER! Only use gas-rated thread sealant tape (yellow colour)
for gas connections. The thinner plumbing thread sealant tape
will allow gas to leak and that can result in a fire or explosion
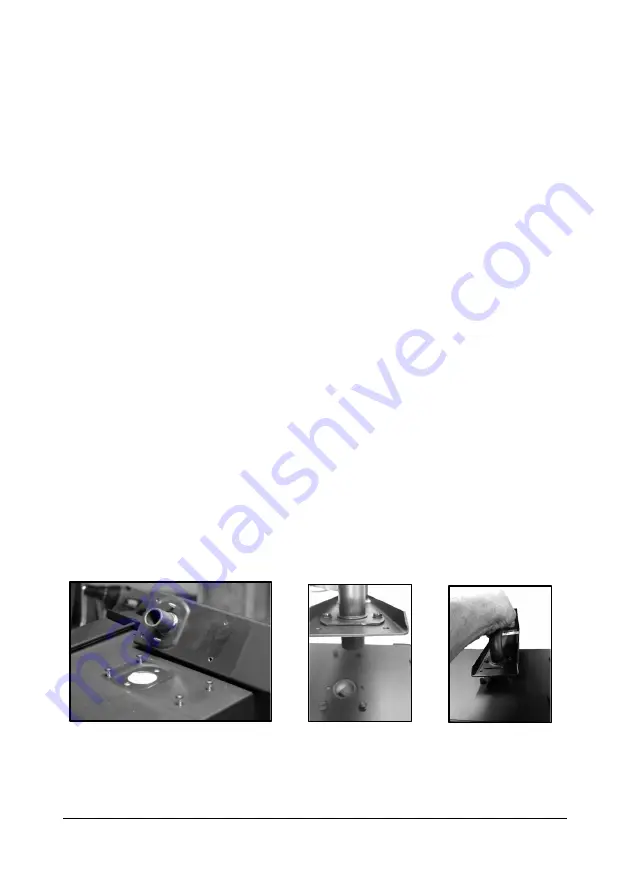
1. Remove the screws from forge top (Fig. 2).
2. Fit the burner unit gas exhaust pipes into the openings (Fig. 3).
Push down until the pipes push through the insulation (Fig. 4).
3. Secure the burner unit with the screws.
4. The back of the regulator identifies each port (Fig. 5). Wrap gas-
rated sealant tape on the following three connections before
screwing them into place.
Fig. 3
Fig. 2
Fig. 4


