Promate Panorama-10 Скачать руководство пользователя страница 15

English

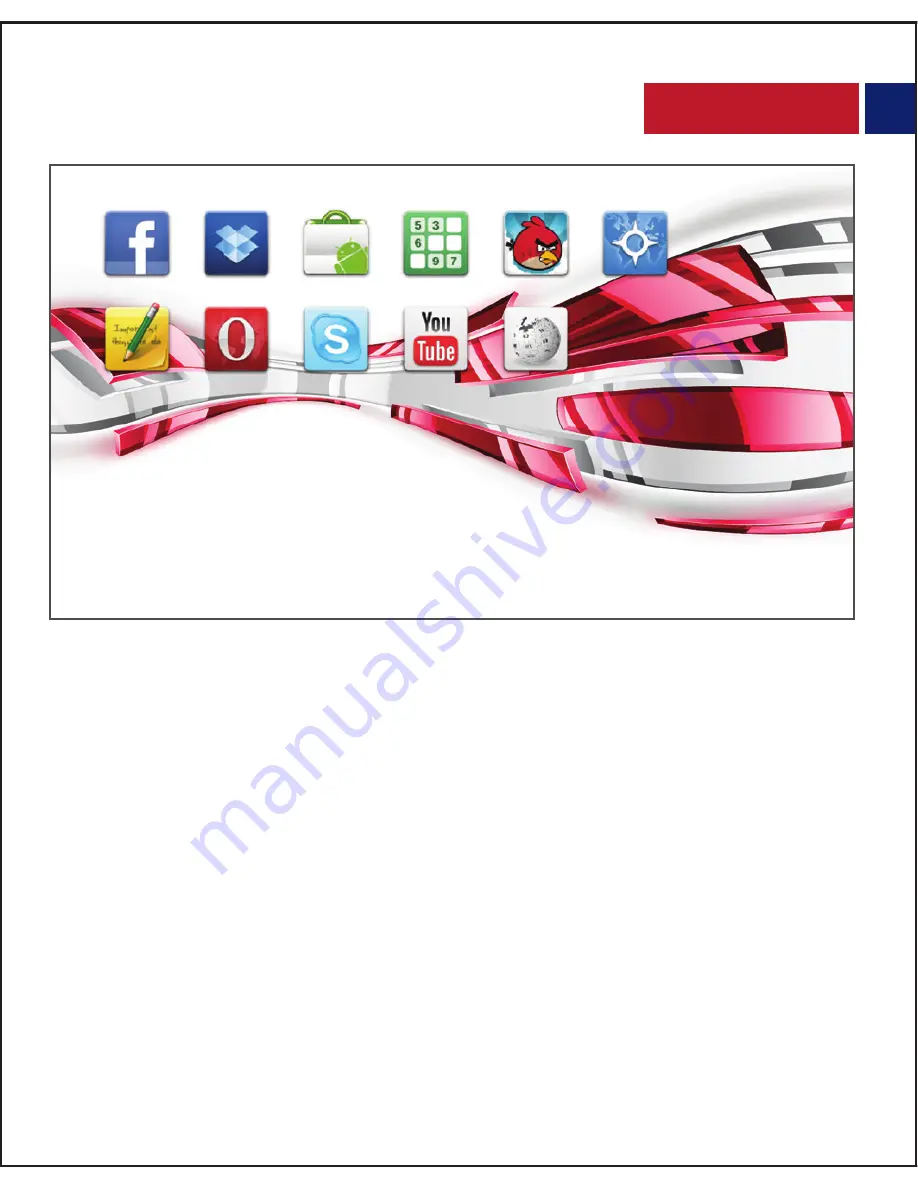
Note: Panorama-10 supports third-party applications. Applications can be 
            downloaded and installed from the internet directly. If you encounter 
            difficulty to do so, you can follow the below mentioned steps to try and
            download the application on a PC, copy it onto a Micro SD card, and then
            install the application on Panorama-10

Step 1: On PC, find APK from 

https://play.google.com/store

Step 2: Copy the APK to 

http://apps.evozi.com/apk-downloader/

Step 3: Download the APK to PC
Step 4: Save the APK in a Micro SD Card.
Step 5: Insert the Micro SD card into Panorama-10 to install the APK.
However, when connecting Micro SD/TF Card or USB drive, please follow the 
below show steps to select the memory.

14

Содержание Panorama-10

Страница 1: ...Universal Compact Multimedia Android DLP Projector Panorama 1 0...

Страница 2: ...that too up to 170 The powerful 4200mAh built in rechargeable Lithium Battery lasts up to 2 hrs on a single charge Now project images and other content from any HDMI Compatible device and also Smartph...

Страница 3: ...200mAh Power Supply DC 12V 2A Total Usage Time 2hrs Battery Charging Time 2hrs Features 100 Lumens DLP High Quality Projection With Android Jelly Bean 4 1 2 Powerful 4200mAh Rechargeable Lithium Batte...

Страница 4: ...side Do not crush puncture or dispose of in fire Do not store or use the battery in a high temperature environment including intense sunlight or heat Avoid drops bumps abrasions and impacts If there i...

Страница 5: ...rface Description 1 Mouse Mode Button 2 Direction Buttons 3 Enter Key 4 Volume 5 Volume 6 Back Button 7 Menu Settings Button 8 Home Button Move Cursor Up Move Cursor Down Move Cursor Left Move Cursor...

Страница 6: ...3 Focus Slider 4 SD TF Card Slot 5 Power On Off Switch 6 IR Receiving Sensor 7 USB In Ports 8 HDMI Input Port 9 Reset Button 10 MHL Input Port 11 DC Power Input Port English Left View Right View Right...

Страница 7: ...t Cursor Button 7 Right Cursor Button 8 Up Cursor Button 9 Down Cursor Button 10 Mute Button 11 Volume 12 Volume 13 Play Pause Button 14 Mouse Mode Button 15 Stop Button 16 Browser Previous Button 17...

Страница 8: ...2 Turn off the projector by toggling and holding the power switch for 3 seconds 3 You may project your media on any given surface The projection will come up automatically However for the best quality...

Страница 9: ...the Card slot 2 Select the input mode of projection by clicking the Media tab on the Main Menu English SOURCE Channel for connecting HDMI MHL AV NAVIGATION Access pre stored frequently visited web pag...

Страница 10: ...ompatible device to Panorama 10 by connecting one end of the HDMI cable to the output port of the source HDMI device and the other end to the HDMI input on Panorama 10 2 Select the input mode of proje...

Страница 11: ...Panorama 10 2 Select the input mode of projection by clicking the Source tab on the Main Menu Connecting Audio Video Equipment 1 Connect external AV devices to Panorama 10 by connecting the composite...

Страница 12: ...r the channel selection English Main Menu Introduction Source Connecting HDMI MHL AV Once you turn Panorama 10 you will come across the below mentioned function Follow the below mentioned description...

Страница 13: ...ttons to select Navigation to access pre stored frequently visited web pages Navigation Use the Direction Buttons to enter Media to select your desired videos music photos text saved in the inserted U...

Страница 14: ...th Micro SD TF card or USB Click the Menu Settings Button to bring out the side menu Use the Direction Buttons to select music videos and photos Use the Direction Buttons to enter App to download your...

Страница 15: ...n a PC copy it onto a Micro SD card and then install the application on Panorama 10 Step 1 On PC find APK from https play google com store Step 2 Copy the APK to http apps evozi com apk downloader Ste...

Страница 16: ...rection Button to select Browser to access the internet Browser APP BROWSER However when connecting Micro SD TF Card or USB drive please follow the below show steps to select the memory Micro SD Exter...

Страница 17: ...h Wi Fi Connection o Click Settings on the main menu to enter the settings page o Click Wi Fi the screen prompts Connecting then indication shows that Wi Fi is on Wi Fi Settings English ON Connected A...

Страница 18: ......

Отзывы: