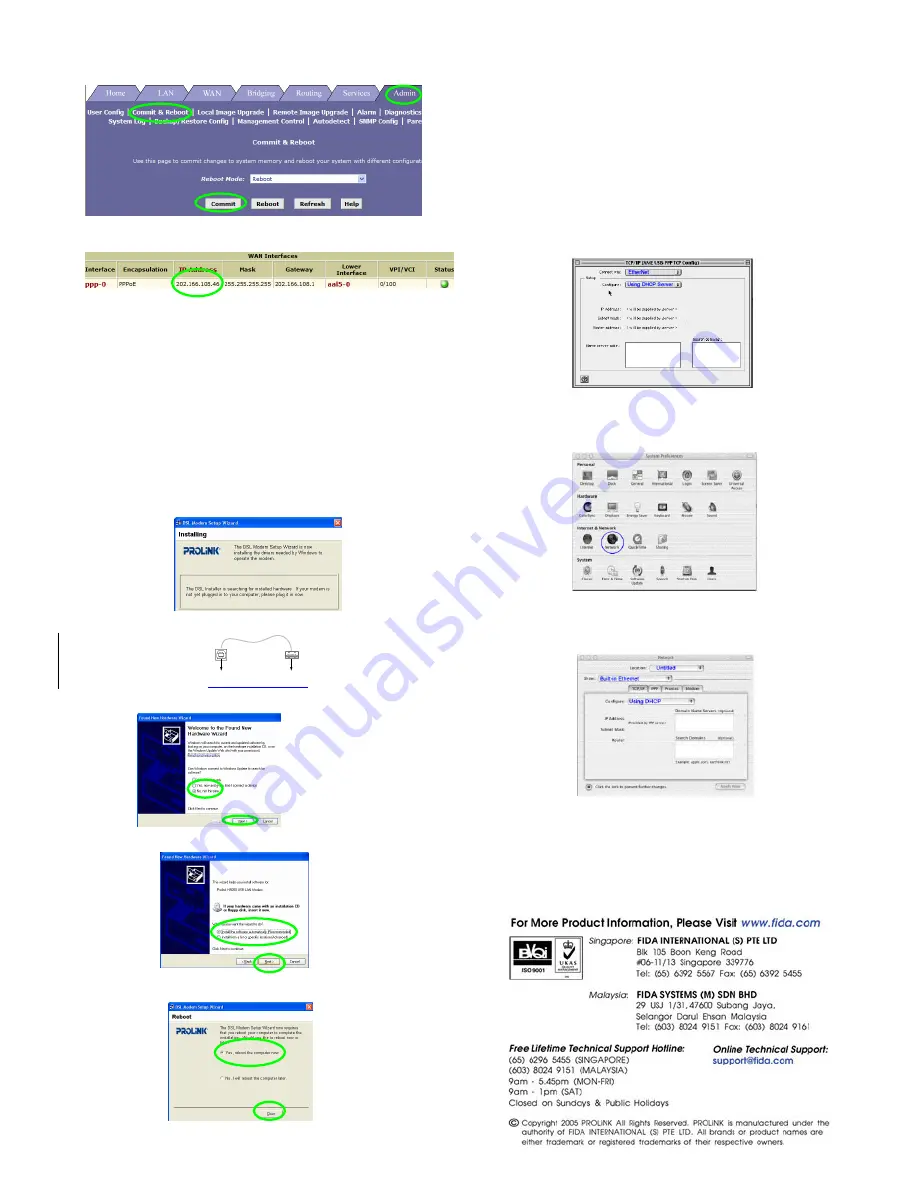
e Click
Admin
tab > click on
Commit & Reboot
link > click
Commit
to
save settings to permanent storage
f
Finally, click on the
Home
tab
Once a WAN IP address is established, you may proceed to surf the
internet
Step 4
USB cable connection setup (optional for H9200)
Important!
Complete this step only if your computer does not have an Ethernet
(RJ45) port
a Ensure that the USB cable is
not
connected to the USB port on the PC.
b Insert the Setup CD into the Computer’s CD-ROM drive and exit the
installation wizard
c Click
Start
> select
Run
> type-in: e.g. D
:\Driver\setup.exe
[where D
refers to your CD drive’s letter] > click
OK
d the installer begins copying the necessary files. When complete, a
window prompts you to connect the USB cable to your computer
e Connect the USB cable to the H9200 and to your computer
To ADSL-
Ethernet router
To PC
f select
No, not this time
> click
Next
g select
Install the software automatically
> click
Next
h select
Yes, reboot the computer now
> click
Close
to reboot PC
i Go back to Step 3 and proceed from there
Configuring Macintosh Computer / Notebook
Important!
It is assumed that the Macintosh computer has the Ethernet Adapter
installed.
Note:
In case you have static IP address in your Computer/Notebook and you need to
use this value for other network connections make sure you write down the value
first before making the change
1
Configure TCP/IP settings for Mac OS 9.x
(skip this section and go to
section 1a if the computer has Mac OS 10.x)
•
Apple Menu > scroll down to select
Control Panels
> select
TCP/IP
•
“
TCP/IP
” dialogue box > select
Ethernet
from “Connect via” field > select
Using DHCP Server
from “Configure” field
1a Configure TCP/IP settings for Mac OS 10.x
•
Apple Menu > scroll down to select
System Preference
> select
Network
•
“
Preference
” dialogue box > key in
H9200/S Broadband
in the location
field > select
Build-in Ethernet
in the “Show” field
•
click
TCP/IP
tab > select
Using DHCP
in the Configure IPV4 field > click
Apply Now
2
Disable Proxy Settings
•
click the
Apple
icon on desktop > scroll down to select
System
Preferences
> click on
Network
icon
Under the
Proxies
tab:
•
Remove
the tick in the option box for
Web Proxy (HTTP)
•
click
Apply Now


