background image

Installation Instructions

11830027

3

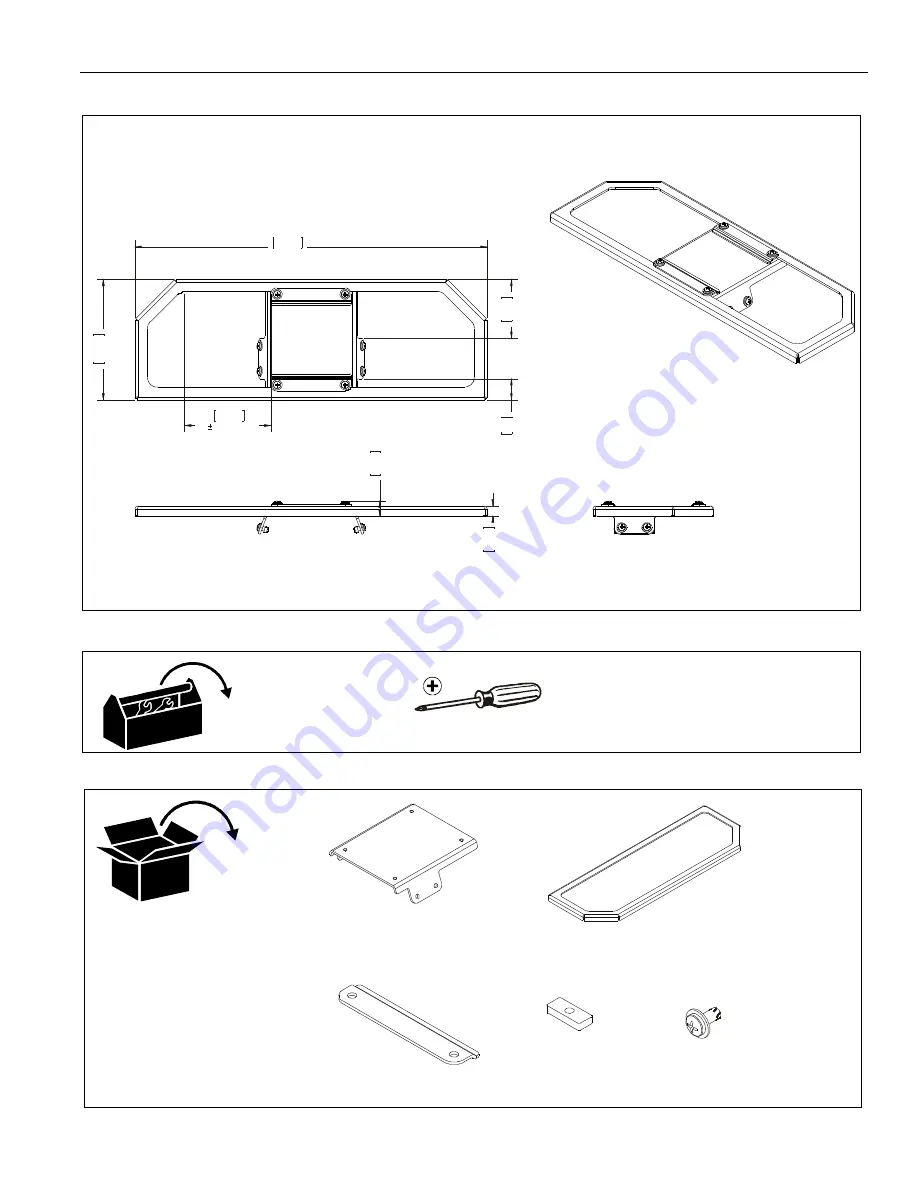
DIMENSIONS

TOOLS REQUIRED FOR INSTALLATION

PARTS

15

2.4

6.00

74

.6

17.50

2.

94

 1.06

444.5

27

108.8

4.28

LATERAL SHIFT

0.

50

12

.7

18

.8

0.

74

#2

A (1)

[guard base]

B (1)

[guard bracket]

C (2)

[guard clamp]

D (4)

[slide nut]

E (8)

#10-24 x 7/16”

Содержание 11830027

Страница 1: ...tala o Istruzioni di installazione Installatie instructies Instructions d installation Interactive Dry Erase Rear Projector Protection Guard Spanish Product Description German Product Description Port...

Страница 2: ...the instructions CAUTION A CAUTION alerts you to the possibility of damage or destruction of equipment if you do not follow the corresponding instructions WARNING Failure to read thoroughly understand...

Страница 3: ...1830027 3 DIMENSIONS TOOLS REQUIRED FOR INSTALLATION PARTS 152 4 6 00 74 6 17 50 2 94 1 06 444 5 27 108 8 4 28 LATERAL SHIFT 0 50 12 7 18 8 0 74 2 A 1 guard base B 1 guard bracket C 2 guard clamp D 4...

Страница 4: ...el Chave de bocas Chiave a punte aperte Steeksleutel Cl fourche By Hand A mano Von Hand Com a m o A mano Met de hand la main Hex Head Wrench Llave de cabeza hexagonal Sechskantschl ssel Chave de cabe...

Страница 5: ...acket B to guard base A See Figure 1 Figure 1 2 Loosely install remaining four 10 24 x 7 16 Phillips screws with captured washers E through guard base B holes and into four slide nuts D See Figure 2 F...

Страница 6: ...1 Loosen four screws holding guard bracket B to guard base A See Figure 5 2 Adjust guard bracket lateral position as desired See Figure 5 3 Tighten four screws holding guard bracket B to guard base w...

Страница 7: ...Installation Instructions 11830027 7...

Страница 8: ...tion Instructions Projecta Milestone AV Technologies B V P O Box 191 6000 AD Weert the Netherlands Phone 31 0 495 580 850 Fax 31 0 495 580 860 www projectascreens co uk emea sales milestone com 8800 0...

Отзывы: