manualshive.com logo in svg
background image

20

 HOW TO USE THE SOUND SYSTEM

To play music or audio books through the console 
sound system while you exercise, plug a 3.5 mm male 
to 3.5 mm male audio cable (not included) into the 
jack on the console and into a jack on your personal 
audio player; 

make sure that the audio cable is fully 

plugged in. Note: To purchase an audio cable, see 
your local electronics store.


Next, press the play but-
ton on your personal audio 
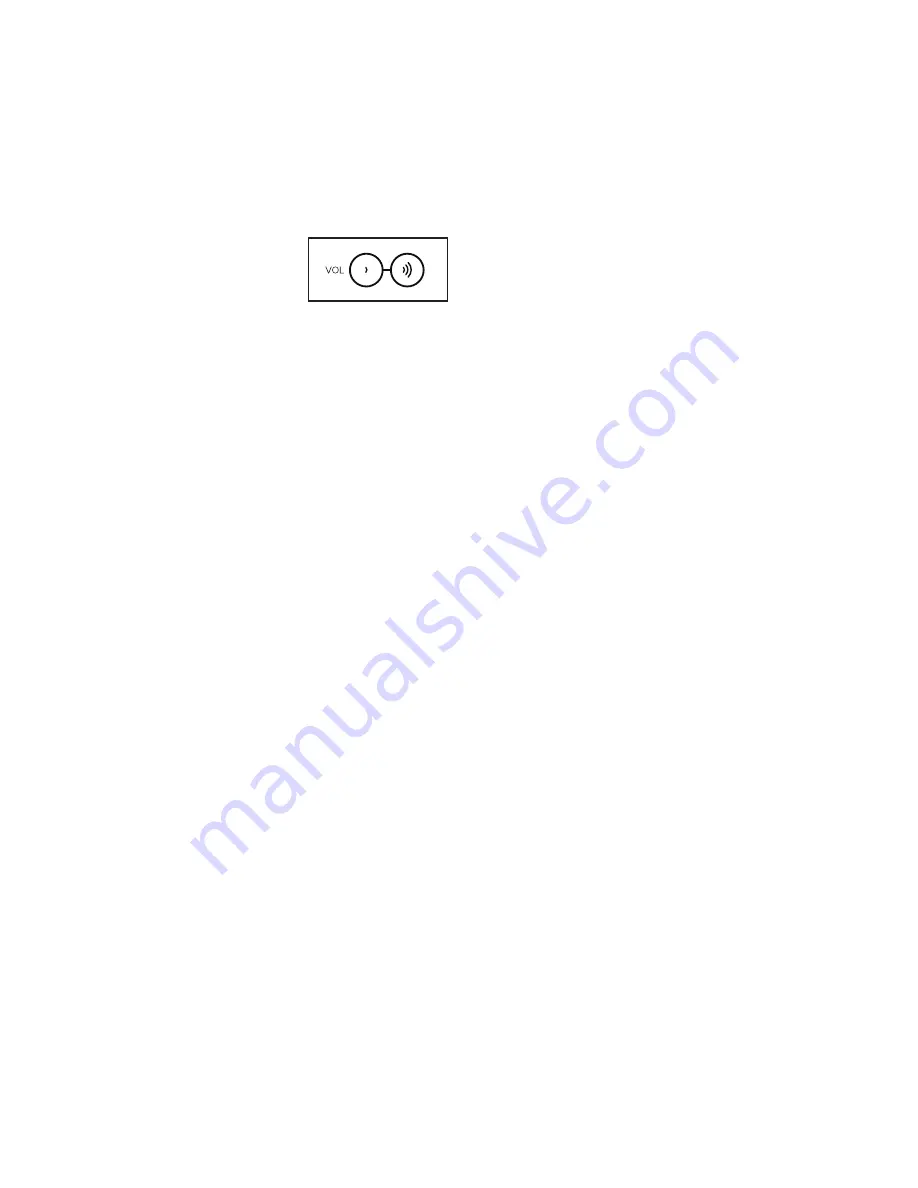
player. Adjust the volume 
level using the Vol increase 
and decrease buttons on the 
console or the volume control on your personal audio 
player.

 HOW TO USE AN IFIT WORKOUT

The console offers access to a large and varied library 
of iFit workouts when you download the iFit app to your 
smart device and connect it to the console. 

Note: The console supports Bluetooth connections to 
smart devices via the iFit app and to compatible heart 
rate monitors. Other Bluetooth connections are not 
supported.

1.  

Download and install the iFit app on your smart 
device.


 On your iOS

®

 or Android™ smart device, open the 

App Store℠ or the Google Play™ store, search 
for the free iFit app, and then install the app on 
your smart device. 

Make sure that the Bluetooth 

option is enabled on your smart device.


 Then, open the iFit app and follow the instructions 
to set up an iFit account and customize settings.


 Take time to explore the iFit app and learn about its 
features and settings.

2.  

Connect your heart rate monitor to the console 
if desired.


 If you are connecting both your heart rate monitor 
and your smart device to the console,

 you must 

connect your heart rate monitor before you 
connect your smart device.

 See HOW TO 

CONNECT YOUR HEART RATE MONITOR TO 
THE CONSOLE on page 21.

3.  

Connect your smart device to the console.


 Press the iFit Sync button on the console; the 
console pairing number will appear in the display. 
Then, follow the instructions in the iFit app to con-
nect your smart device to the console. 


 When a connection is established, the LED on the 
console will turn solid blue. 

4.  

Select an iFit workout.


 In the iFit app, touch the buttons at the bottom of 
the screen to select either the main menu (Home 
button) or the workout library (Browse button).


 To select a workout from the main menu or the 
workout library, simply touch the desired workout 
button on the screen. Slide or flick the screen to 
scroll upward or downward if necessary.


 When you select a workout, the screen will show 
an overview of the workout that includes details 
such as the duration and distance of the workout 
and the approximate number of calories you will 
burn during the workout.

5.  

Start the workout.


 Touch 

Start


Workout

 to start the workout. 


 During some workouts, an iFit coach will guide you 
through an immersive video workout. Touch the 
screen in any open space to view and select music, 
trainer voice, and volume options for the workout.


 During some workouts, the screen will show a map 
of the route and a marker indicating your prog-
ress. Touch the buttons on the screen to select the 
desired map options.


 If the resistance setting for the current segment of 
the workout is too high or too low, you can manu-
ally override the setting by pressing the Silent 
Magnetic Resistance buttons on the console. 

IMPORTANT: When the current segment ends, 
the resistance will automatically adjust to the 
resistance setting programmed for the next 
segment.

Содержание Endurance 520 E

Страница 1: ...number in the space above for reference CUSTOMER SERVICE UNITED KINGDOM Call 0330 123 1045 From Ireland 053 92 36102 Website iconsupport eu E mail csuk iconeurope com Write ICON Health Fitness Ltd Un...

Страница 2: ...Store is a trademark of Apple Inc registered in the U S and other countries Android and Google Play are trademarks of Google LLC The Bluetooth word mark and logos are registered trademarks of Bluetoo...

Страница 3: ...near water 7 Place the elliptical on a level surface with at least 3 ft 0 9 m of clearance in the front and rear of the elliptical and 2 ft 0 6 m on each side To protect the floor or carpet from dam...

Страница 4: ...s manual please see the front cover of this manual To help us assist you note the product model number and serial number before contacting us The model number and the location of the serial number dec...

Страница 5: ...manual The number following the key number is the quantity needed for assembly Note If a part is not in the hardware kit check to see if it has been preassembled Extra parts may be included M10 x 115m...

Страница 6: ...identify small parts see page 5 In addition to the included tool s assembly requires the following tools one Phillips screwdriver two adjustable wrenches one rubber mallet Assembly may be easier if yo...

Страница 7: ...lete this step Attach the Front Stabilizer 6 to the Frame 1 with two M10 x 115mm Screws 104 Then remove the packing materials from under the front of the Frame 1 1 104 77 59 45 80 4 Identify the Right...

Страница 8: ...Wire 110 from falling into the Upright 4 secure the Main Wire with the wire tie A 4 110 A 6 5 Tip Avoid pinching the Main Wire 110 Have a second person hold the Upright 4 on the Frame 1 Tip Two M10 x...

Страница 9: ...mm Washer 97 Repeat this step for the Left Upper Body Leg 46 46 4 Grease 8 60 60 54 82 97 8 Orient the Right Pedal Arm 58 as shown and then apply grease to the axle Insert the Right Pedal Arm 58 into...

Страница 10: ...o the Console 7 Tip Avoid pinching the Main Wire 110 Attach the Console 7 to the Upright 4 with four M4 x 16mm Screws 101 start all the Screws and then tighten them 9 Apply grease to one of the Pedal...

Страница 11: ...ch it to the Upright 4 with two M4 x 16mm Screws 101 4 101 37 12 101 81 37 12 Orient a Lower Tray Cover 81 as shown and attach it to the right side of the Accessory Tray 37 with two M4 x 16mm Screws 1...

Страница 12: ...ure that the Locknuts are in the hexagonal holes C Repeat this step for the Left Upper Body Arm 47 60 61 47 96 102 C 75 4 117 101 73 74 14 Orient the Front Shield Cover 117 and the Center Shield Cover...

Страница 13: ...ght Leg Inner Cover 83 Attach the Right Leg Outer and Inner Covers 69 83 to each other with an M4 x 16mm Screw 101 Repeat this step on the other side of the elliptical 60 101 69 15 83 16 65 60 101 66...

Страница 14: ...ical Note To plug the Power Adapter 119 into an outlet see HOW TO PLUG IN THE POWER ADAPTER on page 15 18 Make sure that all parts are properly tightened before you use the elliptical Place a mat bene...

Страница 15: ...all local codes and ordinances HOW TO LEVEL THE ELLIPTICAL If the elliptical rocks slightly on your floor during use turn one or both of the leveling feet B beneath the rear of the frame or turn the...

Страница 16: ...TO EXERCISE ON THE ELLIPTICAL To mount the elliptical hold the handlebars I or the upper body arms J and step onto the pedal K that is in the lower position Then step onto the other pedal Push the ped...

Страница 17: ...your smart device and connect it to the console With the iFit app you can access a large and varied library of iFit video workouts create your own work outs track your workout results and access many...

Страница 18: ...ve pedaled in miles or kilometers To change the unit of measurement press the Std Metric button Pace Your pedaling speed in minutes per mile or minutes per kilometer To change the unit of measurement...

Страница 19: ...ible with all Bluetooth Smart heart rate monitors A compatible heart rate monitor is included with some models If a heart rate monitor is included see THE HEART RATE MONITOR in this manual to learn ho...

Страница 20: ...monitor before you connect your smart device See HOW TO CONNECT YOUR HEART RATE MONITOR TO THE CONSOLE on page 21 3 Connect your smart device to the console Press the iFit Sync button on the console t...

Страница 21: ...dals do not move for several seconds the console will pause If the pedals do not move for several minutes and the buttons are not pressed the console will turn off and the display will be reset HOW TO...

Страница 22: ...nicians to identify whether the display is working correctly Button Test This screen is intended to be used by service technicians to identify whether a certain button is working correctly Total Time...

Страница 23: ...pter If lines appear in the console display see step 3 on page 22 and adjust the contrast level of the display HOW TO ADJUST THE REED SWITCH If the console does not display correct feedback the reed s...

Страница 24: ...he power adapter Next locate the Access Cover 3 on the Right Shield 74 Remove the M4 x 16mm Screw 101 and then remove the Access Cover Next locate and loosen the Idler Screw 89 Tighten the Drive Belt...

Страница 25: ...ystem you must perform aerobic exercise which is activity that requires large amounts of oxygen for prolonged periods of time For aerobic exercise adjust the intensity of your exercise until your hear...

Страница 26: ...lles Stretch With one leg in front of the other reach forward and place your hands against a wall Keep your back leg straight and your back foot flat on the floor Bend your front leg lean forward and...

Страница 27: ...51 2 Roller 52 2 Pedal Arm Cap 53 2 Axle Cover 54 2 Pivot Spacer 55 2 Retainer 56 4 Roller Arm Bushing 57 4 Pedal Arm Bearing 58 1 Right Pedal Arm 59 1 Right Roller Arm 60 1 Right Upper Body Leg 61 1...

Страница 28: ...6 2 Disc Ring 117 1 Front Shield Cover 118 1 Rear Shield Cover 119 1 Power Adapter 120 2 M8 x 20mm Flat Head Screw 121 1 Latch Axle 122 1 Pin Spring 123 2 Outer Arm Bearing 124 2 M4 x 16mm Machine Scr...

Страница 29: ...1 73 75 101 101 101 101 92 124 5 101 50 101 117 116 118 101 101 101 5 50 46 52 45 44 47 49 51 56 55 123 99 68 62 67 70 72 32 76 77 95 80 120 82 97 100 100 8 127 82 129 96 102 98 95 35 35 35 64 63 101...

Страница 30: ...8 13 15 106 17 20 101 114 114 101 94 28 30 22 33 41 43 43 48 42 88 93 31 31 89 90 91 27 27 108 113 84 115 102 101 102 30 79 16 1 122 101 36 20 34 104 26 109 112 23 40 82 82 25 78 86 78 86 92 90 108 38...

Страница 31: ...35 5 5 116 5 101 101 95 127 52 29 58 57 57 103 103 87 59 77 80 56 55 120 56 51 53 95 98 95 8 71 60 101 61 66 62 65 69 83 101 126 126 101 101 101 3 96 129 101 102 82 97 100 100 54 35 35 32 32 99 123 82...

Страница 32: ...T and the EXPLODED DRAWING near the end of this manual ORDERING REPLACEMENT PARTS This electronic product must not be disposed of in municipal waste To preserve the environment this product must be re...

Отзывы: