Princess auto mr.blacksmith Скачать руководство пользователя страница 1


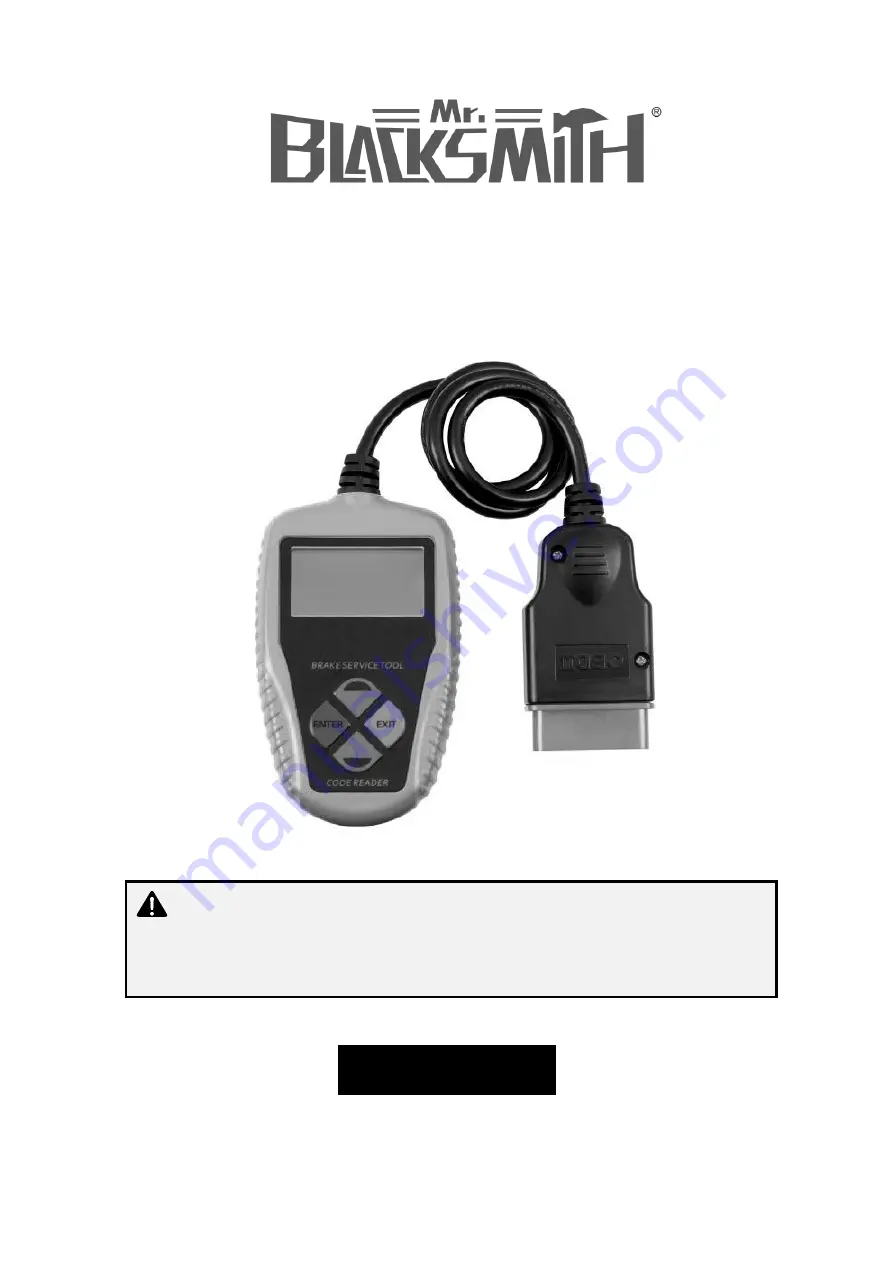
Electronic Parking Brake Tool 

Owner’s Manual 


WARNING:

 Read carefully and understand all ASSEMBLY AND OPERATION 

INSTRUCTIONS before operating. Failure to follow the safety rules and other basic safety 

precautions may result in serious personal injury. 


8943391 


Содержание mr.blacksmith

Страница 1: ...ol Owner s Manual WARNING Read carefully and understand all ASSEMBLY AND OPERATION INSTRUCTIONS before operating Failure to follow the safety rules and other basic safety precautions may result in serious personal injury 8943391 ...

Страница 2: ...on on or engine running Keep the Scan Tool dry clean and free from oil water and grease Use a mild detergent on a clean cloth to clean the outside of the Scan Tool when necessary Ideal operating Temperature 0 to 50 C 32 to 122 F Storage Temperature 20 to 70 C 4 to 158 F Product Features 1 The OBDII programing of this test tool works with most 1996 and newer cars light trucks that are OBD II compli...

Страница 3: ...agnostic Link Connector is the standardized 16 cavity connector where diagnostic scan tools interface with the vehicle s on board computer The DLC is usually located 12 inches from the center of the instrument panel dash under or around the driver s side for most vehicles For some Asian and European vehicles the DLC is located behind the ashtray and the ashtray must be removed to access the connec...

Страница 4: ...tions Follow instructions listed below each time the tool is connected to a vehicle providing proper function Turn the ignition off Key off Engine off Release the park brake and make sure the car is properly blocked with wheel chocks Locate the vehicle s 16 pin Data Link Connector DLC Plug into the OBDII cable to the vehicle s DLC Turn the ignition on Key on Engine off Diagnose EPB On Volkswagen R...

Страница 5: ...re not cleared then an Erase Failure Turn Key on with Engine off message displays Some codes cannot be erased and must be serviced by the dealer Deactivate Brake WARNING The EPB system must be deactivated before any service work on the brakes system can be done Including opening closing the calipers for changing pads discs or the calipers Use proper tools to avoid the risk of body injuries or dama...

Страница 6: ...t Activate Brake from Select Function menu and press ENTER button 1 Read Codes 2 Erase Codes 3 Deactivate Brake 4 Activate Brake 2 Wait while the tool is activating the brakes you may hear the calipers opening When they are activated successfully Activation done message comes up If the Activation Failed message does not go away then contact your local distributor or the manufacturer s customer ser...

Страница 7: ...position Press Y to Exit 5 Use UP DOWN button to select For Repair from Guided Function menu and press ENTER button to confirm 1 For Pad Change 2 For Repairs Press ENTER button to continue and EXIT to exit Guided Test Condition 1 Turn ignition on 2 Release Emergency Parking Brake EPB 3 Shift to P position Y Continue N Exit Press ENTER button to continue and EXIT to exit Open Brake Next the brake w...

Страница 8: ...tart the engine 1 To erase codes select 2 on the menu you ll be prompted to confirm Use the up down button to select your choice Select NO and press ENTER will cancel the command 2 Press ENTER button to erase If the codes are cleared successfully an Erase done message shows up If the codes are not cleared then an Erase Failure Turn Key on with Engine off message displays Some codes cannot be erase...

Страница 9: ... UP DOWN button to select Activate Brake from Select Function menu and press ENTER button 1 Read Codes 2 Erase Codes 3 Deactivate Brake 4 Activate Brake 2 Wait while the tool is activating the brakes you may hear the calipers opening When they are activated successfully Activation done Go to Adaptation Yes or No message comes up Note It is necessary to do the adaptation only when brake pads have b...

Страница 10: ...f Function Test Audi This confirms the brake calipers are functioning properly after being serviced 1 Use UP DOWN button to select Adaptation from Select Function menu and press ENTER button 5 Adaptation 6 Function Test Diagnose EPB On Other Audi S Models Reading Codes 1 Use UP DOWN button to select Other Audi from AUDI Menu and press ENTER button to confirm 1 Audi A8 2 Other Audi 2 Use UP DOWN bu...

Страница 11: ...e EPB functions use UP DOWN button to select Deactivate Brake from menu and press ENTER button 1 Read Codes Diagnose EPB On Other Audi S Models Cont 2 Erase Codes 3 Deactivate Brake 4 Activate Brake 2 Use UP DOWN button to select the purpose of deactivating the brake 1 For Pad Change 2 For Repair Select the purpose of deactivation properly For Pad Change is used to open the brake calipers complete...

Страница 12: ...ustomer service department for assistance If a Selected function is not supported message shows on the display Check that the park brake is released Repeat the process 3 If you do wish to set the thickness of the new pads in the caliper press ENTER button to continue If you do not wish to do the adaptation of caliper at this moment press EXIT button or use UP DOWN button to select NO and then pres...

Страница 13: ...C system before carrying out any maintenance service work on the brakes such as changing of pads discs and fluids Use proper tools to avoid the risk of body injuries or damage to the brake system Make sure the vehicle is properly blocked with wheel chocks before deactivation of the system 1 To deactivate the EPB functions use UP DOWN button to select Deactivate Brake from menu and press ENTER butt...

Страница 14: ...xtreme high pressure is involved WARNING Do not operate the brake pedal until you are prompted to Make sure the central lock is deactivated Use extreme caution during the whole bleeding process as the pressure of pump bleed screw will be up to 100 bar 1450 psi 1 To complete the brake fluid change process make sure vehicle battery is fully charged and is in good condition It may be necessary to con...

Страница 15: ...wing instruction Turn off filling and bleeding equipment Wait until the pressure drops Disconnect filling and bleeding equipment 10 Press ENTER button to move to next phase 11 To complete the third phase do the following as instructed Set pressure 0 5bar 7psi Wait until the pressure has built up 12 Press ENTER button to move to phase 4 13 Following instructions on device screen to finish the fourt...

Страница 16: ...gain pump Stop pumping once the brake fluid flows out free of bubbles Hold bleeder hose tight 26 Press ENTER button to continue 27 Wait a few seconds until following screen shows Operate the brake pedal at least 5 time and release again pump 28 Operate the brake pedal at least 5 times as instructed 29 Follow onscreen instructions to finish the tenth phase Hold bleeder hose tight 30 Press ENTER but...

Страница 17: ...e of operation The brake system pressure reservoir is OK Check fill status of rear wheel brake circuits 6 Press ENTER button or gently actuate and then release the brake pedal as instructed to continue 7 Wait a few seconds while the device is communicating with the vehicle And follow onscreen instructions to finish the third phase of operation Brake system fill status is OK Check fill status of pe...

Страница 18: ...dal to continue and the device starts to communicate with the vehicle 16 Use UP DOWN button to view onscreen prompts 1 Increase brake pressure slowly and evenly 2 Actual valve should be within the black range and be held for 5 seconds 3 Y Continue N Return 17 Press ENTER button and following screen shows 7 8 bar Hold pressure within the black range for 5 seconds 18 Actuate the pedal gently to rais...

Страница 19: ...en shows 23 4 bar Hold pressure within black range for 5 seconds 28 Actuate the pedal gently to raise the pressure to 20 24 bar and keep it for 5s 29 Follow onscreen instructions to complete operation of current phase The fill level of wheel brake circuit HZ1 primary brake circuit is in order Release brake pedal Brake system fill status is OK 30 Press ENTER button or gently actuate and then releas...

Страница 20: ...etrieve ECU information on Volvo vehicles that are equipped with the PBM brake system Since Volvo s PBM system is almost the same as the SBC on Mercedes please review the detailed instructions for the Mercedes above 1 Volkswagen 2 Audi 3 Mercedes 4 PBM Volvo 1 Please follow the detailed instructions for the Mercedes above Distributed by Forcome shanghai Co Ltd South Sizhuan Road Shanghai 201612 Ma...

Отзывы: