72
Trigger action
Now that you have the event trigger duration and interval defined, choose
what action to be taken during an event trigger:
• You can choose to have the recorder send out the first few frames of the
video recorder upon an event is triggered
• You can also choose to have the recorder send out a warning message in
e-mail or in txt file format and upload it to an destined FTP server
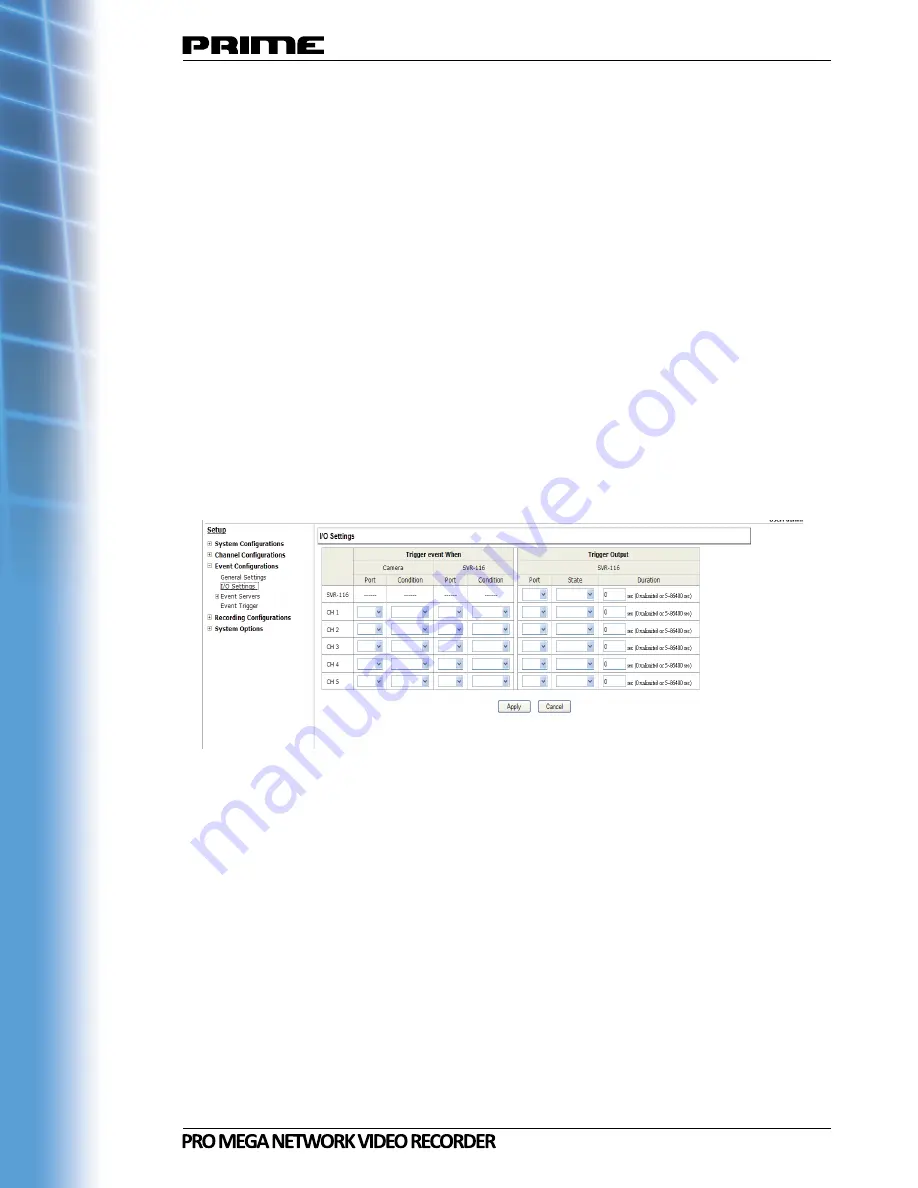
3.3.2 I/O Settings
This function allows users to manage camera’s digital input and output ports
right from the recorder. You can setup the recorder to receive triggers from
a particular camera’s input port and trigger a device, such as an alarm that
is connected to the recorder or camera’s output port. Cameras that do not
have built-in digital input/output port can also be configured to pair with the
recorder’s DI/DO ports.
1. For cameras that come with physical digital input ports, their ports will be
listed in the far left drop-down menu.
2. Pick the desired channel for I/O mapping, and then select the camera’s in-
put port from the drop-down menu.
3. Select the trigger condition from the “Condition” drop-down menu.
4. Select the recorder’s input port if you would also like to use the recorder’s
input port for event trigger. And then select the trigger condition as well.
5. Next, select the recorder’s output port and define its trigger state
6. Finally, define the trigger duration.
Содержание NVST MP-04
Страница 1: ...Model NVST MP 04 08 16 User s Manual v1 6 0...
Страница 10: ...10 Hardware Illustration Front 16 Channel 8 Channel...
Страница 11: ...11 4 Channel...
Страница 13: ...13 LEDs Definition 4 Channel 8 Channel 16 Channel...
Страница 96: ...96 The player should now play the backed up file...
Страница 98: ......


