


Your
OPTIMAX
is supplied already paired but it may occasionally be necessary to go through the process
again- for instance if a new Receiver is to be used with an existing Trackball unit or in the unlikely event
that one half ‘forgets’ the address.
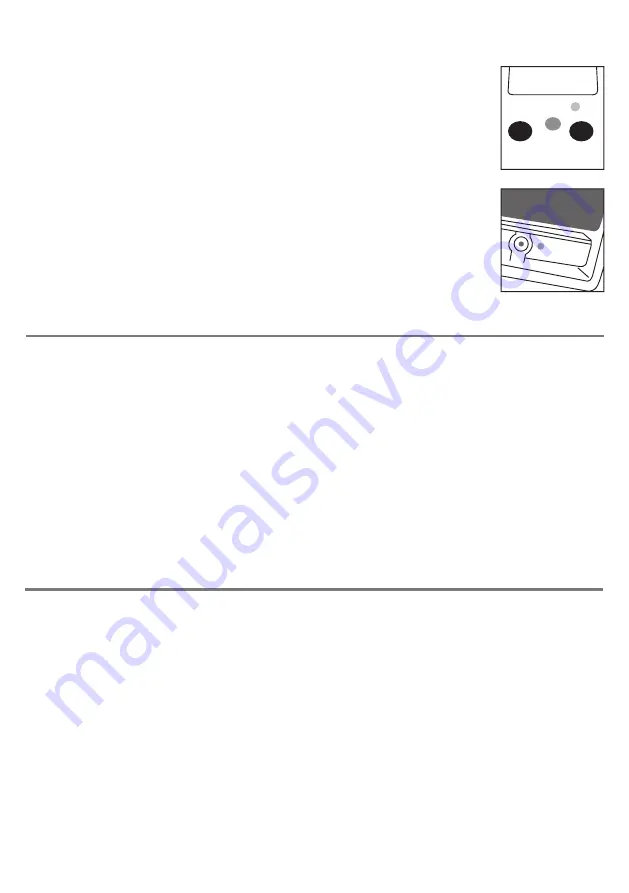
To Pair the units, use the following procedure:
1. Remove the cover on the underside of the unit with a screwdriver.
2. Place the Trackball within one metre (three feet) of the Receiver unit.
3. Press the button on the underside of the Receiver unit.
The LED should flash.
4. Within 10 seconds, briefly press the button inside the battery
compartment. It is not necessary to spin the ball.
5. After a short period the LED should light steadily for 5 seconds and cursor
operation should resume.
6. Replace the cover on the underside and secure in place with a screwdriver.
7. If the LED stops flashing after around 15 seconds and does not light
steadily, repeat the process from (3). If it is still not successful, please refer
to the Troubleshooting section.
Receiver
Trackball
Learn Mode
There are a number of settings to allow you to configure
OPTIMAX
Trackball to your exact
requirements. These are all programmed using Learn Mode and are stored in an internal memory
so they are automatically recalled each time you use the unit, even if you swap computers or if the
battery goes flat. To make changes to the settings, you must first go into Learn Mode. Press and hold
the middle button until a beep is heard. The unit is now in Learn Mode and is able to accept changes to
the settings, as follows:
Cursor Speed
To change the speed setting while in Learn Mode, press the middle button briefly. Each time you do so,
the unit emits a beep of rising tone. The higher the tone, the faster the cursor will move. The speed of
the cursor changes immediately, allowing you to experiment until the best setting is found. There are
8 speed settings in all and pressing the middle button once the highest speed has been reached makes
the unit begin again at the lowest speed.
Left-Handed Operation
The left and right buttons may be swapped around, which is particularly useful for left-landed users.
To change this setting, press the left button while in Learn Mode. One beep indicates the unit is set to
standard ‘right-handed’ mode, whereas two beeps indicate ‘left-handed’ operation.
Battery Charging
Your
OPTIMAX
is fitted with a state-of-the-art lithium ion battery and charger. The unit will operate for
many months with a single charge. When the battery charge is getting low, the LED on the Trackball unit
will flash red every few seconds. This is an indication that it’s time to charge the battery soon. Locate the
supplied charging cable and plug it into the charging port on the rear of the
OPTIMAX
Trackball and then
into a USB socket on a computer or charging plug. The LED lights green to show that charging has started
and will be extinguished once fully charged.
Charging a battery that is completely flat takes about four hours and you can continue using the
OPTIMAX
Trackball throughout the charging period, even from completely flat. Once fully charged, you may unplug
the charging cable.
Should you mislay the charging cable, replacements can be purchased by asking your local electrical
retailer for a camera connection lead. It has a USB type A plug at one end and a mini-USB plug at the other.
Note that OPTIMAX Trackball plugs into a computer USB port for charging purposes only and no
functional connection is made between the two devices.


