


TIPS
VEHICLE STORAGE
:
If storing your vehicle for extended periods, remove the Sensors. Mark
each Sensor’s location so it can be replaced on the same tire location from where it was
removed (eliminating the need for reprogramming), or use a sectional storage device (similar
to a tackle box divider system). When putting the system back on, power up Display first, next
screw Sensors onto their original wheel locations. Pressure readings will show on Display (can
take up to 1 minute for new readings to report). PressurePro system is now active.
CAUTIONS
:
(1) Know the general condition of tires before moving the vehicle. Running on
deflated tires can ruin a tire. (2) The 2/3 oz. Sensor, on a typical RV or large truck,
normally
will not require the tire be rebalanced. Smaller tires may require rebalancing. (3) It is
important to make sure valve stems are in good condition.
REMOTE ANTENNA FOR UNIQUE APPLICATIONS:
Due to the unique features of RF
signals and the construction and interference from electronics on some vehicles, an
Optional Antenna Kit or Echo Repeater may be needed. Contact your Dealer/Distributor.
RESETTING BASELINE PRESSURE:
MENU → VEHICLE SETTINGS → REF PRESSURES → AXLE
REF PRESSURE or VEH REF PRESSURE → l Axle or Vehicle → Adjust reference pressure
using rro → Use the button to save the new reference pressure. *NOTE: AXLE
allows the user the ability to control reference pressures by axle, VEH allows the user the
ability to control the reference pressure based on the virtual unit or vehicle
ALERT SETTINGS
*Note: All alert settings are vehicle specific settings. You will need to se the vehicle after
sel ’ing the parameter to be adjusted. rro to the vehicle you wish to adjust and .
LOW and HIGH PRESSURE:
MENU → VEHICLE SETTINGS → ALERT SETTINGS → LOW
PRESSURE or HIGH PRESSURE → Use arro to adjust percentage of reference pressure for
alarm triggering → Use the SE button to save the new alarm setting. *NOTE: Low
Pressure has two alarm settings. The extremely low pressure (adjustable) & slightly low
pressure (calculated at 5/8ths of the extreme; toggled on/off). LOW & HIGH PRESSURE
alarms are factory set at 25%, with slightly low pressure toggled on.
ACROSS AXLE %:
MENU → VEHICLE SETTINGS → ALERT SETTINGS → ACROSS AXLE % →
Use arro to adjust the percentage deviation per axle allowable. *NOTE: Across Axle % is
factory set at 20%.
HIGH TEMPERATURE:
MENU → VEHICLE SETTINGS → ALERT SETTINGS → HIGH
TEMPERATURE → Use rrow to adjust the High Temperature Alert. *NOTE: High
Temperature alarm is factory set to 200°F.
LEAK DETECTION:
MENU → VEHICLE SETTINGS → ALET SETTINGS → LEAK DETECTION →
Use arro to adjust the percentage deviation → Use arro to adjust the time limit for
deviation. *NOTE: Leak Detection is factory set as OFF.
12
INITIAL SYSTEM SET-UP & CONFIGURATION
First things first!
Upon initial powering of your PULSE Display, please take a
minute to configure your unit’s time and date and vehicle configuration, and – if
you want – set your custom alert settings.
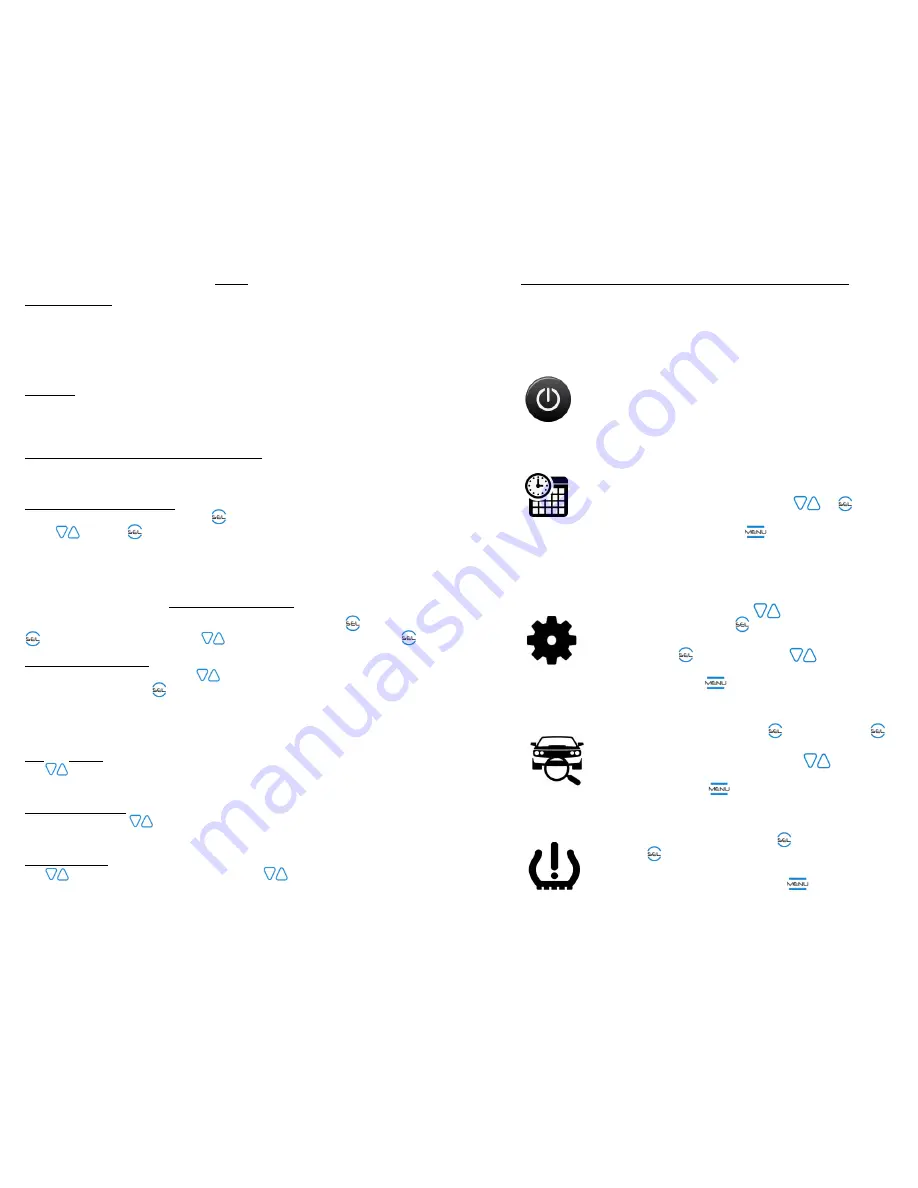
GIVE IT POWER!
Find your PressurePro power cord.
Connect the 6-Pin Molex connecter to your Display.
Connect opposite end to a 12V or 24V power source
(via an accessory lighter or hard-wiring).
SET TIME AND DATE:
Your Display will automatically take you to a screen
prompting you to set your time and date and will
walk you through the set-up.
Use arro to the
date and time settings.
When complete, press MEU to leave ‘Display’ screen
and return to the “VEHICLE SETTINGS”.
CONFIGURE VEHICLES (IF MONITORING MULTIPLE UNITS)
Towed units and trailers are considered their own vehicle:
From the main “MENU”, to “VEHICLE
SETTINGS” and push SE .
If you have a tow vehicle, or are monitoring multiple
vehicles, sel “+/- Vehicles”, and through and
activate the desired number of vehicles.
When
finished, press ME to return to “VEHICLE SETTINGS”.
SELECT VEHICLE ID:
From “VEHICLE SETTINGS”, el “VEHICLE ID” and sel
the vehicle you want to name.
Follow the Display’s prompts (using arrow to name
vehicle). Repeat as needed for all vehicles.
When
finished, press E to return to “VEHICLE SETTINGS”.
SET YOUR ALERTS:
From “VEHICLE SETTINGS”, Sel “ALERT SETTINGS”,
sel the alert option you’d like to customize, and
follow the Display’s prompts to change alert
settings.
When finished, press ME until returned
to the main “MENU”.
5


