6
Operation of PV.4 Series
Proceed as follows:
1 Ensure that handle is in upright position.
2 Select and fit appropriate accessory.
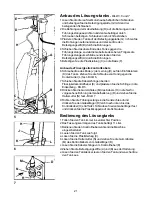
3 Operate cable stowage quick release and remove cable from
stowage -
DIAGRAM 8.
4 Check that power supply is the same as that stamped on the
serial plate on the machine.
5 Plug machine into power socket. Check that neon lamp on top of
handle is illuminated.
6 Stand behind and press handle positioning lever (A) and lower
handle to a comfortable operating position. Release lever (A) -
DIAGRAM 9.
Note:
This position must be more than 40 degrees from the vertical
for the power to be available to the motor.
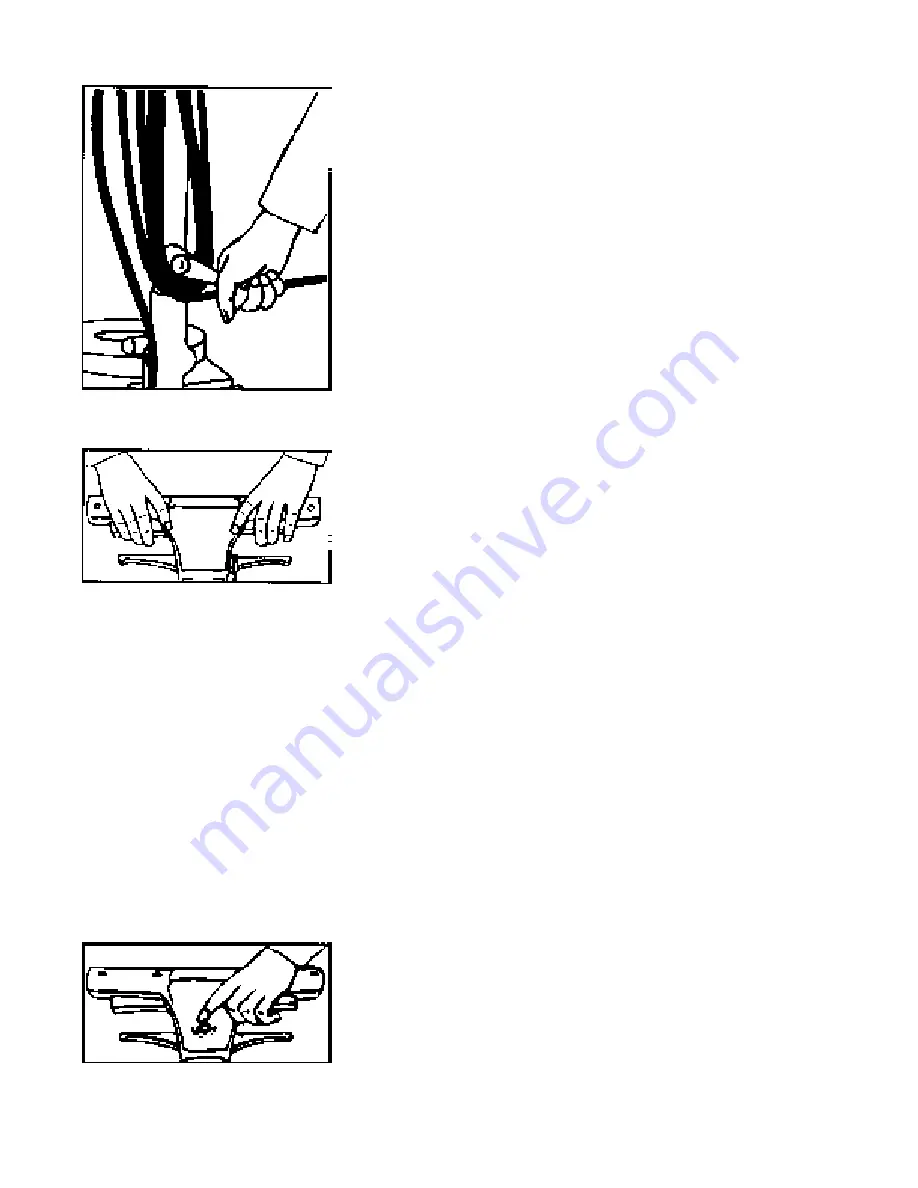
7 With index fingers press on/off lever lock buttons to unlock on/off
levers -
DIAGRAM 9.
8 Press either on both of the on/off levers to start the machine.
9 Ensure that mains cable is well clear of the area to be cleaned.
10 Raise and lower handle to guide machine to the right or left as
required.
Note:
This operation does not require movement of the handle
positioning lever (A).
The response of the machine, particularly the high speed models is
extremely positive and it is inadvisable to attempt to guide the
machine by operation of the handle positioning lever (A).
11 On completion release on/off lever.
12 Operate handle positioning lever to return handle to upright
position.
13 Remove plug from power socket and stow cable on cable
stowage.
14 Remove accessory.
Please note: flow control lever (B) is for use with solution tank only
-
DIAGRAM 9.
8
9
Operation of overload switch
- only fitted to certain High Performance Models
-
DIAGRAM 10
Should the machine be subjected to an overload condition the
overload switch will trip out. It can be reset after approx. 30 seconds
by pressing the RED button in the centre of the machine handle.
The machine can then be used again without delay. (A badly
maintained machine and accessories may artificially induce an
overload - refer to machine care Page 2.)
10


