background image

www.mounts.com  |  North America  800.368.9700  | Interna1-714-632-7100

1321 S. State College Blvd., Fullerton, CA 92831 USA
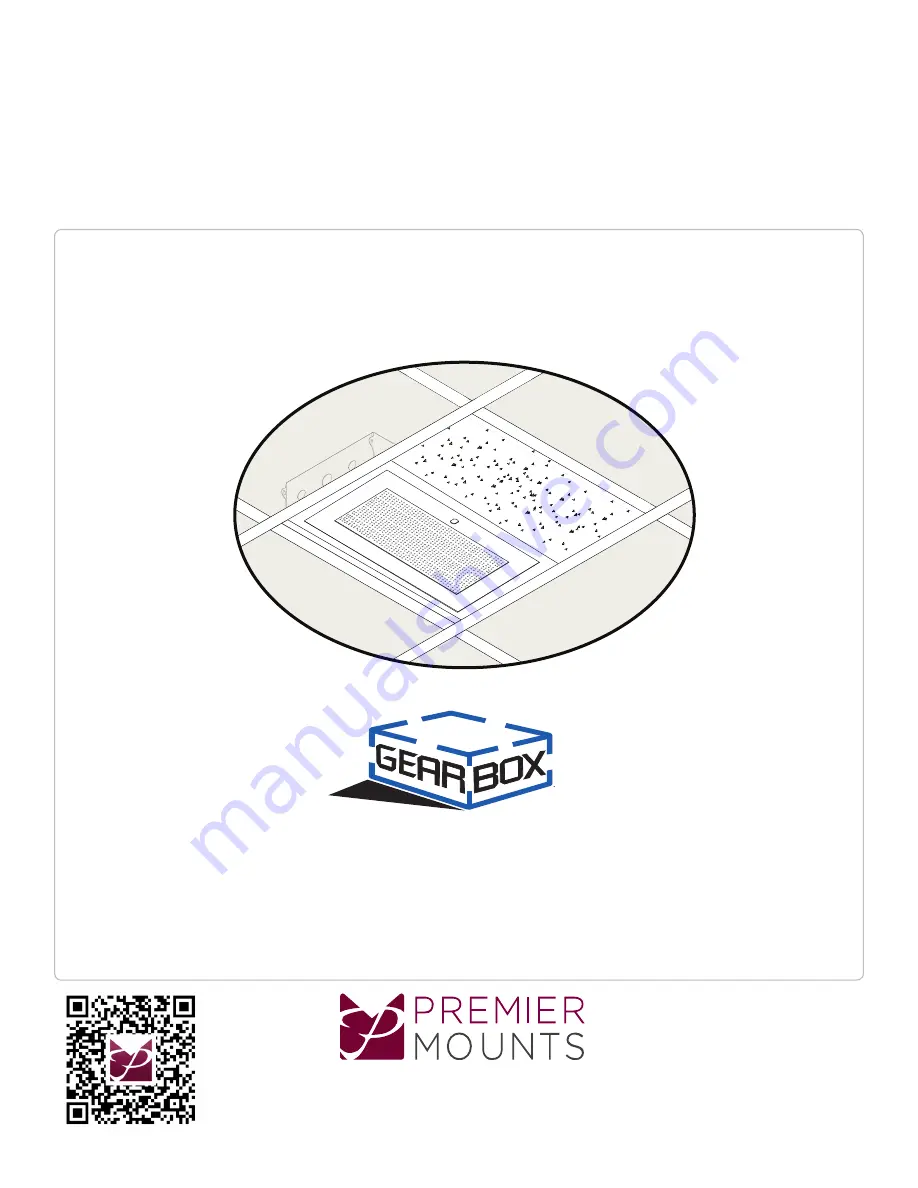
 Installation Guide

Installationsanleitung, Guía de Instalacíon, Guida de Installazione, Guide d’Installation, Installatie gids

GB-AVSTOR4

Содержание GB-AVSTOR4

Страница 1: ...a 800 368 9700 International 1 714 632 7100 1321 S State College Blvd Fullerton CA 92831 USA Installation Guide Installationsanleitung Gu a de Instalac on Guida de Installazione Guide d Installation I...

Страница 2: ...ONS FAILURE TO DO SO COULD RESULT IN PROPERTY DAMAGE SERIOUS PERSONAL INJURY OR EVEN DEATH SAFETY MEASURES MUST BE PRACTICED AT ALL TIMES DURING THE ASSEMBLY OF THIS PRODUCT USE PROPER SAFETY EQUIPMEN...

Страница 3: ...rd HVAC return register when closed to stay unobtrusive Inside View Knockouts 2 1 and 3 4 knockouts provide electrical conduit connector access The GB AVSTOR4 Ceiling Equipment Storage GearBox is a se...

Страница 4: ...y before installing your Premier Mounts product Please take a minute to familiarize yourself with the contents of the package and make sure you have all the parts and tools you need to safely complete...

Страница 5: ...the knockouts If you have opened a knockout and no longer want to use it re attach its cover to prevent airflow into the ceiling Removing the Electrical Knockouts Optional 1 Determine the desired plac...

Страница 6: ...1 16 braided cable tightens around the eye lag screw 7 Repeat steps 4 6 for the remaining three mounting points Concrete Ceiling 1 Determine the mounting location 2 Use a 1 4 concrete drill bit to dri...

Страница 7: ...16 braided cable tightens around the truss 4 Repeat steps 1 3 for the remaining three mounting points www mounts com North America 800 368 9700 International 1 714 632 7100 Ceiling Truss Truss Ceiling...

Страница 8: ...e Quick Lock Cable Kit To release or relieve tension on the 1 16 braided cable slide the release pin to disengage Cable Output Cable Input Release Pin 1 16 Braided Cable Mounting Hole Release Pin Moun...

Страница 9: ...k Lock Once the tension has been adjusted be sure that there is a minimum of 6 of excess 1 16 braided cable on the non weight bearing side of the Quick Lock 4 Use cutters to remove any remaining 1 16...

Страница 10: ...c components 4 Tighten the zip tie down and cut off any excess zip tie As a reminder small screws and flat washers may also be used to attach electronic components to the grid Mounting Tray Zip Tie At...

Страница 11: ...e ceiling box lid up into place 1 2 1 Hold the lid in place 2 Use a key supplied to lock the lid in place 3 Do not release the ceiling box lid until you are sure that the lock has been engaged and the...

Страница 12: ...90 553 47 3 000 76 20 3 000 76 20 12 000 304 80 5 048 128 21 048 1 21 2x 1 102 27 98 21 790 553 47 4 500 114 30 11 280 286 51 Technical Specifications All measurements are in inches mm Installation Gu...

Страница 13: ...ers displays projectors other property or personal injury resulting in whole or in part from improper installation modification use or misuse of its products NOTWITHSTANDING ANYTHING TO THE CONTRARY I...

Отзывы: