www.premiermounts.com | North America 800.368.9700 | Interna1-714-632-7100
2620 Palisades Drive, Corona, CA 92882 USA
9500314 v1.0
publ. 06/22/20
SERIES: A-A27
INSTALLATION GUIDE
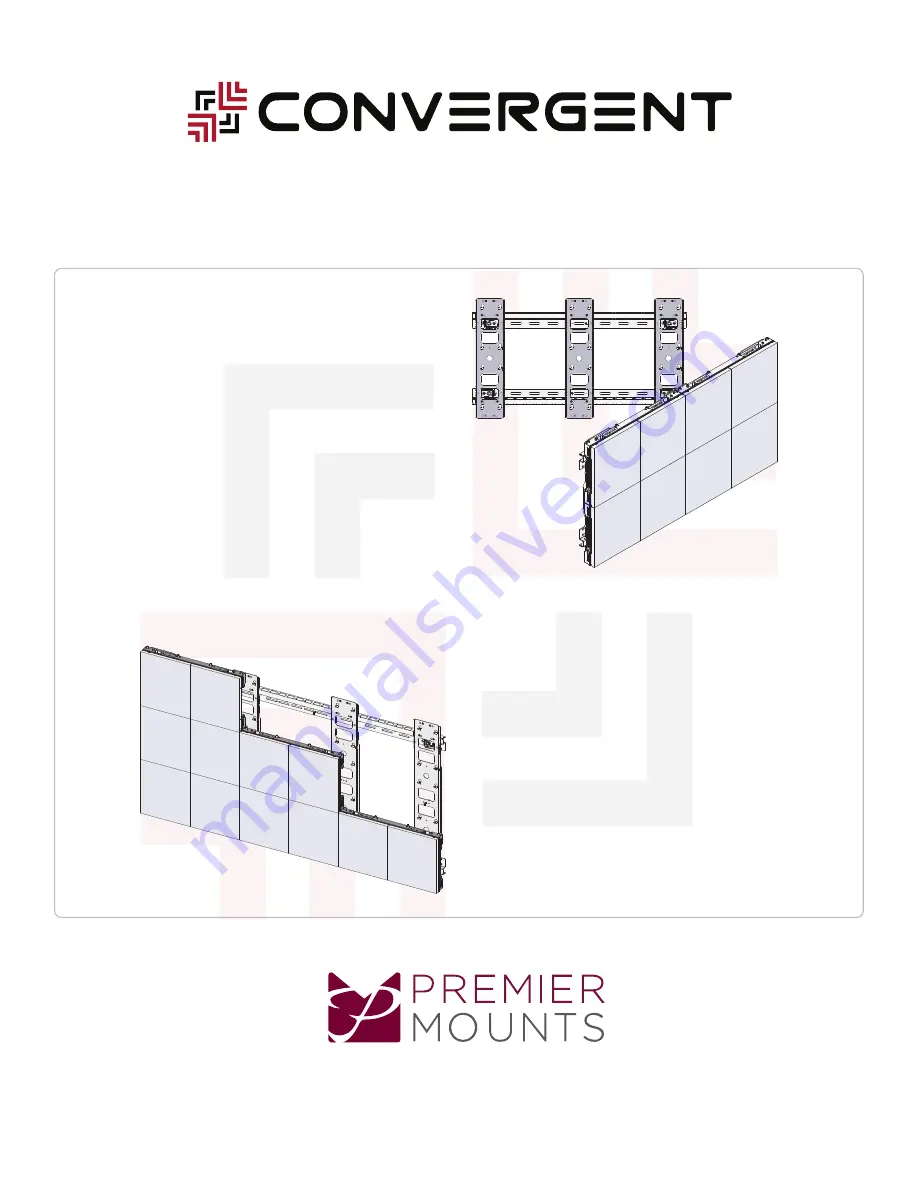
Convergent Series Video Wall Mount
For Absen Acclaim A27 LED Cabinets
Страница 1: ...orth America 800 368 9700 International 1 714 632 7100 2620 Palisades Drive Corona CA 92882 USA 9500314 v1 0 publ 06 22 20 SERIES A A27 INSTALLATION GUIDE Convergent Series Video Wall Mount For Absen Acclaim A27 LED Cabinets ...
Страница 2: ...Y INSTALLATION 5 PREMIER MOUNTS RECOMMENDS THE HANDLING LED CABINETS BY AN INDUSTRY QUALIFIED PROFESSIONAL 6 PREMIER MOUNTS IS NOT RESPONSIBLE FOR DEFECTS MISUSE OR IMPROPER HANDLING OF THE LED CABINETS Tools for Installation 00 0 o Spool of colored strings Anti Static Gloves LASER Solid or continuous plywood backing with a min of 3 4 thickness sound and secured to handle the total combined weight...
Страница 3: ...ray size is a combination of available sizes Add the available sizes together to find the overall width or height of a given array For modular configuration any combination of the rails does not affect the overall dimension of the mount For example 4X4 array would be 96 03 x 54 01 but larger array i e 8X8 would consist of four sets of the 4X4 mounts for an overall of 192 06 x 108 02 OVERALL WIDTH ...
Страница 4: ...rtical Rail 4V 7 4000 306 125 LX Vertical Rail 5V ITEM PART NO DESCRIPTION 1 4000 306 112 LX Horizontal Rail 2H 2 4000 306 113 LX Horizontal Rail 3H 2 WIDE 2 HIGH 3 HIGH 4 HIGH 5 HIGH 1 HIGH 3 WIDE 1 6 7 5 2 3 4 AVAILABLE SIZES Installation Guide ABSEN A27 www premiermounts com North America 800 368 9700 International 1 714 632 7100 ...
Страница 5: ...ential step The socket head screw must be twist in to stabilize the Horizontal Rail if the flat head screw is not used M5 Washer M5 x 8mm Comb Screw M5 x 6mm Flat Head M6 x 35mm Socket Head post leveling screw 5 8 11 x 1 5 Bolt With Hole Adjustment Bracket Horizontal Rail Loosen pre drilled or off center hole Figure 1 Figure 2 Tighten Twist in to stabilize the horizontal rail 0 19 diameter for 8 o...
Страница 6: ...er 5 8 11 Bolt With Hole 1 8 min gap Wall Anchor Plate WALL REQUIREMENT A solid or continuous plywood backing wall with min of 3 4 thickness ASSEMBLE THE FRAME This bracket is mounted in the center position if another pair of horizontals is used side by side Installation Guide ABSEN A27 www premiermounts com North America 800 368 9700 International 1 714 632 7100 1 2 ...
Страница 7: ...e keeping the mount leveled LASER LEVEL 00 0 o Support Screw Install a few support screws commercially available hardware to temporary hold the lower portion of the mount Do not bolt the frame at circled mounting point location Adjust or nudge the frame left or right until the mount is squared Installation is not finished within this step The frame must be fully squared and leveled prior to final ...
Страница 8: ...ertical Rail center position at a shifted location using 4 M5 x 6mm Flat Head Screw 5 Install the lower section of the mount as the steps above To extend the width of the unit follow the steps below Extend Horizontally Horizontal Rail 1st unit Horizontal Rail 2nd unit Seam between two units 00 0 o 4 M5 x 6mm Flat Head Screw Vertical Rail center position SHIFTED Support Screw LASER LEVEL Connector ...
Страница 9: ...d fasten using 4 M5 x 6mm Flat Head Screw per To extend the height of the unit follow the steps below To extend horizontally To extend horizontally Connector Brackets Half Shear One row of horizontal rail brackets on either side for standard non mosaic application Installation Guide ABSEN A27 www premiermounts com North America 800 368 9700 International 1 714 632 7100 6 ...
Страница 10: ...FOR FLATNESS 1 Install wherever possible 2 Use drywall or wood screws to pull the brackets towards the wall 3 Use supplied M5 x 40mm Pan screw to push the brackets against the wall Towards the wall Against the wall Bowing Rail Z Y Flat Wall Finetuning holes for reference Installation Guide ABSEN A27 www premiermounts com North America 800 368 9700 International 1 714 632 7100 7 8 ...
Страница 11: ...cation by sliding a Wall Anchor Plate behind the mount and bolt using 5 16 x 3 Hex Lag with 5 16 Washer Distance 1 Distance 2 The two diagonal measured distances must match VERY IMPORTANT VERIFYING THE DIAGONAL MEASUREMENTS FOR SQUARENESS INSTALL THE LOWER MOUNTING LOCATIONS REMINDER BOLT THE LOWER MOUNTING POINT Installation Guide ABSEN A27 www premiermounts com North America 800 368 9700 Interna...
Страница 12: ...olored string SOLID OR PLYWOOD BACKING WALL Inspect for any gaps between the rail brackets and string Adjust the thru bolt until the mount is flat VERIFYING THE MOUNT FOR FLATNESS FLATNESS ADJUSTMENT POST LEVEL ADJUSTMENT 1 2 or 1 max adjustment range for flatness flatness adjustment bolt Post leveling screw Remove the flat head screw before post leveling can be adjusted Installation Guide ABSEN A...
Страница 13: ... the void between the wall and the frame Avoid over tightening the screws as this would make the floating frame uneven Additional Slots Up Down Adjust the level by loosen or tighten the screw located on either the top OR bottom corner location of the mount LASER LEVEL FILL VOIDS WITH SHIMS POST LEVEL ADJUSTMENT Installation Guide ABSEN A27 www premiermounts com North America 800 368 9700 Internati...
Страница 14: ... of the video wall array 2 Latch the cabinets through installation until all cabinets are fully seated and finetuned 3 Proceed after all cabinets are seated and adjusted Install a few screws on the right most side of the vertical rail brackets to lock the cabinets firmly in place A N T I STATIC GLO V E S Use M5 x 25mm pan head screws on the right side of the vertical rail brackets after all LED ca...
Страница 15: ...pair or replace such products determined by Premier Mounts to be defective RETURNING THE PRODUCT TO PREMIER MOUNTS PDS 1 Products must be packed securely to insure no further damage upon arrival at Premier Mounts PDS Improperly packaged items will be considered non warranty 2 Line rejects must be shipped to Premier Mounts PDS in a separate box using a separate RMA number from any field rejects 3 P...