


9
5.SETUP AND CONFIGURATION
●
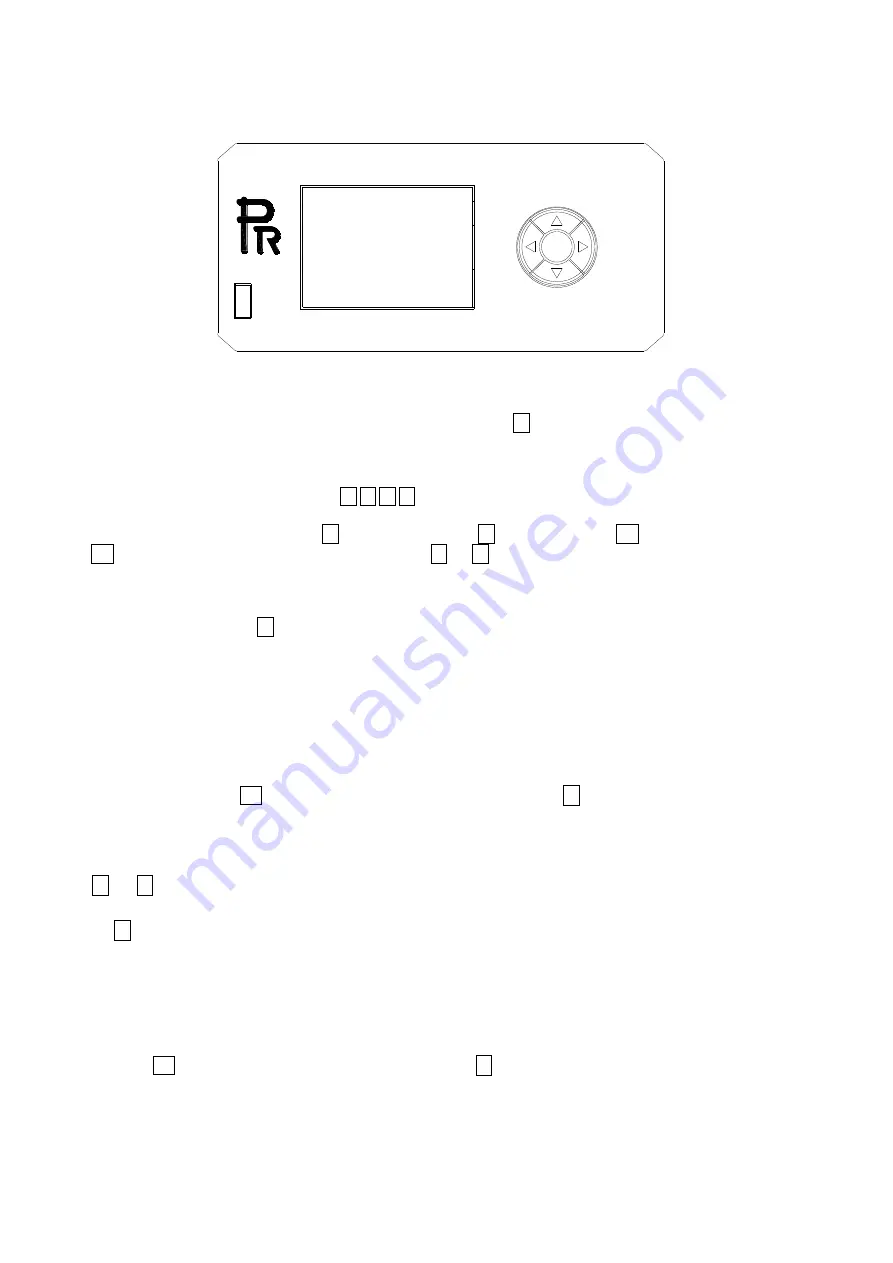
FRONT PANEL OPERATION
The projector configuration can be set conveniently via push buttons and color touch screen.
To browse through or change the projector ’s settings, touch the white area of the touch screen or press OK button for more than 3s(Only
powered by the battery, pressing the OK button) to unlock the screen , then press
►
key to enter the projector ’s function menus. Each
main menu has its sub-menus. And each menu stands for special function. For the details, please see the following 6
th
point ”Operation
Menu”.:
1.
At the page to set the fixture’s functions, press
◄,►,▲,▼
keys
or their respective icons to select the functions desired.
2.
While at 2
nd
,3
rd
and 4
th
level of menus, the
◄
key is for ESCAPE, but
►
key won’t work, and
OK
key is used for ENTER. Press
OK
key to save the changes or enter into the sub menus. Press
▲
or
▼
keys to change the numbers(minus or plus). Or touch the
option needed for change.
Shortcut keys: After the Function Menu is entered into, there are all options for the functions on the top of the screen. On the right
there are 3 shortcut keys like
←,
Lamp Control and English/Chinese.
●
DMX START ADDRESS
Each projector must be given a DMX start address so that the correct projector responds to the correct control signals. This DMX start
address is the channel number from which the projector starts to “listen” to the digital control information being sent out from the controller.
The projector has 2DMX modes. There are standard mode and short mode . For example standard mode has 32
c
hannels, so set the No. 1
projector’s address 001, No. 2 projector’s address 033, No. 3 projector’s address 065,No. 4 projector’s address 97, and so on.
Switch on the Projector . Press OK key more than 3 seconds to unlock panel, then press
► key to enter into the fixture’s operation
menus.
Select DMX Address icon and press OK key or touch the icon directly on the display and select DMX address at the 2
nd
level menu for the
address setting.
Press
▲
or
▼
keys or touch
<
、
>displayed for the DMX address desired.
Press OK key to confirm.
Press the◄ key to go back to the upper level menu.
.
●
DMX WIRELESS CONTROL
The wireless control is optional. If fitted with wireless DMX module and the antenna, the fixture can achieve remote control and do as
commanded.
The setup of it is below:
1. Press OK for more than 3s to unlock the control panel, then press
► key to enter into the operation menu and select “Config
Settings”.
2. Select “Wireless First” or “Wireless Only” from the menu of “Signal Select”.
Only after the projector is linked with a transmitter, can it receive wireless signal sent by the transmitter. If unlinking it, Press
OK
Содержание PR-2960
Страница 26: ...26 ...


