V4.0
8957516
Please read and understand all instructions before use. Retain this manual for future reference.
User Manual
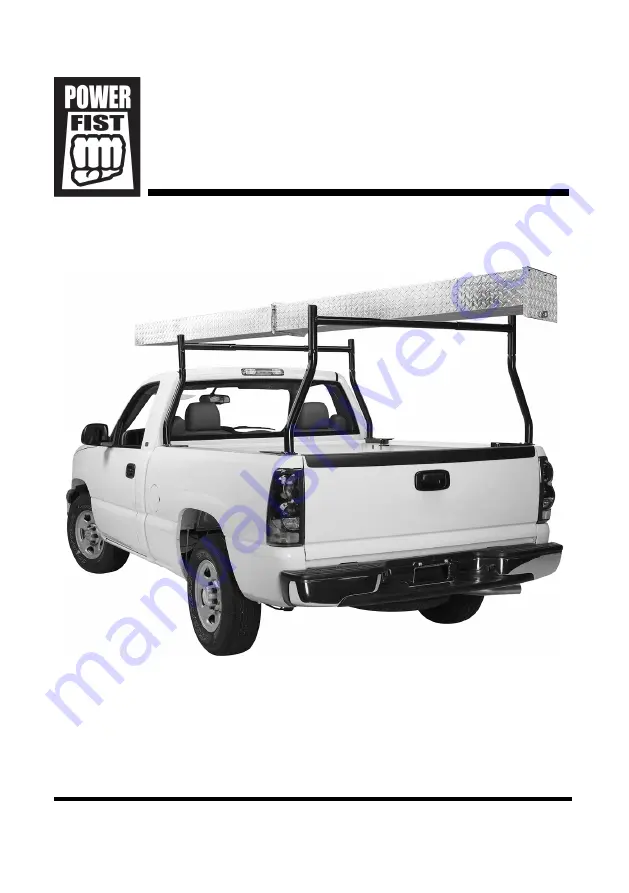
Aluminum Conduit
Carrier
Страница 1: ...V4 0 8957516 Please read and understand all instructions before use Retain this manual for future reference User Manual Aluminum Conduit Carrier...
Страница 2: ...ersonal injury and or damage to the equipment Keep this manual for safety warnings precautions operating or inspection and maintenance instructions HAZARD DEFINITIONS Please familiarize yourself with...
Страница 3: ...FETY WARNING Wear personal protective equipment approved by the Canadian Standards Association CSA or American National Standards Institute ANSI PERSONAL PROTECTIVE EQUIPMENT 1 Always wear impact safe...
Страница 4: ...y parts are damage broken or misplaced Repair or replace the parts 3 Check all bolts and connections for tightness daily Tighten the bolts when necessary 4 Avoid overloading the rack Distribute the lo...
Страница 5: ...lt and secure with an M6 nylon locknut 9 6 Repeat step 4 with the other two sets of bolt holes to secure the door 7 Fasten the front and rear bodies 1 and 2 together with ten M6 16 bolts 7 Fig 3 a Pos...
Страница 6: ...buckle until it slides through 3 Once the door is closed twist the buckle clockwise to lock the door in place Fig 5 4 You can insert a small lock or lock pin through the buckle s hole for added secur...
Страница 7: ...rmation 7 PARTS BREAKDOWN PARTS LIST DESCRIPTION QTY 1 Rear Body 1 2 Front Body 1 3 Door Assembly 1 4 Lock Assembly 1 5 U Clamp 4 6 Clamp Bracket 4 7 Hexagon bolt M6 16 10 8 Flat washer 6 16 9 Nylon l...
Страница 8: ...8957516 Aluminum Conduit Carrier V4 0 8 For technical questions call 1 800 665 8685...
Страница 9: ...4 0 8957516 Vous devez lire et comprendre toutes les instructions avant d utiliser l appareil Conservez ce manuel afin de pouvoir le consulter plus tard Manuel d utilisateur Porte conduits en aluminiu...
Страница 10: ...utilisateur doit respecter les pr cautions de base lorsqu il utilise cet outil afin de r duire le risque de blessure ou de dommage l quipement Conservez ce manuel qui contient les avertissements de s...
Страница 11: ...distraction Placez les lampes de fa on ne pas travailler dans l ombre 2 Assurez vous que les personnes qui ne portent pas l quipement de s curit appropri ne se trouvent pas proximit de l aire de trava...
Страница 12: ...contr le en cas de situations inattendues CONSIGNES DE S CURIT SP CIFIQUES AVERTISSEMENT Ne permettez PAS au confort ou votre familiarisation avec l outil obtenus apr s un emploi r p t de se substitue...
Страница 13: ...du v hicule pour d terminer si elle est suffisante pour la longueur du support et s assurer qu aucune structure ne nuira lors de l installation 2 Tenez l ensemble de verrou no 4 l ext rieur de la par...
Страница 14: ...du support de toit du v hicule jusqu l atteinte de la position d sir e Prenez note de la distance de d passement du support l arri re du v hicule 9 Installez deux brides en U no 5 sur le support pour...
Страница 15: ...tenez l outil avec soin Un outil en bon tat sera efficace plus facile contr ler et pr viendra les probl mes de fonctionnement 2 Inspectez les composants de l outil r guli rement R parez ou remplacez l...
Страница 16: ...DES PI CES LISTE DES PI CES NO DESCRIPTION QT 1 Rear Body 1 2 Front Body 1 3 Door Assembly 1 4 Ensemble de verrou 1 5 Bride en U 4 6 Support de serrage 4 7 Boulon hexagonal M6 16 10 8 Rondelle plate...