background image

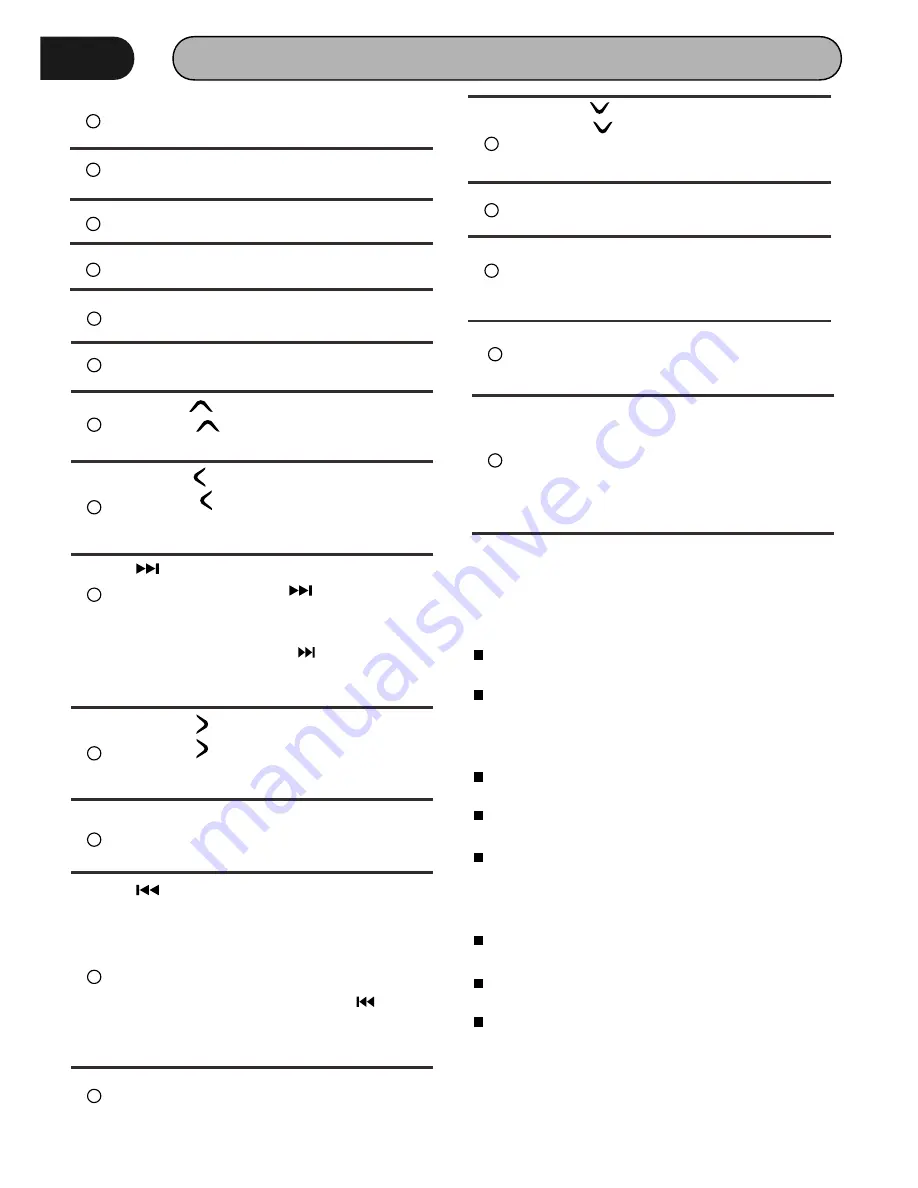
REMOTE CONTROL 

9

5

RADIO button 
Press it to Radio mode.

6

7

BLUETOOTH Phone button 
Press it to Bluetooth Phone mode.

8

AUX/AV IN button 
Press it to AUX IN or AV IN mode.

USB
Press it to USB mode. 

9

10

VOL+ button
Press to increase volume level.

11

Cursor        buttons 
Use  the        buttons  to  select  the  menu 
item, the title track or to show next frame.

12

13

          / button
In DVD mode, Press 

 button to skip 

to the next track

In RADIO mode, press 

 to start manual 

searching  button Frequency up.

15

MENU/ENTER button
Press  it  to  confirm  selection,  Press  and 
hold show main menu..

16

       / button

Iin DVD mode, Press  button to skip to the 
previous track. 

In RADIO mode, press and hold      to start 
manual searching   button Frequency 
down.

17

VOL- button
Press to decrease volume level.

Cursor        buttons 
Use  the        buttons  to  select  the  menu 
item,    The  title  tracks  it  or  to  show  next 
frame.

14

 Cursor       buttons 
Use  the        buttons  to  select  the  menu 
item,  the  title  tracks  it  or  to  show  next 
frame.

18

 Cursor       buttons 
Use  the        buttons  to  select  the  menu 
item.  The  title  tracks  it  or  to  show  next 
frame.

19

 EJECT button
Press it to eject the disc.

20

 PLAY/PAUSE/STOP button
In  DVD  mode,  press  it  to  stop  playback, 
press again to resume

EQ Button
P r e s s  i t  c a n  c h o o s e  U s e r  = > F l a t 
=>Classic =>Pop =>Rock.

21

Digit 0-9  

*

  # buttons

In  radio  mode,  select  1-6  the  desired 
band;  In  DVD  mode,  select  track.In 
Bluetooth mode,
0-9 

*

  # enter the phone number or input

password.

22

REMOVE BATTERY

The  distance  may  vary  according  to  the 
brightness of ambient light. 
If  the  remote  is  not  used  for  an  extended 
period  of  time,  remove  the  battery  to  prevent 
possible  damage  from  battery  leakage  and 
corrosion. 
 Do not place any objects between the remote 
control unit and the sensor on the unit. 
Do not drop the remote control onto the floor; 
it will damage it beyond repair. 
Do  not  use  the  remote  control  unit,  while 
simultaneously  operating  the  remote  control 
unit  of  an y  other  equipment;  they  may 
interfere resulting in improper operation. 
Dispose  empty  batteries  in  accordance  with 
your local governmental regulations. 
Do  not  short-circuit,  disassemble,  heat  or 
dispose of fire or flames the battery. 
Keep  the  battery  out  of  reach  of  children, 
should the battery be swallowed, immediately 
consult a doctor.

Note:

BLUETOOTH Muisc button 
Press it to Bluetooth Music mode.

Содержание CP-650

Страница 1: ...300W 4CH CP 650 2 DIN 6 5 TFT Monitor MP3 MP4 Player AM FM Radio Support Bluetooth Support iPod iPhone Support CarPlay CarPlay USB BT P BT M Se ng...

Страница 2: ...car interior by means of ventilation or air conditioning Operate in well ventilated areas Do not turn on or off the product in short intervals When turning the unit off wait for at least 10 seconds p...

Страница 3: ...ation 10 RADIO PLAYER 10 BT Phone 10 BT Music 11 Music Video 12 USB 13 Music Video 13 iPod 13 Setting 13 Display Setting 13 Sound Setting 13 System Information 14 Wallpaper 14 Time 14 DIMMER 1 4 AUX 1...

Страница 4: ...e following accessories for installation and operation of the unit Remote Control User Manual Warranty card Power Cable Trim ring Note Product image may vary from the actual delivery 5 1 Washer Spring...

Страница 5: ...f the supplied power cord Contact your authorized car dealer before installing this unit Using the power connector Cut the connector connect the colored leads of the power cord to the car battery as s...

Страница 6: ...start up the reverse gear the unit will receive the picture from car rear view camera Only use groundless loudspeakers Use only loudspeakers of minimum 40Watt using fewer watts may result in damaging...

Страница 7: ...rt a USB into this slot and the unit will automatically start reading and playback the card Supported Music File Format MP3 WMA Files 6 AUX IN Put the AUX plug into the AUX IN jack which was marked on...

Страница 8: ...ow next frame 19 EJECT button Press it to eject the disc 20 PLAY PAUSE STOP button In DVD mode press it to stop playback press again to resume EQ Button Press it can choose User Flat Classic Pop Rock...

Страница 9: ...n from main menu screen FM 10 To u c h t h i s b u t t o n c a n c h o o s e AM1 AM2 AM Return button Touch this button can scan the stations from 1 6 touch and hold it to save the s t a t i o n s w i...

Страница 10: ...ton to hang up Tap this button shortly to delete a wrong digit or delete all the numbers at once Redial Tap this button to redial lasted number Transfer Tap this icon translate Bluetooth to mobile mod...

Страница 11: ...Folder Up Touch it to back to Previous Directory one by one Video To start Video tap Video icon from main menu screen Touch it to return to TITLE MENU you can choose video to play Touch it to select...

Страница 12: ...play Touch it to select previous or next track Touch it to select Play or Pause 1 Setting To start Setting tap Setting icon from main menu screen You can change LED Backlight Color manually Red Green...

Страница 13: ...Touch the screen and set the Graphic Surround Stadium Cinema Opera House Karst Cave System Information Display SWC Version and BT Version BEEP Touch it to set BEEP ON or OFF USB Test Mode Touch it to...

Страница 14: ...iPhone to this unit with an optional accessory connection cable you can supply power to your iPod iPhone as well as charge it while playing music However the power of this unit must be on If you start...

Страница 15: ...lay is not connected With a CarPlay capable iPhone turn off CarPlay by operating the iPhone at functional setup before connecting iPhone Only one iPod iPhone can be connected Wired connection Preparat...

Страница 16: ...Purple Green Black Green Gray Black Gray White Black White L OUT FL White L OUT FR Red L OUT RL White L OUT RR Red Subwoofer Blue PRK SW Connect to the vehicle s parking brake detection switch harnes...

Страница 17: ...e is working the screen can display the video image otherwise the screen can t display the video image Rear View Camera This unit is equipped with rear view camera output The camera is used to observe...

Страница 18: ...to the power antenna lead Check each wire for a possible short to ground using an ohm meter 3 Turn on the unit 4 Reconnect each ampli er remote wire to the power antenna lead one by one If the ampli e...

Страница 19: ...MBIENT TEMPERATURE RETURNS TONORMAL NO SOUND VOLUME IS IN MINIMUM ADJUST VOLUME TO A DESIRED LEVEL WIRING IS NOT PROPERLY CONNECTED CHECK WIRING CONNECTION THE OPERATION KEYS DO NOT WORK THE BUILT IN...

Страница 20: ...87 5 107 9MHz Step 200KHz Frequency range South America Area 87 5 108MHz Step 50KHz 65 74MHz Step 30KHz Frequency range Russian Area 87 5 107 9MHz Step 100KHz Frequency range Asia Area 87 5 108MHz Ste...

Страница 21: ...ou have to one standard Surely there are many le conversion apps available on the line but CNet seems to be a reliable s ource and has a good le conversion app available Drop by our website for the li...

Страница 22: ...options but most commonly you should choose Normal Quality or Original Quality There are some fantastic options to change the standard codec bit frame rates blood types and so on but we suggest keepin...

Отзывы: