Powered by Safety
®
34
Maintenance
01.4IB.50023A
PowlVac® Electrically Operated 15kV Ground and Test
per Long Island Railroad Specifications
a. Adjustment of Ratchet Wheel Holding
Pawl
The ratchet wheel holding pawl
is adjusted by a nut on the outer end
of a threaded shaft. If the pawl is
not properly adjusted, there will be a
“knocking” noise when the ratcheting
mechanism is operating, or the
mechanism will not ratchet at all. To
adjust the pawl, turn the nut while
charging the spring using the charging
motor. Bring the pawl into adjustment
by turning the nut clockwise. Do not
turn the nut counterclockwise.
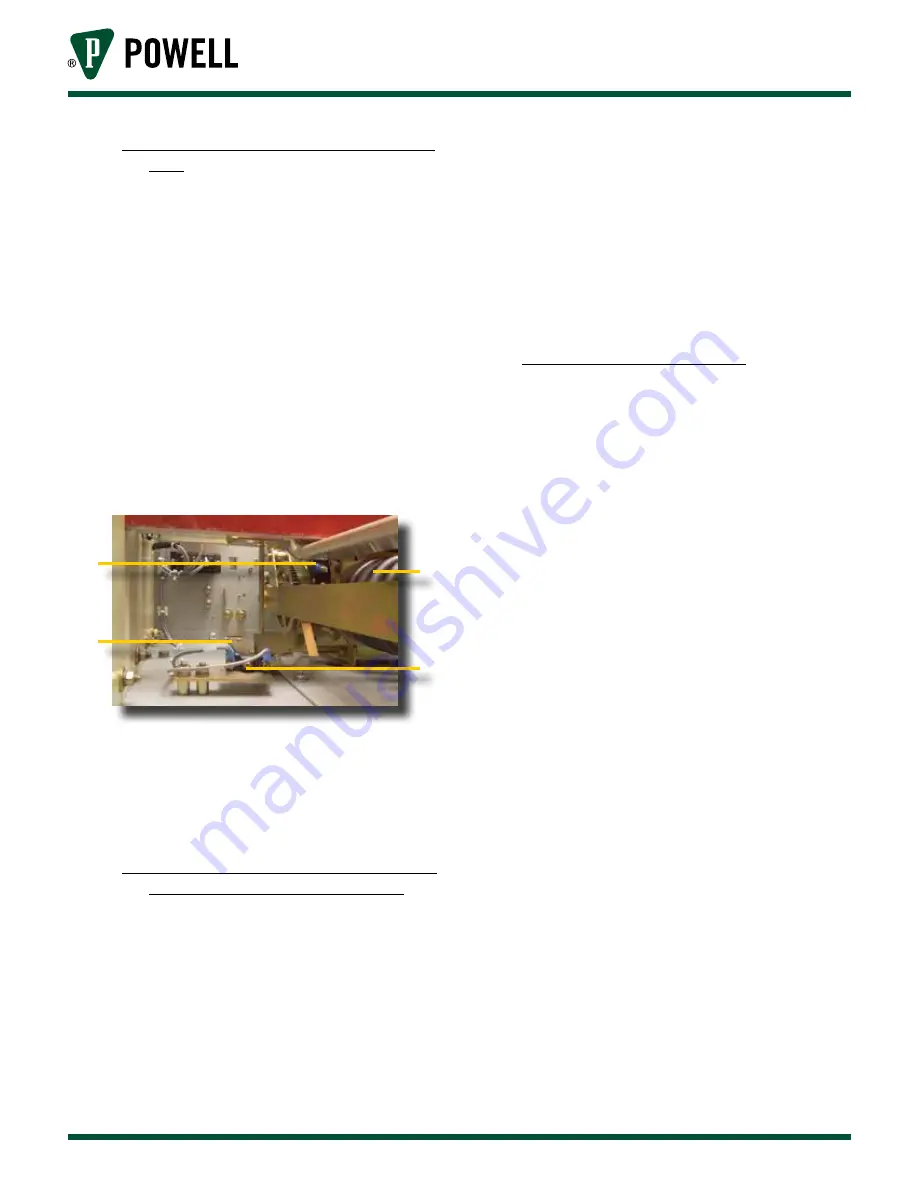
Figure 23 Mechanism Detail - Right Side
a. Latch Check Switch
b. Main Spring
c. Manual Push to Trip Paddle
d. Trip Paddle Interlock Switch
c
d
b
a
b. Adjustment of Primary and Secondary
Trip Props and Latch Check Switch
Adjust the secondary trip prop
adjusting screw
the overlap of the secondary trip
prop on the primary trip prop roller
is approximately 0.125”. Adjust the
primary trip prop adjusting screw
so that with the main
linkage in the reset position the
clearance between the primary trip
prop roller and the secondary trip prop
is 0.005” to 0.015”. With a 0.015” wire
gauge between the trip bar lever and
the secondary trip prop adjusting screw,
the latch check switch should be open.
With no gap between the lever and the
screw, the latch check switch should be
closed.
c. Adjustment of Close Latch
The close latch shaft passes through
the side sheets of the mechanism
frame at the front of and below the
camshaft. The right end of the shaft
is shaped to make a latch face and
interferes with the latch arm which is
fixed to the camshaft. The other end of
the close shaft is on the left side of the
mechanism and a small lever attached
to it is positioned by an adjusting screw
.
Adjustment of this latch must be made
with the main closing spring charged.
Since the control circuit of the ground
and test device is designed to close
the grounding switch immediately
on completion of the charging cycle,
it is necessary to unplug the closing
coil from the wiring harness before
adjusting the close latch. With the
closing coil disconnected, plug the
control cord into a power source of the
proper rating and press the “CLOSE”
push button on the control box. The
mechanism will charge the main closing
spring and stop. Disconnect the control
cord from the power source before
proceeding.


