


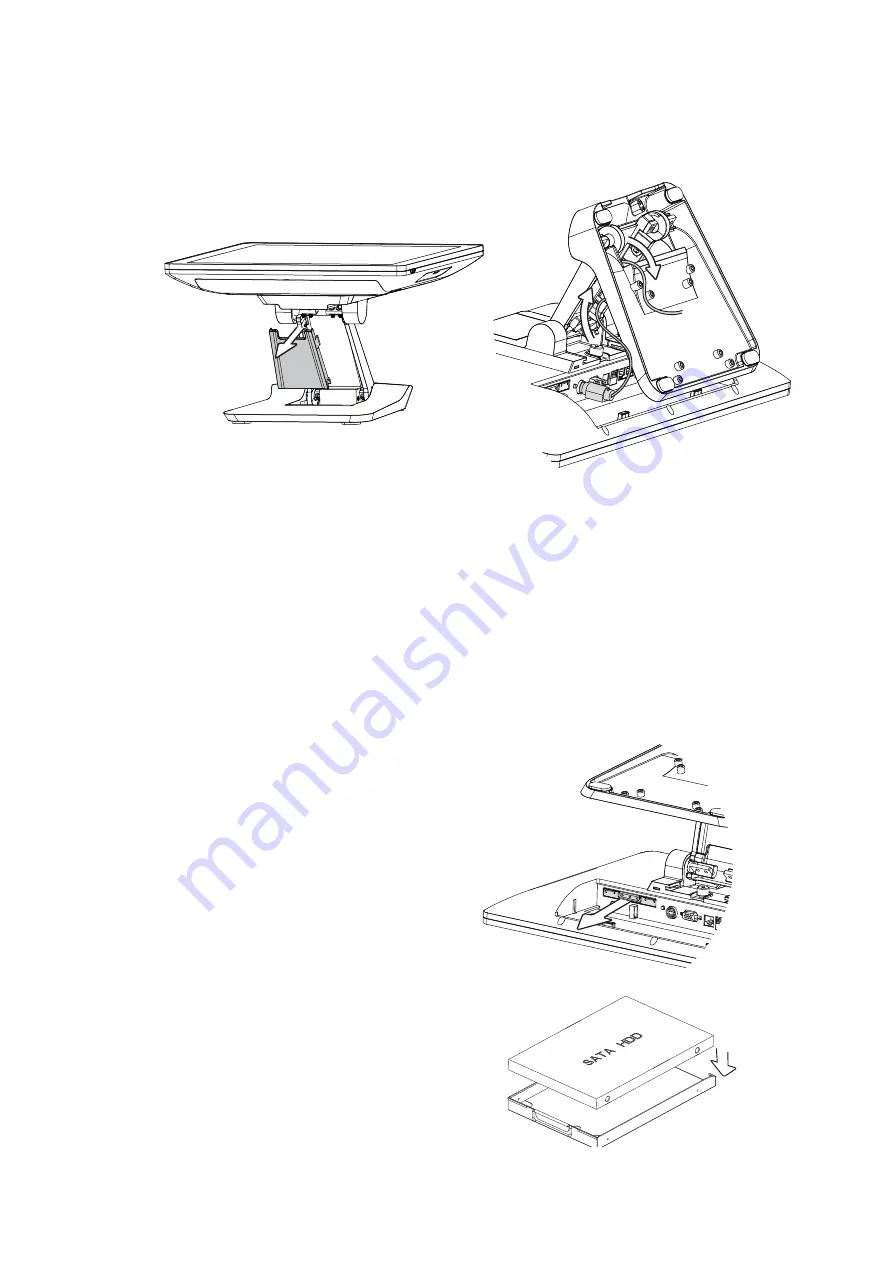
3-3.
Replace HDD
3-4.
Install the Power Adapter
1. Follow steps in Chapter 3-2 to
UHPRYHWKHFDEOHFRYHUÀUVW
2. Pull the HDD tray from the system.
3. Attach the HDD to the HDD tray and
slide it into the slot until it snaps in
place. Please note the top of the
HDD should be on the upper side.
The system is equipped with a 90W power adapter. Please follow the steps to install
the power adapter.
1. The stand is designed to allow for clean cable management. There is a cable
channel through the stand, which has a quick access cover. Please pull the front
cover of the stand outwards.
2. Place the system face down. Making sure not to scrath the touchscreen.
3. Connect the power adapter to the 19V DC IN port and then route the cable as
shown in the picture.
4. Replace the front cover.
7
Содержание EVO TP6W
Страница 1: ...EVO TP6W All in One POS Terminal User Manual v1 0...
Страница 8: ...viii The page is intentionally left blank...
Страница 10: ...a MSR b Fingerprint reader c LCD 2nd display d 2 line Customer display 1 2 Optional Accessories a b c d 2...
Страница 13: ...2 4 System Dimensions 18 1 8 5 19 9 11 6 8 5...


