background image


I/O Ports Introduction 


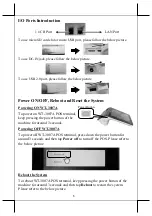
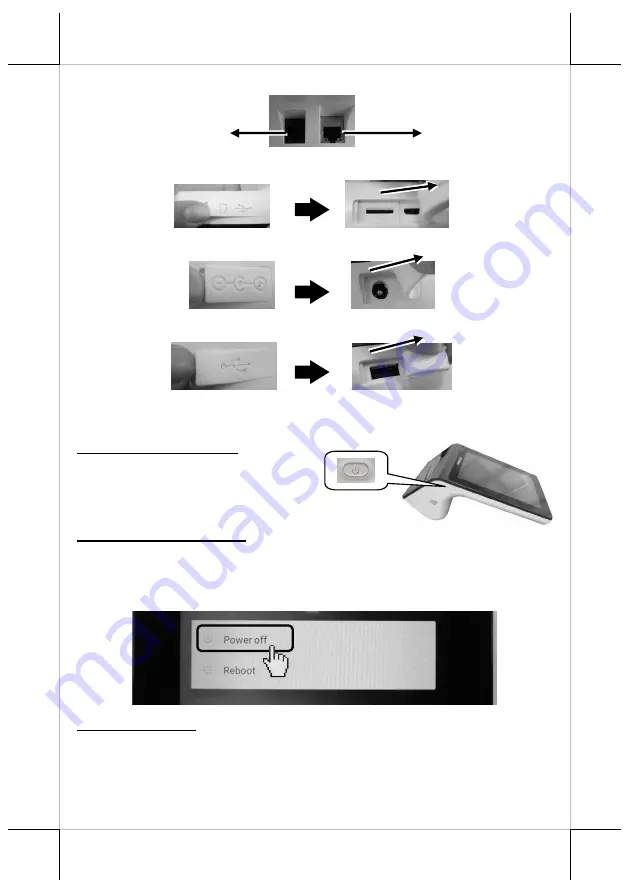
To use micro SD card slot or micro USB port, please follow the below picture. 


To use DC-IN jack, please follow the below picture. 


To use USB 2.0 port, please follow the below picture. 


Power ON/OFF, Reboot and Reset the System 

Powering ON WT-3007A


To power on WT-3007A POS terminal, 
keep pressing the power button of the 
machine for around 3 seconds.  

Powering OFF WT-3007A 

To power off WT-3007A POS terminal, press down the power button for 
around 3 seconds and then tap 

Power off

 to turn off the POS. Please refer to 

the below picture.  


Reboot the System 

To reboot WT-3007A POS terminal, keep pressing the power button of the 
machine for around 3 seconds and then tap 

Reboot

 to restart the system. 

Please refer to the below picture.  

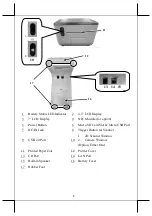
1 x CR Port 

LAN Port 

Power Button 

Содержание WT-3007A

Страница 1: ...Contents WT 3007A POS Terminal x1 Power Cord x1 Power Adapter x1 User manual x1 WT 3007A POS Terminal Overview 15690900030 Ver C0 http www posiflex com WT 3007A Mobile POS Terminal User Manual 2 3 4 5...

Страница 2: ...utton 6 Micro SD Card Slot Micro USB Port 7 DC IN Jack 8 Trigger Button for Scanner 9 USB 2 0 Port 10 1 2D Scanner Window 2 Camera Window Option Either One 11 Printed Paper Exit 12 Printer Cover 13 CR...

Страница 3: ...S terminal keep pressing the power button of the machine for around 3 seconds Powering OFF WT 3007A To power off WT 3007A POS terminal press down the power button for around 3 seconds and then tap Pow...

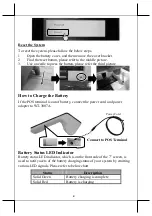
Страница 4: ...rge the Battery If the POS terminal is out of battery connect the power cord and power adapter to WT 3007A Battery Status LED Indicator Battery status LED indicator which is on the front side of the 7...

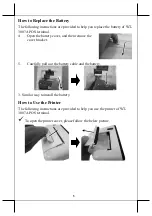
Страница 5: ...4 Open the battery cover and then remove the cover bracket 5 Carefully pull out the battery cable and the battery 3 Similar way to install the battery How to Use the Printer The following instruction...

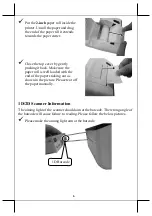
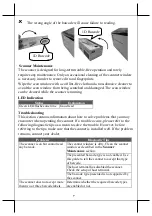
Страница 6: ...ck Make sure the paper roll is well loaded with the end of the paper sticking out as shown in the picture Please tear off the paper manually 1D 2D Scanner Information The aiming light of the scanner s...

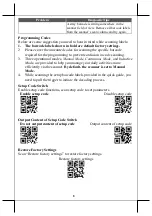
Страница 7: ...you may encounter when operating the scanner If a trouble occurs please refer to the following diagnostic tips as a mean to solve the trouble However before referring to the tips make sure that the sc...

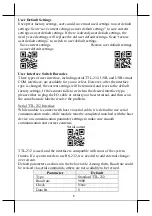
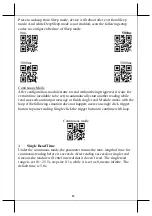
Страница 8: ...ee operational modes Manual Mode Continuous Mode and Inductive Mode are provided to help you manage your daily activities more efficiently via the scanner By default the scanner is set to Manual Mode...

Страница 9: ...ved and reset to the default factory settings If the scanner fails to switch to the desired interface type please either re plug the I O cable or restart your host terminal and then scan the same barc...

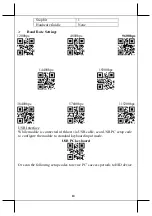
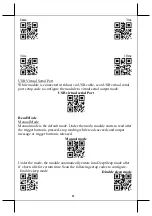
Страница 10: ...400bps 19200bps 38400bps 57600bps 115200bps USB Interface While module is connected with host via USB cable scan USB PC setup code to configure the module to standard keyboard input mode USB PC keyboa...

Страница 11: ...rt Read Mode Manual Mode Manual mode is the default mode Under the mode module starts to read after the trigger button is pressed stop reading while read succeeds and output message or trigger button...

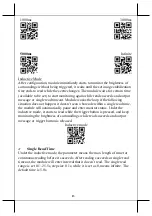
Страница 12: ...ad succeeds and output message or finish single read Module works with the loop if the following situation does not happen users can single click trigger button to pause reading Single click the trigg...

Страница 13: ...n t scan a barcode within a single read time the module will automatically pause and enter monitor status Under the inductive mode it starts to read while the trigger button is pressed and keep monito...

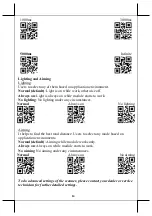
Страница 14: ...ghting under any circumstances Normal Always on No lighting Aiming It helps to find the best read distance Users to select any mode based on application environments Normal default Aiming while module...

Страница 15: ...fault Camera 5MP camera module Option either scanner or camera Printer Built in 2 thermal printer with manual cutter Battery Built in 3 6V 9000mAh battery NFC Support IEC 18902 15693 14443 for option...

Страница 16: ...16 MEMO...
Отзывы: