Part 9
“BRIGHTNESS / CONTRAST ADJUST SUBMENU”:
There are 2
icons in this submenu:
“BRIGHTNESS ADJUST”:
When this item is selected, there will
be only the brightness icon with an adjustment indication bar
under it between the main menu area and the video signal mode.
Press “+” button to increase brightness intensity. Press “-“ button
to decrease brightness intensity. Press OSD/EXT to save/exit.
“CONTRAST ADJUST”:
When this item is selected, there will be
only the contrast icon with an adjustment indication bar under it
between the main menu area and the video signal mode.
Press “+” button to increase contrast intensity. Press “-“ button
to decrease contrast intensity. Press OSD/EXT to save/exit.
“IMAGE POSITION”:
There are 2 icons in this submenu:
“Horizontal Position”: When this item is selected, there will be
only the position icon with an adjustment indication bar for
user to adjust. Press “+” button to move image rightward for
horizontally rightward positioning. Press “-“ button to move
image leftward for horizontally leftward positioning. Press
OSD/EXT to save/exit.
“Vertical Position”: When this item is selected, there will be
only the position icon with an adjustment indication bar for
user to adjust. Press “+” button to move image upward for
vertically upward positioning. Press “-“ button to move
image downward for vertically downward positioning.
Press OSD/EXT to save/exit.
”IMAGE SETUP”:
There are 2 icons in this submenu:
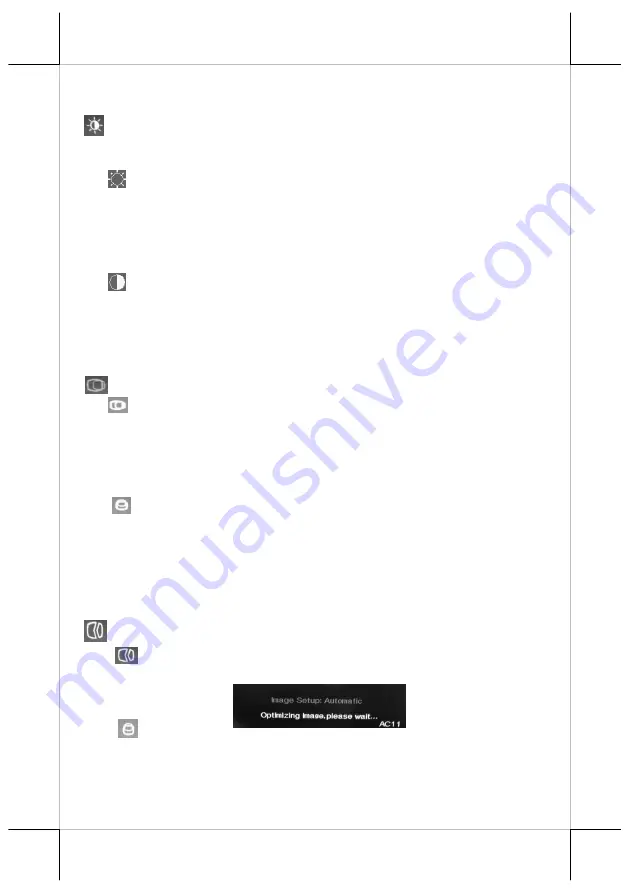
“Image Setup”: When this item is selected, there will show an
automatic image setup screen to automatically optimize this
image.
“Manual Image Setting”: When this item is selected, there will
show a manual image settings display for user to manually
configure “Clock” and “Phase”. Phase and clock settings
tweak how the VGA (analog) input of your LCD monitor


