background image


Version v1.01 

Date: 08/08/2006 

5

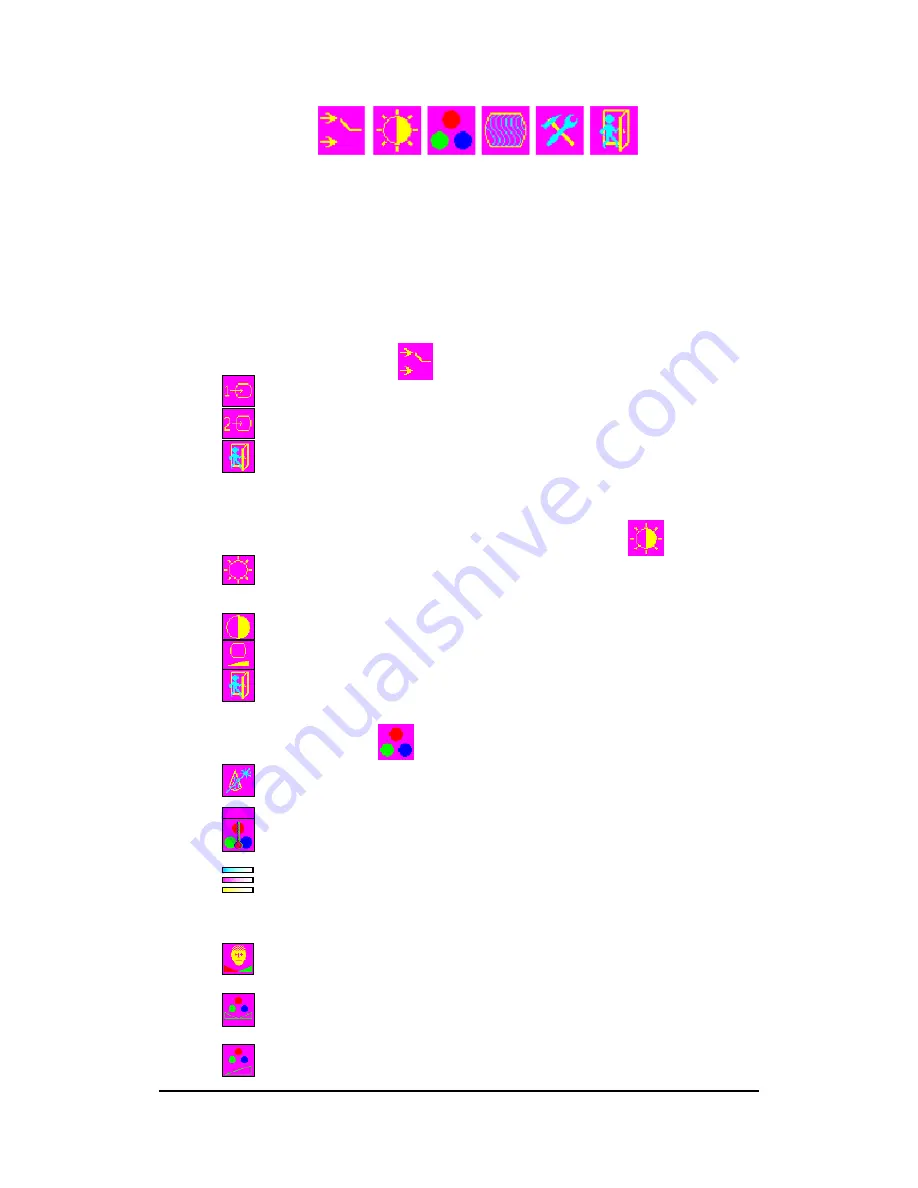
4. OSD Function 


(1) Press “menu” button to start OSD menu shown above and press 

” button to go to each function described in following 

paragraphs. 

(2) 

After you select the function, press “menu” button to enter 
submenu and press “

” & 

”” button to select function you would 

like to adjust. Then, press “menu” button to enter to adjust details.


4.1 Input Interface Setting 

¾

 Analog 

Input 

¾


Digital Input (Reserved) 

¾

 Exit 


4.2 Adjustment of Brightness / Contrast / Back Level 


¾


Brightness : Press “

” & ” 

” button to adjust. 

¾


Contrast : Press “

” & ” 

” button to adjust. 

¾


Black Level : Press “

” & ” 

” button to adjust. 

¾

 Exit 


4.3 Adjustment of Color 

¾


Auto Color Setup : Press “menu” button for auto color setup. 

¾


sRGB : Press “menu” button to adjust standard color. 

¾


Color Temperature : Press “

” & ” 

” button to select color 

temperature or adjust R.G.B. color depth. 

¾


CMY : Press “

” & ” 

” button to adjust RGB color and press 

“menu” button to select R,G,B. If you want to leave, 
press “menu” button to go back to prior menu. 

¾


Skin Tone : Press “

” & ” 

” button to adjust. When finished, 

press “

” button to go back to prior menu. 

¾


Hue : Press “

” & ” 

” button to adjust hue of R,G,B. When 

finish, press “menu” button to go back to prior menu. 

¾


Saturation : Press “

” & ” 

” button to adjust saturation of 

Содержание XPC500

Страница 1: ...Version v1 01 Date 08 08 2006 1 T T To o ou u uc c ch h h P P PO O OS S S S S Sy y ys s st t te e em m m X X XP P PC C C5 5 50 0 00 0 0 User Manual Index of Contents...

Страница 2: ...1 This manual contains important information for the proper maintenance and setup of the products Before setup and use of the products please read through this manual carefully 2 This manual shall ap...

Страница 3: ...PS 2 Mini DIN Keyboard Port x 1 PS 2 Mouse Port x 1 VGA Port x 1 RJ 45 Ethernet Port x 1 Audio Line in Line out Mic x 1 set Game MIDI Port x 1 LCD Screen 15 XGA TFT Touch Screen TW 5 wire or ELO Resis...

Страница 4: ...Indicator MENU OSD Menu Confirmation Change and Selection for Detail of Each Setting Reset 3 I O Connector VGA Output VGA Input Power Input ports are already occupied when delivered VGA Input COM1 VGA...

Страница 5: ...Press button to adjust Contrast Press button to adjust Black Level Press button to adjust Exit 4 3 Adjustment of Color Auto Color Setup Press menu button for auto color setup sRGB Press menu button t...

Страница 6: ...n Press button to adjust horizontal position of display Vertical Position Press button to adjust vertical position of display Exit 4 5 Tools OSD Press button to select a function you would like to adj...

Страница 7: ...and left side of screen can be screwed with MSR separately 6 2 Second Monitor 7 Cleaning and Safety 7 1 Cleaning Before cleaning please power off and disconnect cables from system and 1 Internal Stan...

Страница 8: ...n the product case and turn off power before cleaning 2 The product is equipped with a power cord The type of power cord may differ according to different countries The power cord plug only fits into...

Отзывы: