


System Installation
RUBY-7720VG2A User’s Manual
3-3
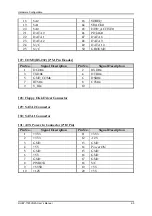
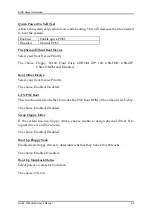
JP10 : CPU FSB Setup
JP10
Signal Description
1-2 Short
FSB 400MHz
2-3 Short
FSB 533MHz
Notes:
1) The DDR2 frequency is followed the CPU FSB frequency. For example, the DDR2
module populated is DDR2 533; the CPU must be 533MHz FSB. Please use same
frequency of memory module and CPU.
2) Neither CPU/DDR=533/400 nor 400/533 are allowed. This is the limitation of
915GME chipset.
3.2 Main
Memory
RUBY-7720VG2A provide 2 x 240-pin DIMM sockets which supports 1.8V
DDR2-SDRAM as main memory, Non-ECC (Error Checking and Correcting),
non-register functions. The maximum memory size can be up to 2GB capacity.
Memory clock and related settings can be detected by BIOS via SPD interface.
Memory frequency / CPU FSB synchronization
RUBY-7720VG2A supports different memory frequencies depending on the CPU
front side bus and the type of DDR2 DIMM.
CPU FSB
Memory Frequency
533MHz 533/400MHz
400MHz 400MHz
3.3
Installing the Single Board Computer
To install your RUBY-7720VG2A into standard chassis or proprietary environment,
please perform the following:
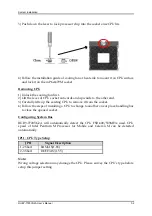
Step 1 : Check all jumpers setting on proper position
Step 2 : Install and configure CPU and memory module on right position
Step 3 : Place RUBY-7720VG2A into the dedicated position in the system
Step 4 : Attach cables to existing peripheral devices and secure it
WARNING
Please ensure that SBC is properly inserted and fixed by mechanism.
Note:
Please refer to section 3.3.1 to 3.3.4 to install INF/VGA/LAN/Audio drivers.


