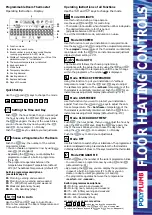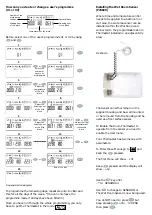
Installing the Wet Room Sensor
(P23020)
Where time and temperature control
needs to be applied to a bathroom or
wet area, the wet area sensor can be
installed within the Wet Room and
connected to the programmable Room
Thermostat installed in an adjacent dry
area.
How can you create or change a user’s programme
(U1 or U2)
To programme the remaining days, repeat step «4» to «14» and
this for all the days of the week. *(You can only leave the
programme mode if all days have been filled in)
Once you have run through the whole programming, you only
have to put the Thermostat in the mode
Before, select one of the user’s programme’s U1 or U2 by using
and
.
The Sensor can either remain in the
supplied housing and be wall mounted
or be removed from the housing and be
used as a floor surface sensor.
To Enable the Room Thermostat to
operate from the sensor you need to
enable the User menu.
Your Thermostat has two menus with
parameters:
To Enter these Menus go to and
keep the pressed.
The first Menu will show – 01
Keep pressed and the display will
show – 12
Use the key until
– 14 SENSOR Air.
Use to change to SENSOR FLor
The Wet Room Sensor is now being used.
You do NOT need to press but
keep pressing until – 29 END
then press .
As shown
1
2
3
4
5
6
7
8
9
10
11
12
13
14
15
Number of the
block during
the day
Starting hour
of the block
Finishing hour
of the block
Temperature of the block
Identical days
or
Select the
number of
days to be
programmed
or
Adjust the
temperature
of the first
block
or
Adjust the
finishing hour
of the first
block
or
Adjust the
finishing hour
of the first
block
End of the day
Programme the remaining days
or
or
Adjust the final
temperature of
the second
block
or


