


12
Basic Operation
Using the Remote Control
Use the remote control unit by pointing it towards the remote sensor window.
Objects between the remote control unit and sensor window may prevent proper
operation.
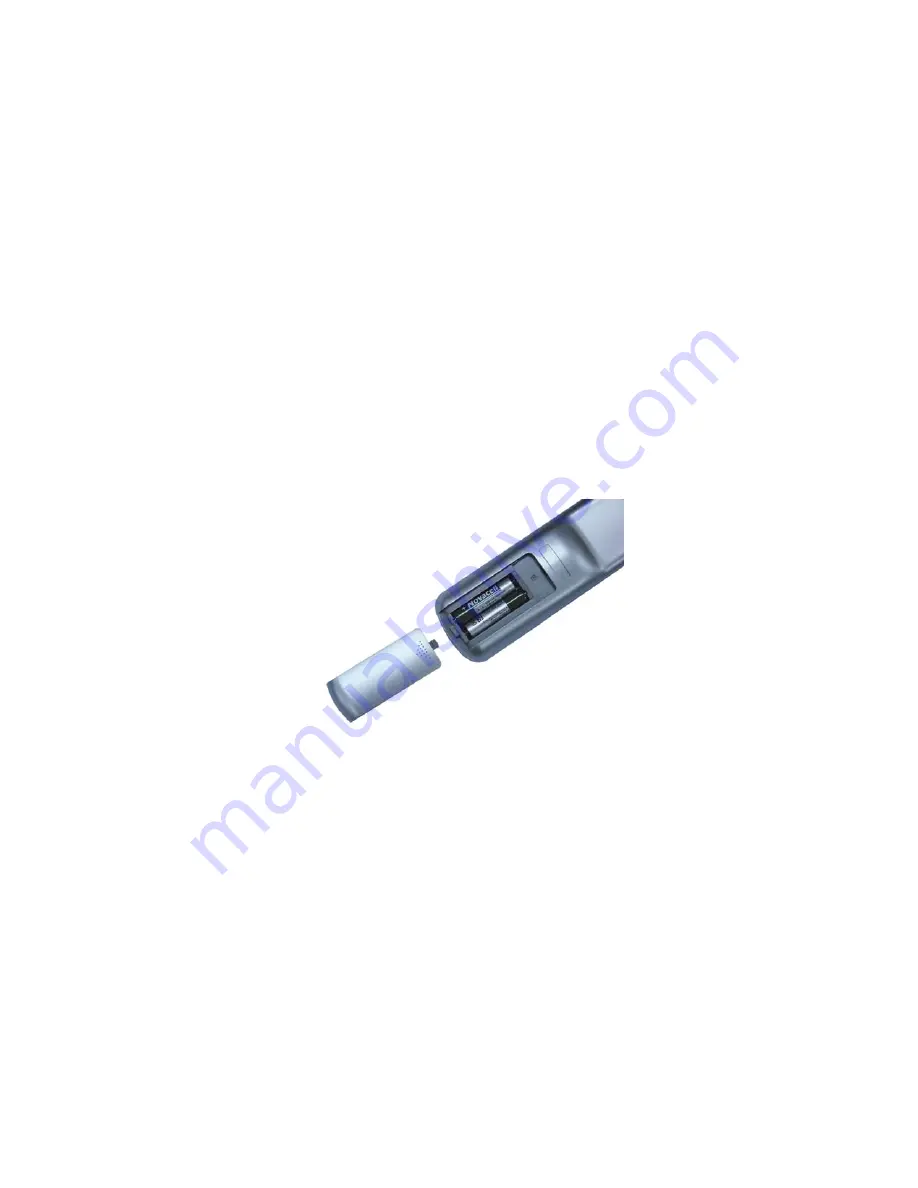
Inserting batteries
Install batteries in the remote control unit before using:
1. Open the battery cover.
2. Insert the two AA size batteries supplied with the product. Place batteries
with their terminals corresponding to the (+) and (-) indicators in the battery
compartment.
3. Close the battery cover.
Cautions regarding the remote control unit:
•
Do not expose the remote control unit to shock. In addition, do not expose
the remote control unit to liquids, and do not place in an area with high
humidity.
•
Do not leave the remote control unit under direct sunlight. The heat may
cause deformation of the unit.
•
The remote control unit may not work properly if the remote sensor window
of the Plasma Display is under direct sunlight or strong lighting. In such
case, change the angle of the lighting or Plasma Display set, or operate the
remote control unit closer to the remote sensor window.
•
If the remote control unit fails to operate Plasma Display functions, replace
the batteries in the remote control unit.


