


- 2 -
The DVR Setup Menu
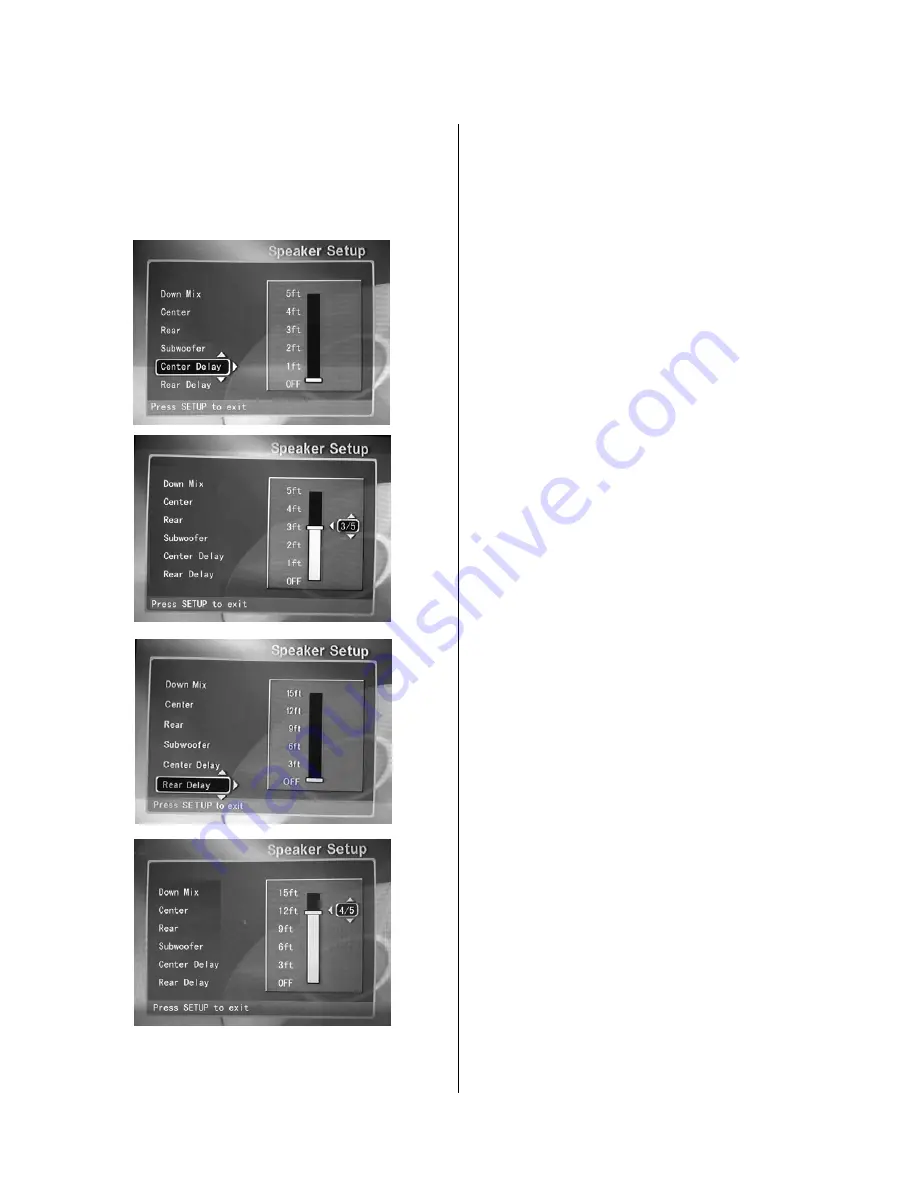
2.
While remaining in the
Speaker Setup
function,
use the arrow buttons on the remote control to select
the amount of center and rear speaker delay desired.
Press the
Enter
button on the remote control to
establish the final delay distance.
Center Delay
function
(Default=0-5ms)
: Increasing
or decreasing the delay setting in milliseconds
changes the virtual distance between the center
speaker and the listener. The resulting effect,
together with modifications to the rear delay,
changes the listening environment to simulate
different acoustical characteristics found in places
such as nightclubs, auditoriums, churches, stadiums
and the like.
Rear Delay
function
(Default=0-15ms)
: Increasing
the delay setting increases the virtual distance of the
rear speaker from the listener. The effect, in
combination with the center delay setting, changes
the listening environment to simulate different
acoustical characteristics such as nightclub,
auditorium, church and the like.
3. Press the
SETUP button
on the remote to exit
and save the selection.
Speaker Test
1. The
Speaker Test
function lets you test your
speakers by sending a test tone through each
speaker.
On
: Plays a single tone in step-wise fashion at each
of the speakers in the clockwise direction.
Off:
Test-Tone feature is not enabled.
2. Press the
SETUP button
on the remote to exit
and save the selection.
Figure 7. Establishing Center and Rear Speaker
Delays
Содержание DVR-0800
Страница 1: ...1 DVD Player Recorder DVR 0800 Operation Manual...
Страница 10: ...10...


