11
TO USE THE MENUS
1. Press the MENU button to display the
main menu
2. Use the Cursor Up/Down to select a menu
item.
3. Use the Cursor Left/Right to enter a
submenu.
4. Press the ENTER button to enable/disable
the function.
5. Press the MENU or EXIT button to exit the
menu.
Press the MENU button to enter the main
OSD (On Screen Display) Menu. Adjust the
items including Setup, Video, Audio and
Feature. Some functions of the menu are only
available with specifi c inputs / sources.
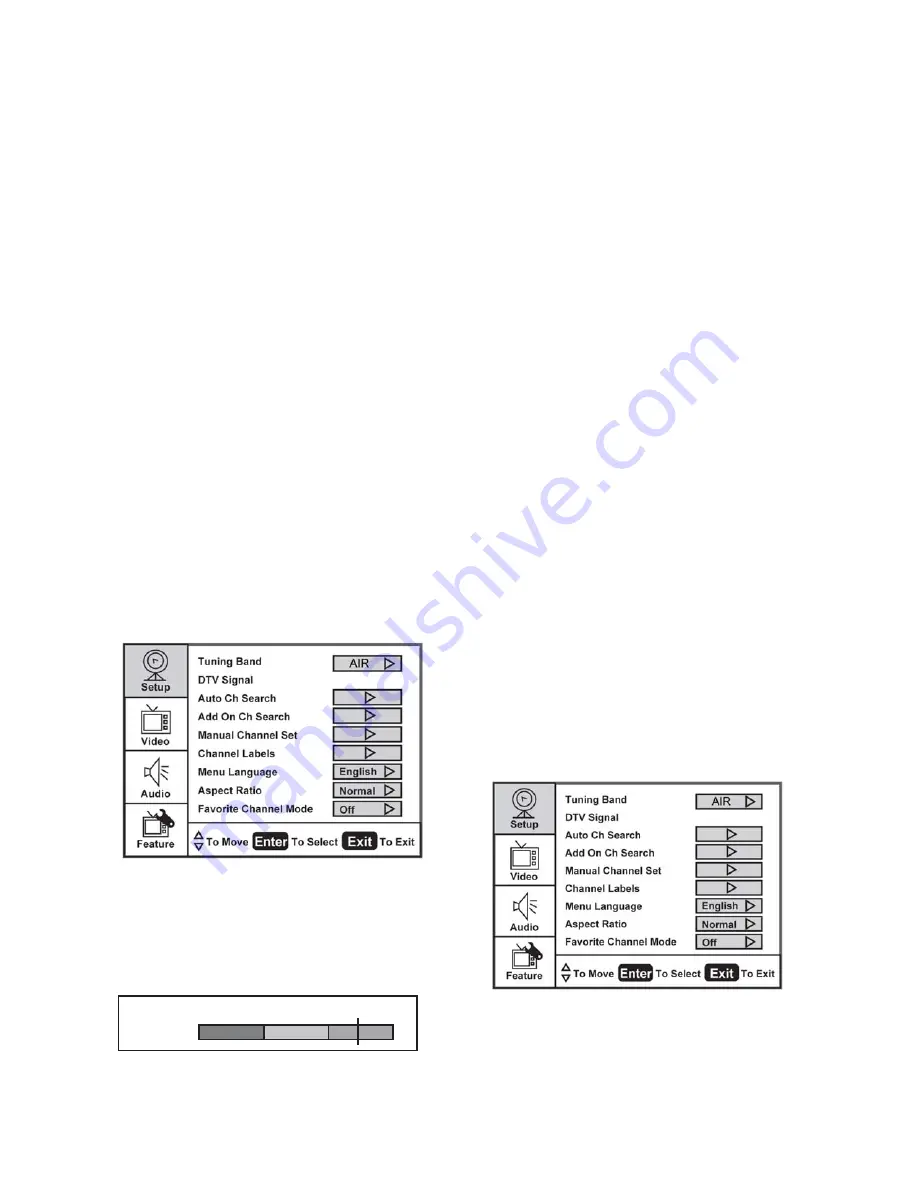
SETUP MENU
The Setup menu in TV mode appears as
below. For other input modes, the Setup
menu only shows Menu Language and Aspect
Ratio options.
1. Tuning Band: Select TV input / source signal
from etiher Air (antenna) or Cable (CATV).
2. DTV Signal: Shows the intensity of the
received DTV signal.
Weak
Signal level
Normal
Good
95
3. Auto Channel Search: Automatically scans
all NTSC / ATSC TV channels and then stores
them in a channel table. During the channel
scan, the OSD will display the number of
channels that have been found.
4. Add on Ch search: Adds new channels
when they are found.
5. Manual Channel Set: Shows the channel
setup table. You can choose to display the
ATSC or NTSC TV channels and then edit
(add/delete) the channel numbers.
6. Channel Labels: Shows the NTSC / ATSC TV
channel label menu so that you can modify
the channel labels.
7. Menu Language: Selects the menu display
language. (English / Espanol / Francais)
8. Aspect Ratio: Selects the TV's aspect ratio.
(Normal/Zoom/Wide/Cinema)
9. Favorite Channel Mode: When favorite
channel mode is ON, you can edit the
favorite channel table in the favorite
channel set option.
VIDEO MENU
The Video menu in most source modes
appears as below. It provides several video
adjustment options for you to fi ne-tune the
video display. In VGA mode, the Video menu
will only show Contrast, Brightness, Backlight
and Settings (Preset) options.
1. Contrast: Video contrast adjustment, the
tuning range is 0 ~ 100.
2. Brightness: Video brightness adjustment,
the tuning range is 0 ~ 100.


