00020647
Your Voyager 105 USB Modem Setup Guide (PC)
Important –
if you have any other USB modems installed on your
computer these must be uninstalled before continuing
.
Windows XP Users
– Before you begin the installation please ensure
that you have updated to Service Pack 1. You can see if this needs to be
done by visiting
http://windowsupdate.microsoft.com
.
Your Starter Pack Contents:
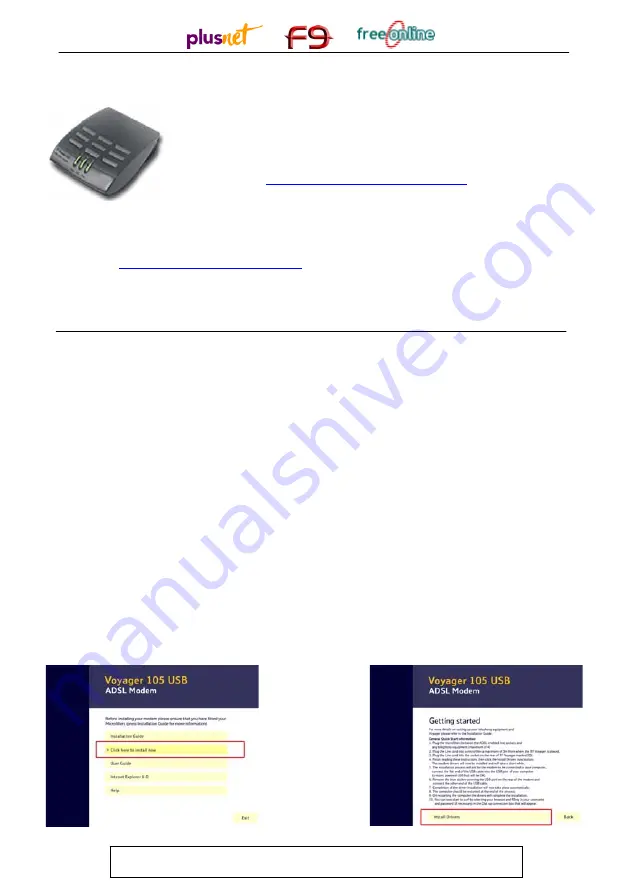
1 x Voyager 105 USB Modem (illustrated above)
1 x USB cable (blue) 1 x Telephone cable (black) 2 x Microfilters (individually boxed)
1x Installation CD and Setup Guide.
Microfilter –
Sometimes called splitters. You need to ensure that all the devices connected to
your phone line are filtered in order for ADSL to work correctly. If you are unsure how the
filters that we have provided should be configured then look at the “Wiring and Filters” tutorial,
available at
http://usertools.plus.net/tutorials/
1
Fit a microfilter in between the wall socket and each device that shares
the telephone line. This is not just telephones but can also include fax
machines, burglar alarms, and any digital satellite equipment. You should
have received two individually boxed microfilters with your modem.
2
Plug one end of the telephone cable into the DSL socket on the modem,
and plug the other end into the microfilter socket marked DSL.
3
Insert the installation CD (the one included with your modem) before
connecting your ADSL modem to your PC's USB port. Click
Install
Drivers
(the second option on the menu screen shown in
figure 1
below).
Ensure that you have read the ten points on the Getting started screen,
shown in
figure2,
before clicking on
Install Drivers
. The drivers will now
start to install onto your hard drive, this will only take a few minutes.
Figure 2
Figure 1
Instructions continue on other side


