Plum Might Plus 2 Скачать руководство пользователя страница 9


Setting up for the first time


Charging your device


For first-time use, you need to charge the device for ten hours. 
After that you can recharge the device as needed.


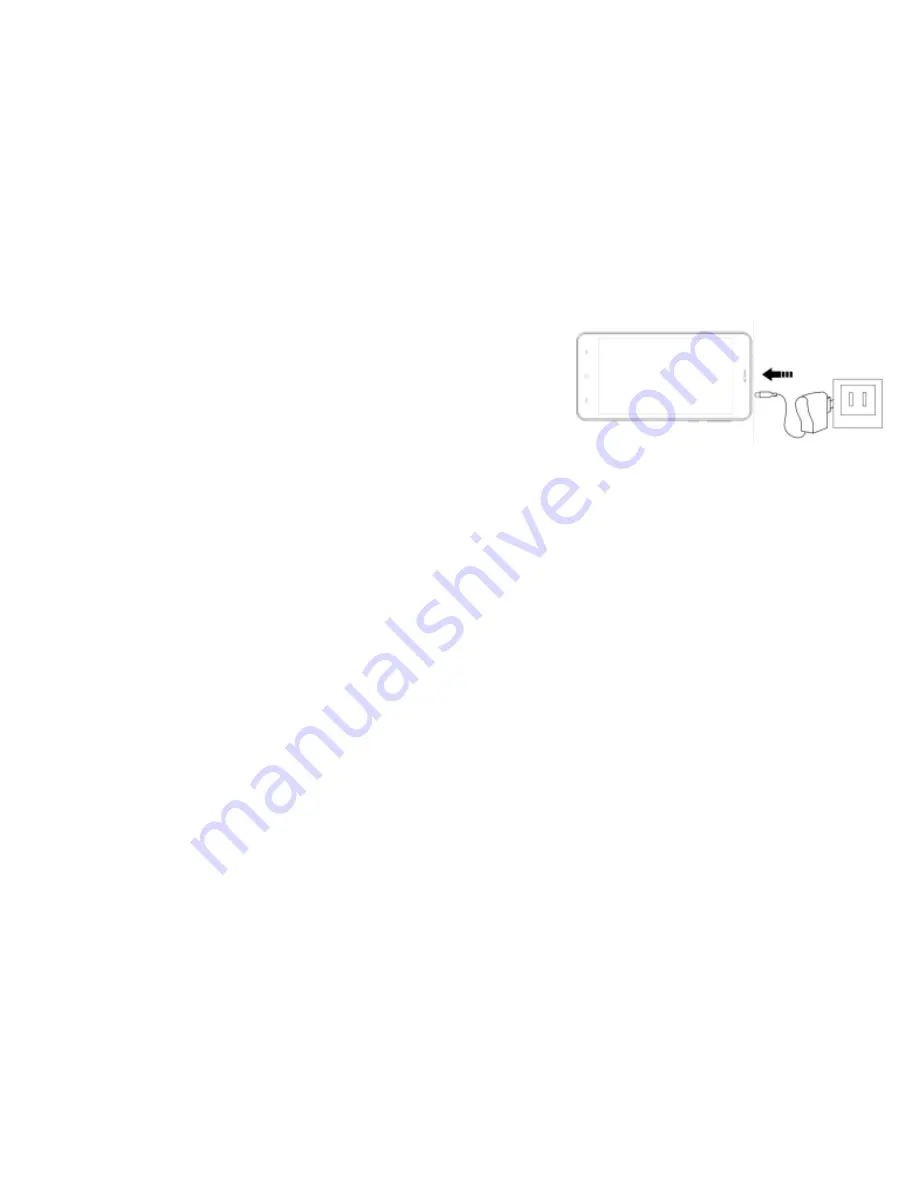
Connect the DC-in jack to your device and plug the AC 
adapter into any AC outlet.


TIPS

:


1. This device adopts built-in polymer battery. Only the specified 
charger should be used.


2. It is normal for the device

s surface to become warm during 

charging or long


periods of use. All devices are factory tested 

before release.


3. If you do not use this set for a long time, please charge/release it once


One month to avoid deep discharge. The damage caused by battery over-consuming  

is not included in the warranty.


Battery Saving


To save battery running life, please see below key points. With below suggestions, battery can run 
longer time after fully charged


each time.


1.  When device is not in use, press power button once to go to sleep mode.


2.  Shut down the applications when not in use.


3.  Turn off WLAN when not in use


4.  Shut off application sync selection


5.  Set a shorter time for display backlight


6.  Reduce brightness of display


4


Содержание Might Plus 2

Страница 1: ...Z515 Might Plus 2 User Manual ...

Страница 2: ...king List 2 Product Specification 2 Charging your device 4 Battery Saving 4 Connecting to a PC 5 Connecting a USB device 5 Inserting the MicroSD card 6 Connecting to the Network 6 Power On 7 Sleep Mode 7 Power off and Reboot 7 ...

Страница 3: ...t on Home screen 11 Add Widget in Home Screen 11 Relocate the shortcut on Home screen 11 Cancel shortcut on Home screen 11 Notification screen 13 Applications 13 Browsing webpage 14 Email 15 Sending outgoing message 16 Check email message 16 Audio player 17 Video player 17 7 ...

Страница 4: ...r 19 FM Radio 21 Phone 22 Messaging 23 Contacts 23 Commonly used settings SIM Card Management 24 More 25 Sound notification 26 Display 27 Wallpaper 27 Font size Screen time out 27 Storage 28 Apps 28 Location 27 28 ...

Страница 5: ...Language Input 28 Backup and reset 29 Accounts 29 Date time 29 Scheduled power on and off 29 Accessibility 30 About phone Troubles Shooting 32 31 ...

Страница 6: ... meet those situations as below A Low battery on the battery icon B The system turns off automatically C The keys do not work D is battery charging Note Don t use the different type charger or it may make the device burned We assume no liability for the damage Please contact with our agent if you need the original adaptor In the charging process the device may be warning up a little not too hot th...

Страница 7: ... USB Cable Product Specification CPU Cortex MT6580A OS Android 5 1 Size 146 15 73 9 9 00mm RAM 512MB RAM GB DDRIII ROM 4GB ROM External Maximum 32GB 3G WCDMA B2 B4 B5 2G GSM 850 1900 Camera Front 2 0M px Rear 8 0M px FM 87 5MHZ 108 0MHZ Music format MP3 Video format MPEG4 Picture format JPEG Battery 2000mAh ...

Страница 8: ...tc 6 Glittering Will flash when taking pictures 7 Speaker 8 Micro SD TF card Micro SD TF card slot 9 POWER Keep pressing button over 2 seconds for power on off press button once to turn on screen from sleep mode 10 Volume Turn up the volume Volume Turn down the volume 11 SIM Card Insert Pull out SIM Card TIPS 1 When the battery is low it will power off automatically 2 Shutdown illegally when you r...

Страница 9: ...ices are factory tested before release 3 If you do not use this set for a long time please charge release it once One month to avoid deep discharge The damage caused by battery over consuming is not included in the warranty Battery Saving To save battery running life please see below key points With below suggestions battery can run longer time after fully charged each time 1 When device is not in...

Страница 10: ...the USB mode in this state realize the files transfer function between the PC and the device Connecting a USB device USB devices are supported such as a keyboard mouse through the USB port View media files on USB storage with installed photo music or video applications Caution Before removing this USB storage make sure your device is not accessing data from the USB storage 5 ...

Страница 11: ...Micro SD card as shown Note Ensure that the Micro SD card is inserted all the way into the card slot Caution Before removing this card make sure your device is not accessing data on the card Connecting to the Network WLAN wireless setup Enter the setting interface and turn on the WLAN item The device will automatically search any accessible nearby wireless networks 6 ...

Страница 12: ...by and under low battery consumption To wake up device press one more time power button Power off and Reboot When you are not using the device keep pressing power button over 2 seconds the screen will display two options Power off and Reboot Select Power off the phone will shun down while selecting Reboot it will restart Click Use finger or capacity panel pen to touch once so as to select or activ...

Страница 13: ...8 Tap and hold Tap over 2 seconds it will turn on option list Slide Slide up down left or right for fast scrolling browsing page and display screen Drag drag an icon and relocate the position ...

Страница 14: ...9 Double Click Double click to enlarge or shrink the display size of picture Shut Use two fingers at same time on touch panel to enlarge or to shrink the display scale ...

Страница 15: ...10 Home Screen 1 Google search 2 Google voice search 3 Back key 4 Home key 5 Menu key 6 Status bar 7 Settinges App 8 Enter apps interface ...

Страница 16: ...ease Add Widget in Home Screen 1 Click Menu key on Home screen 2 Select WIDGETS to enter widget screen 3 Tag designated widget and locate it in home screen Remark Some widgets is linked to internet service be careful it will occur data cost some widgets might only be used in certain countries or under assigned service providers Relocate the shortcut on Home screen 1 Tag the application icon and mo...

Страница 17: ...12 3 When icon changes to red let go ...

Страница 18: ...how the status of battery or if device is being charged USB Connection To show if USB port is connected Soft keyboard Turn on soft keyboard for word typing Screen shot After taking screen shot show picture saved Applications Internet Browsing Browse internet and bookmark the website Remark Web browser and bookmark might be different in different countries or different service providers ...

Страница 19: ...URL and input website address and select confirm 3 See below browsing options 3 1 Input address On top of interface you can tap to input address 3 2 Go to Previous page Tap this icon 3 3 Go to Next page Tap this icon 3 4 Open new tabs Tap this icon 3 5 View Bookmarks History Saved pages Tap this icon ...

Страница 20: ... email Setting of email account 1 Enter application page and click Email 2 Enter email address and password 3 Select next step for personal email account or manual setting for commercial email account 4 Follow and input the requested setting After email account setting message will be received in device For more than one email account switch email account for operation to receive and send out mess...

Страница 21: ... address use or to separate more than one recipients 3 Type in Subject 4 Type in message in content 5 Select for attachments 6 Select and send out message Remark If user is offline message cannot be sent out Check email message In email account user can check downloaded message go online to check new messages ...

Страница 22: ...ed by artists album and play list It will display all music inside Songs Click the song and it will play automatically Video player Click Videos in application page Video player will search for all supported video files in the device click the designated video file to play ...

Страница 23: ...amera can take picture and video file Take picture 1 Click Camera in application page device is default at picture taking 2 To take picture click 3 When take the photos it can be zoom Option by two finger freely Video shooting 1 3X ...

Страница 24: ...also will share the files install apk etc In the main menu or desktop click the document manager icon to enter into documents manager A B A Copy cut delete and rename the files and folder choose the file or folder long press the file or folder to enter into the interface as Picture 9 4 you can operate the file or folder B Paste the file or folder you copy or cut in the catalogue you want to paste ...

Страница 25: ...20 icon in right top as Picture C Share file choose any file long click this file choose icon in right top it will show C D ...

Страница 26: ...into FM radio interface 1 Tap this icon to start or stop FM 2 Tap this icon to search channels 3 Tap this icon to start FM recording 4 Click search to scan FM frequency Note Use FM radio you need to insert earphone if no antenna you can t search radio frequency ...

Страница 27: ...22 Phone Click Phone application procedure 1 2 3 4 5 6 1 Signal icon 2 Status bar 3 The whole screen 4 Numbers to input 5 Dial keypad 6 Dial icon ...

Страница 28: ...s icon to add contacts 4 Type text message and tap this icon to add picture viceo sound and so on 5 Tap the send icon to send out the message Contacts 1 Click Contacts in the main interface enter into the contact list 2 Search contact click button enter into search function 3 Add contact click button enter into add contact interface ...

Страница 29: ...ically Meanwhile users could add network manually as well BT 1 Click setting application in main menu interface 2 Click BT and open it 2 Click search device in right above then MID will automatically search the BT device nearby 3 Click search to get BT device it will popup match request window click match 4 After matching successfully find the device name you want to operate click icon and enter i...

Страница 30: ... usage More 1 Airplane mode Airplane mode can quickly turn off WLAN and GSM card function when you open airplane mode WLAN and GSM can t read any signal machine will resume to previous state when you close airplane mode VPN Tethering and portable hotspot ...

Страница 31: ...ifferent choices Click General to enter 1 Vibrate click vibrate the device will remind you have incoming calls by vibrating 2 Ring Volume Drag the icon to the left or right to adjust the volume 3 Phone ringtone Click Phone ringtone to choose incoming voice video call ringtone ...

Страница 32: ...ome options Wallpaper Gallery Live Wallpaper Wallpapers Font size 1 Click setting application 2 Click display click Font size there are four different options Small Normal Large Extra large Screen Time Out 1 Click setting application 2 Click display 3 Click Screen Time Out 4 Popup screen standby time settings choose the standby time you want to set ...

Страница 33: ...Click setting function choose battery you can view battery usage situation Apps 1 Choose Setting procedure in the application procedure list 2 Choose application after entering you can manage and delete installed applications Language input Click settings choose language input choose language to switch language type ...

Страница 34: ...ccounts 1 Click Setting application 2 Click Accounts 3 Choose email type you want to login 4 If login successfully sync function will auto open Date time when the internet is connected turn on Automatic Date Time the device can obtain the real date and time from the internet Scheduled power on and off 1 Enter into setting application 2 Click scheduled power on and off selection 3 Operation as righ...

Страница 35: ...30 Accessibility 1 Large text Click it to make system font become large 2 Press power key to end call Click call press power key to end call but won t sleep 3 Touch and hold delay And so on ...

Страница 36: ...About phone 1 Click about phone to view status information model Android version and version information 2 Click status to view battery state battery level SIM status IMEI information IP address and so on ...

Страница 37: ...e lightest or under charging MID may feel fever It is normal 4 Email can t be set or Registration of application procedure Ensure your internet is well connected Make sure your email setting way is correct Keep your system time and local time consistent 5 The system is abnormal and can t work When you install some third party application procedure it may cause abnormal work you can press Reset key...

Страница 38: ...o try to correct the interference by one or more of the following measures Reorient or relocate the receiving antenna Increase the separation between the equipment and receiver Connect the equipment into an outlet on a circuit different from that to which the receiver is connected Consult the dealer or an experienced radio TV technician for help SAR tests are conducted using standard operating pos...

Страница 39: ...34 Non compliance with the above restrictions may result in violation of RF exposure guidelines ...

Отзывы: