Plexgear Pixaver Expo Скачать руководство пользователя страница 4

4

Plexgear Pixaver Expo does not need a driver to be installed. The driver will 

be installed automatically when the scanner is connected to your com-

puter. You will need the MediaImpression software to cature and edit your 

pictures. 

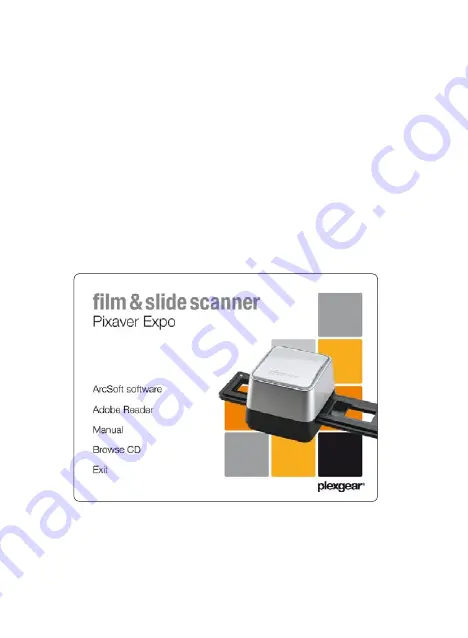
Insert the CD and select ArcSoft software. Follow the installation guide to 
install the software. 

Software installation (Windows) 

(Mac OS X, page 8)

Содержание Pixaver Expo

Страница 1: ...1 manual Pixaver Expo English manual...

Страница 2: ...CMOS Lens F 2 8 f 4 76mm Focus Fixed Exposure control Automatic Color balance Automatic Scan resolution 1800dpi Image resolution 2592 x 1728 pixles 3 2 Light source LED PC interface USB 2 0 Image size...

Страница 3: ...leaning brush to clean the glass of the Digital image scanner film holder slot periodically to produce a clear image Please make sure your negatives slides are clean before inserting them into the Dig...

Страница 4: ...alled automatically when the scanner is connected to your com puter You will need the MediaImpression software to cature and edit your pictures Insert the CD and select ArcSoft software Follow the ins...

Страница 5: ...slides into the holder Place the negative slides into the holder as illustrated below Please make sure the holder is correctly closed Correct Wrong 1 Open the holder 2 Place the negative slides 3 Clos...

Страница 6: ...s USB 2 0 port Once connected the Power LED light will turn on Connect to a computer Insert the holder Insert the loaded film slide holder properly into the slot according to the signs You can adjust...

Страница 7: ...7 Start MediaImpression Capture Click Acqurire and choose Acquire from Film Scanner...

Страница 8: ...8 Select file format and quality source folder film size film type and resolu tion Click OK Click Capture...

Страница 9: ...ts of controls 1 Adjust 1 1 Enhance The Enhance feature includes two types of controls Auto Enhance Click the Auto Enhance button to improve the overall quality of your pictures with a single click Ma...

Страница 10: ...the right to make a faded photo look new again 3 Click Apply if you like the result Click Cancel if you do not 1 3 Red Eye This feature makes it easy for you to fix a red eye a common problem in flas...

Страница 11: ...appears straight 2 Use the superimposed grid lines for vertical and horizontal reference 3 Click Apply if you like the result Click Cancel if you do not 1 6 Blur Background This feature can be used in...

Страница 12: ...hoto It can also be used for a fun effect like moving a nose from one person to another How to use the Clone tool to remove a telephone pole from the back ground of a photo 1 Establish a source point...

Страница 13: ...iders to change the brush size and transparency 2 8 Line Draw a straight line in the photo Click and drag the sliders to change the line width and transparency 2 9 Eraser Simulate an eraser removing t...

Страница 14: ......

Страница 15: ......

Страница 16: ......

Отзывы: