


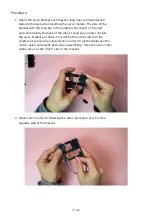

18 / 53
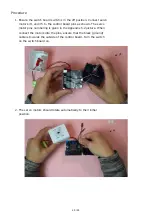
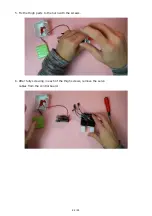
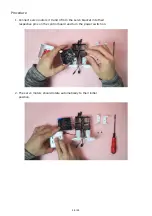
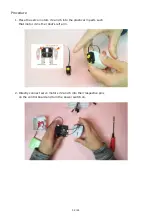
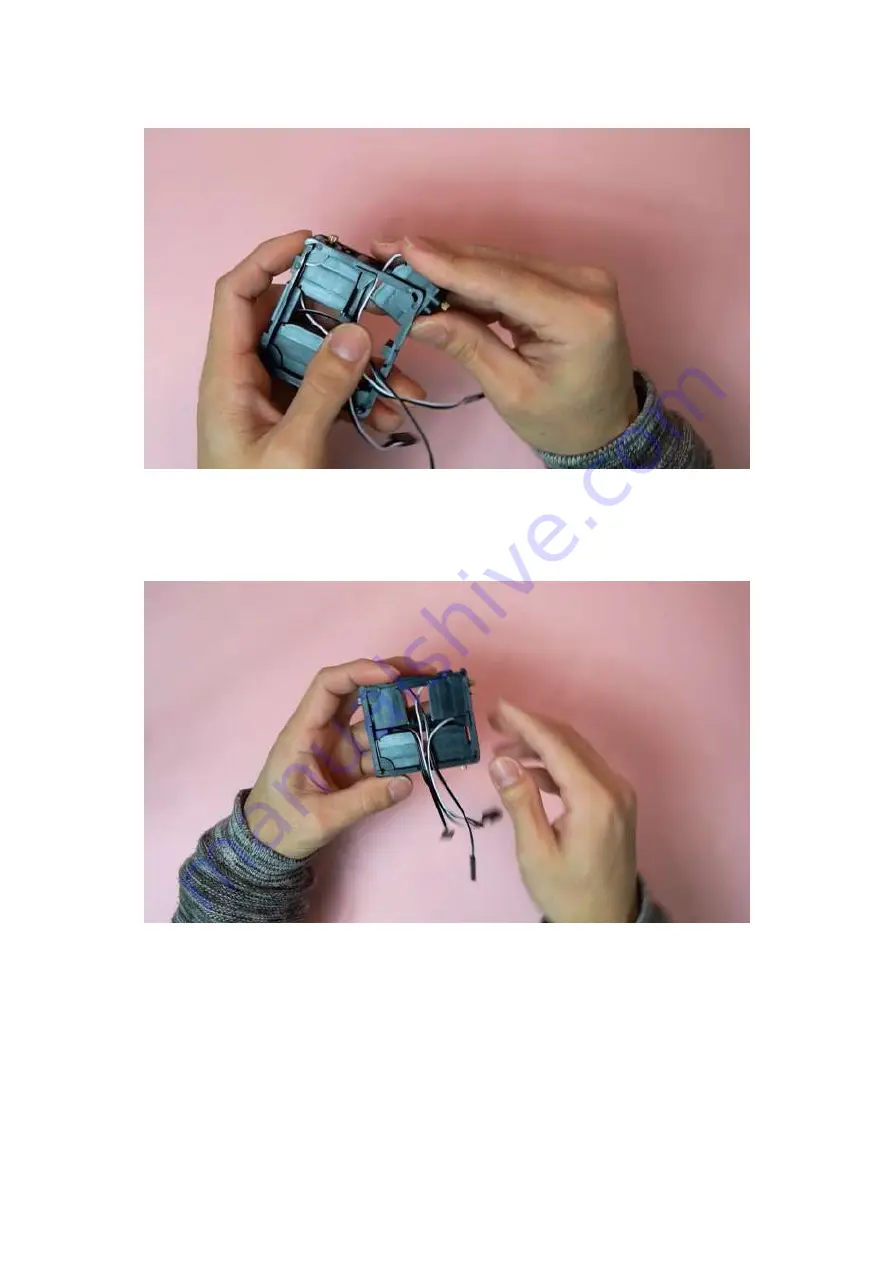
3. Again, be careful not to have the cable of servo motor #1 pinched
between the motor casing and plastic parts when assembling.
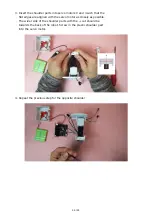
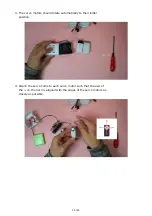
4. Insert servo motor #5 following the same procedure as #1 in the
last available position in the bracket. Ensure all servo motor
cables are coming out the "front" face of the bracket.
Содержание PLEN:bit
Страница 1: ...1 53 PLEN bit Assembly Manual PLEN Project Company 2019 9 25 ...
Страница 7: ...7 53 servo horn fix image ...
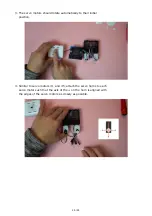
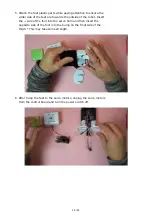
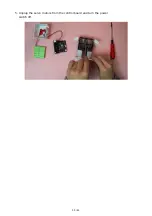
Страница 14: ...14 53 connector tool use example 5 Plug in the micro bit to the control board ...
Страница 15: ...15 53 6 complete set of board assembly is seen below ...
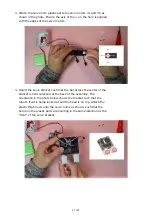
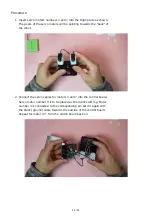
Страница 30: ...30 53 5 Unplug the servo motors from the control board and turn the power switch off ...
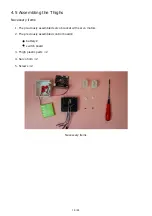
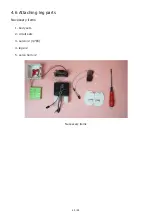
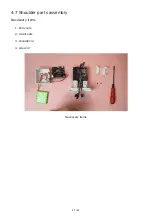
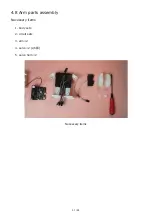
Страница 35: ...35 53 4 9 Servo fixer attachment Necessary items 1 Body assembly set 2 Servo fixer part Necessary items ...
Страница 38: ...38 53 4 10 Control board wiring Necessary items 1 Battery assembly 2 Control board assembly Necessary items ...


