8 PREPARATIONS FOR EXPOSURE
User’s Manual (2D)
Planmeca ProMax 2D & 3D s & 3D Classic 23
8 PREPARATIONS FOR EXPOSURE
8.1 Attaching and removing sensor
NOTE
The available sensors are shown in section 6.4 “Sensors”
NOTE
FOR PLANMECA PROMAX 2D X-RAY UNITS:
If the Dimax sensor is attached to the cephalostat
(optional), the sensor must be moved to the C-arm as
described below.
NOTE
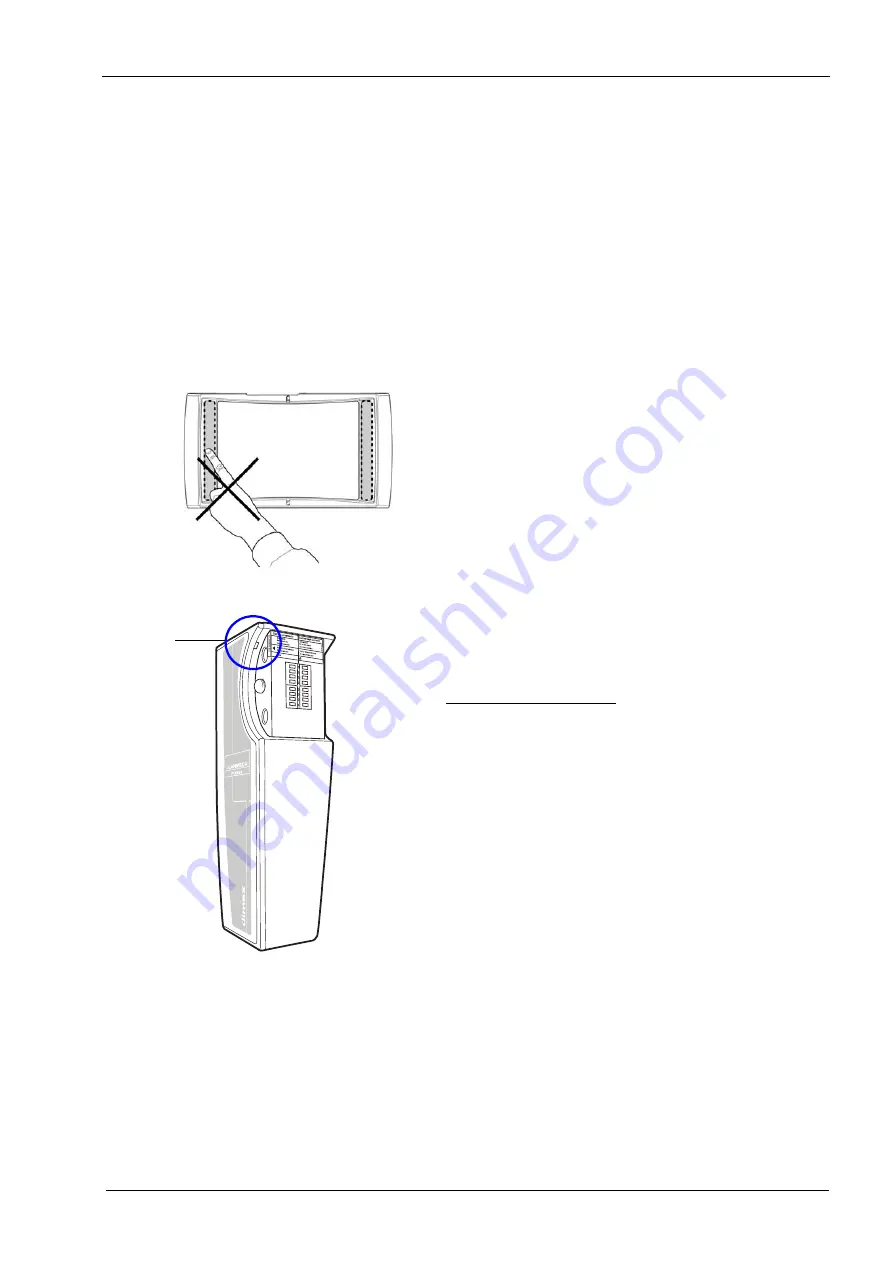
FOR PROFACE SENSOR:
Do not touch the glass windows when you hold the sensor.
Fingerprints or other stains on the glass surface destroy
image quality.
NOTE
FOR PLANMECA PROMAX 3D X-RAY UNITS:
If you wish to use a Dimax sensor, select Settings >
Program > 2200 Program Features > Panoramic System
Dimax and change the sensor as described below.
CAUTION
Do not drop the sensor. Planmeca limited warranty
does not cover damage which is due to misuse, e.g.
dropping the sensor, neglect, or any cause other than
ordinary use.
Do not use the sensor if the shock indicator (1) is red
- contact your service technician for help.
If you have any reason to believe that the sensor
might be faulty, take a test exposure before taking a
patient exposure.
shock
warningD3.eps
1
Содержание Planmeca ProMax 3D Classic
Страница 1: ...PlanmecaProMax 2D 3D s 3D Classic EN 10033256_8 user s manual 2D imaging ...
Страница 2: ......
Страница 88: ......
Страница 89: ......


