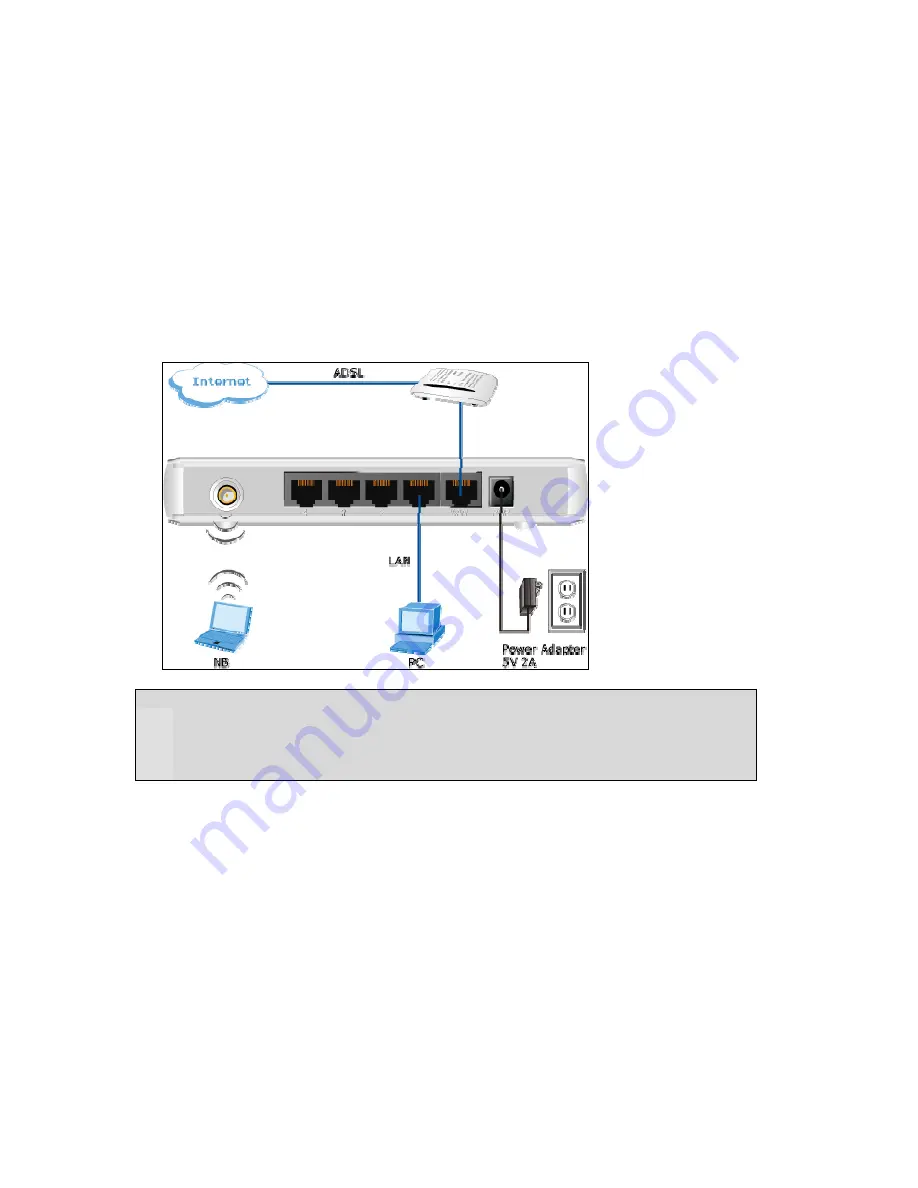
3. Connect all of your network devices to LAN port of VRT-402N.
Connect all your computers,
network devices (network-enabled consumer devices other than computers, like game console, or
switch / hub).Connect one of the LAN ports on VRT-402N to your LAN switch/hub or a computer with a
RJ-45 cable.
4. Plug in power adapter and connect to power source
. After power on, VRT-402N will start to
operate.
5. Please check all LEDs on the front panel. ‘Status’ LED should be steadily on.
WAN and LAN
LEDs should be on if the computer / network device connected to the respective port of the router is
powered on and correctly connected. If PWD LED is not on, or any LED you expected is not on, please
recheck the cabling, or jump to ‘Troubleshooting’ for possible reasons and solution.
Note:
1. ONLY use the power adapter supplied with the VRT-402N. Otherwise, the product may be
damaged.
2. If you want to reset VRT-402N to default settings, press and hold the
RST
(reset) button over 30
seconds and release. And then wait for VRT-402N restart.
11
Содержание VRT-402N
Страница 1: ...802 11n VPN Broadband Router VRT 402N User s Manual ...
Страница 5: ...8 4 LOG 63 CHAPTER 9 TROUBLESHOOTING 65 ...
Страница 15: ...15 ...
Страница 26: ...4 2 5 Advance 26 ...
Страница 38: ...5 6 VPN PPTP VPN PPTP Settings 1 Click on Security VPN PPTP tab You will see the following screen 38 ...
Страница 55: ...Chapter 7 Administrator 7 1 Management Click on Admin Management tab You will see the following screen 55 ...
Страница 57: ...57 ...
Страница 64: ...64 ...


