


- 7 -
2.4 Hardware Installation
Before installation, please make sure all of peripherals and
computers have been turned off.
Step 1 Rack Installation
Find a convenient place to put your KVM Switch. Its 19” rack
mount form factor makes it ideal stackable on 19” rack.
When stacking to a rack, attach the included brackets to the
sides of the KVM Switch. Take note of the length of your ca-
bles so that your computers, KVM Switch, keyboard, mouse
and monitor are distanced properly.
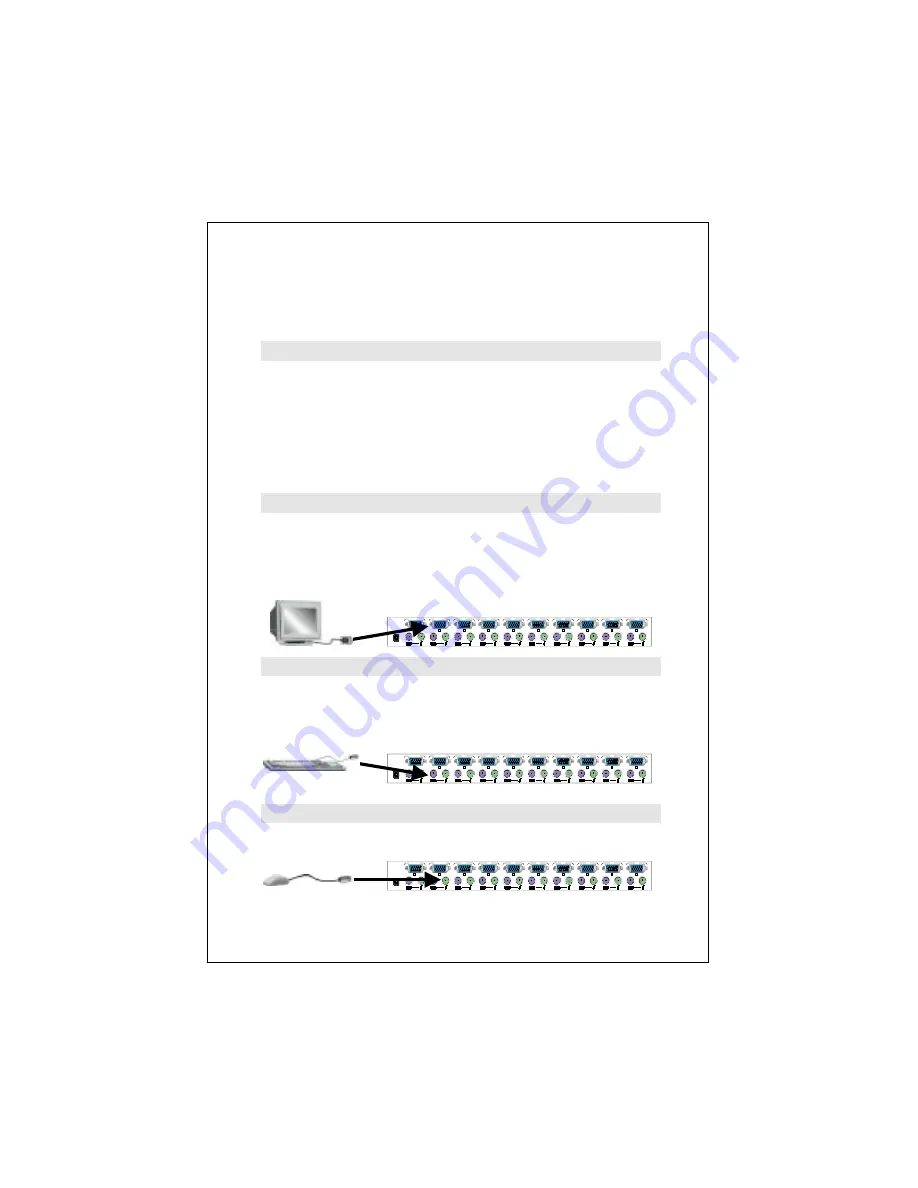
Step 2 Connecting Monitor to the KVM Switch
Connect the monitor to the KVM Switch. Using the attached
cable, or the one included with your monitor, connect it to the
HDDB-15 female port on the back of the KVM unit labeled with
the monitor symbol at the CONSOLE port connector.
DC 12V
8
7
6
5
4
3
2
1
Console port
Daisy-chain in
Step 3 Connecting Keyboard to the KVM Switch
Connect the keyboard and mouse to the KVM Switch. If you
have an AT type keyboard, you will need an AT to PS/2
adapter.
DC 12V
8
7
6
5
4
3
2
1
Console port
Daisy-chain in
Step 4 Connecting Mouse to the KVM Switch
Connect the mouse to the KVM Switch.
DC 12V
8
7
6
5
4
3
2
1
Console port
Daisy-chain in
Содержание KVM-1600
Страница 1: ......
Страница 27: ...EM KVM8V2 ...