


Advanced Configuration
39
Enter the correct User Name and Password to add camera in the list. Please note that
only one camera can be added at a time.
Delete Camera
Select the camera wants to delete from IPView list view format. From the menu bar
select
“
Camera
”
>
“
Delete
”
or click
from toolbar or use hot-key
“
Del
”
.
A
Delete
Camera
dialog box will appear and click on the
“
Yes
”
icon to delete the camera or
click on
“
No
”
if you do not want to delete the camera.
View Images
From the menu bar select
“
View
”
>
“
4 Cameras
”
(other choices are available with
1
Camera
,
9 Cameras
and
16 Cameras
viewing format) and the viewing screen will
appear with the video image. Alternatively you can click the
1 Camera
icon as illus-
trated
or use the hot key
“
Ctrl+F3
”
. For
4 Cameras
,
9 Cameras
and
16
Cameras
click the respective icon or use the hot key as follows
“
Ctrl+F4
”
,
“
Ctrl+F5
”
and
“
Ctrl+F6
”
. To return to list view format use the hot key
“
Ctrl+F1
”
.
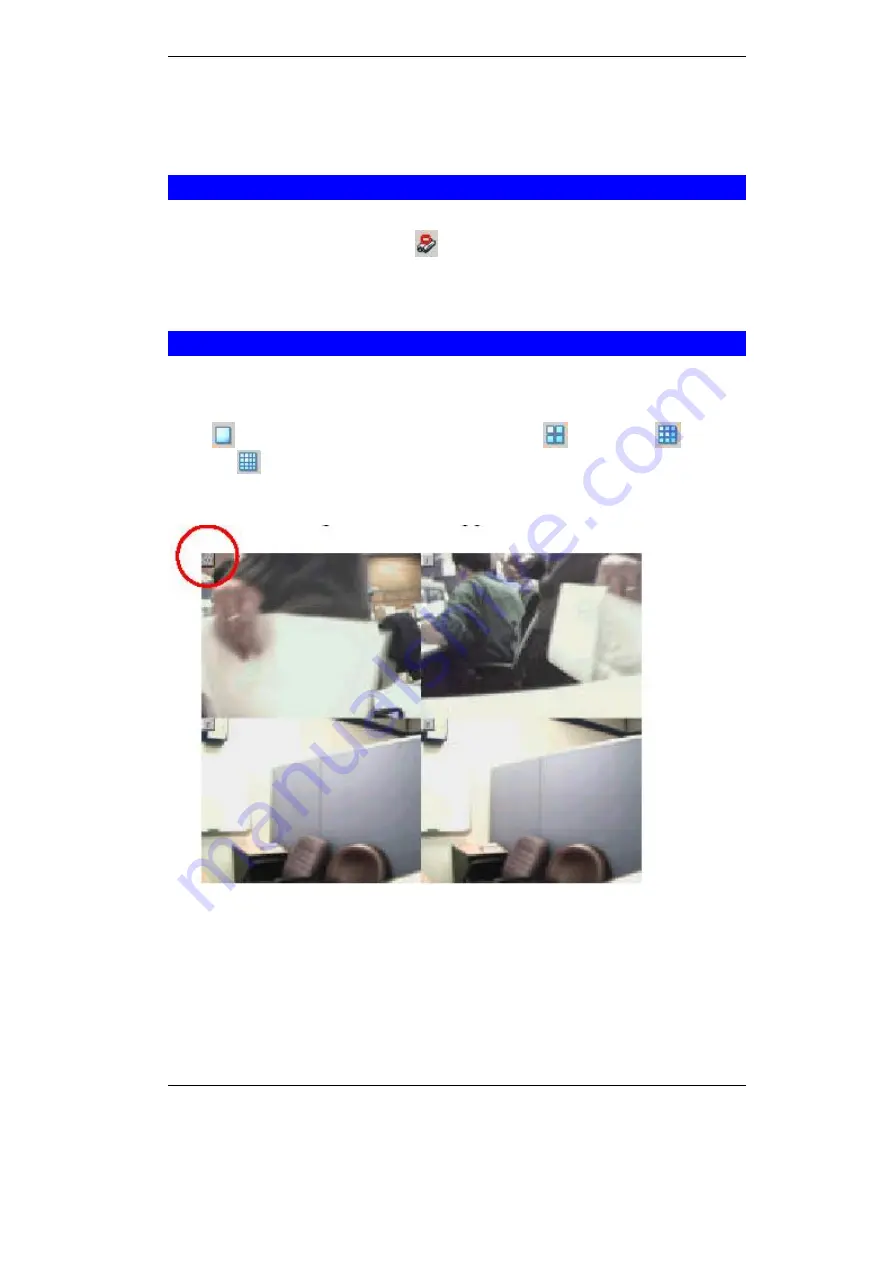
Figure 5-13: 4 Cameras View
The icon on the upper left corner of each partition indicates the sequence number of
each camera on the IPView list.
To return to the IPView list view format, right click on the icon located on the upper left
corner of the screen and a menu will appear. Select
“
List
”
and the viewing image will
return to the list view format.
Содержание ICA-100
Страница 1: ...Internet Camera ICA 100 ICA 100W User s Manual ...
Страница 13: ...Broadband Router User Guide 10 ...
Страница 55: ...Broadband Router User Guide 52 Figure 5 26 Tools Screen ...
Страница 58: ...Advanced Configuration 55 Figure 5 29 Motion Setting Screen ...
Страница 61: ...Broadband Router User Guide 58 Figure 5 31 Case Sensitive Menu in Camera View Format ...
Страница 73: ...Broadband Router User Guide 70 ...


