


16
z
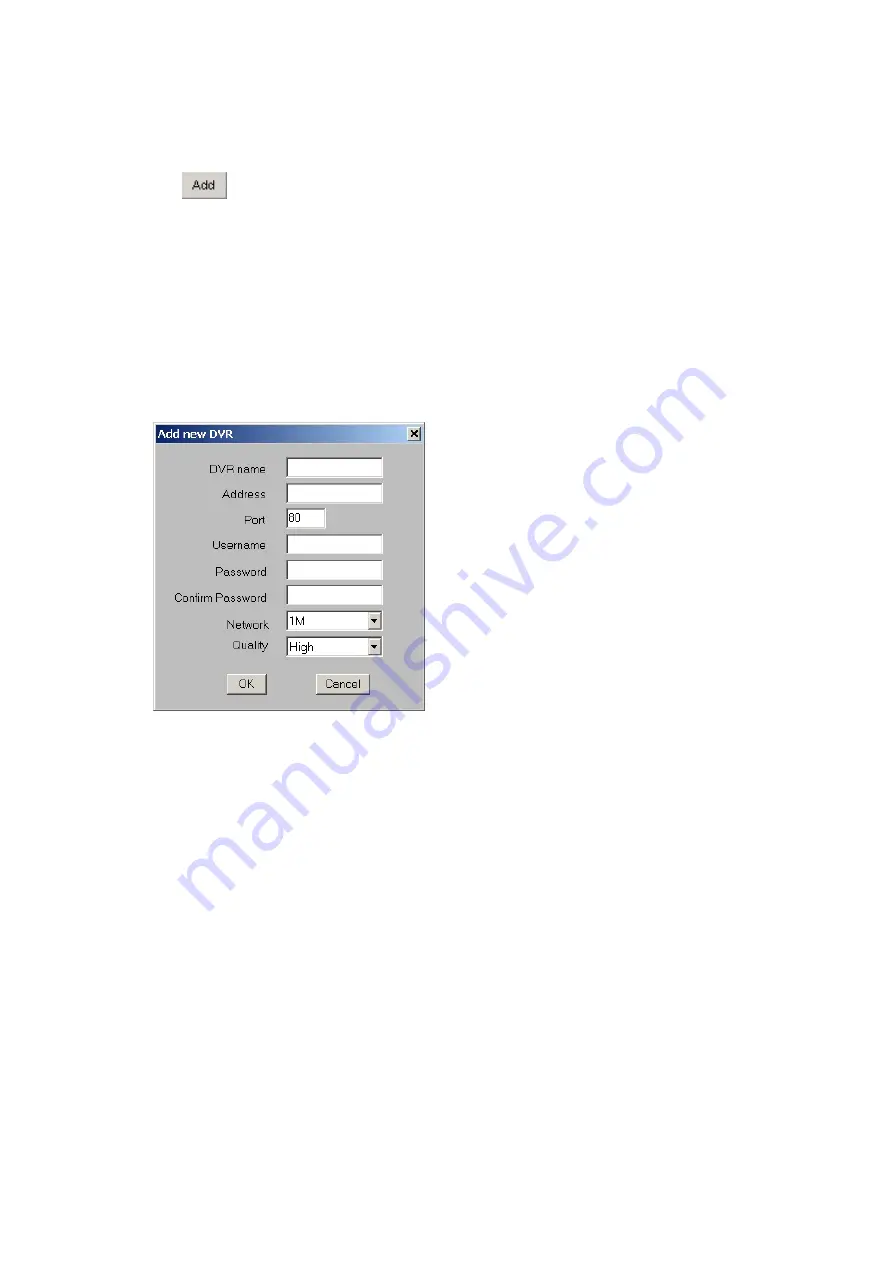
Add remote DVR
Click
button to add new DVR. The system will appear a dialog box to prompt
you to enter “
DVR Name
“, “
IP Address
”, “
Port
”, “
Username
”and “
Password
”.
The DVR’s Name shown in the DrView doesn’t need to be the same with the remote
DVR’s name. That means DrView Supervisor can create a new name for DVR in the
DrView site. In addition, Supervision also can name the new names for all cameras
connected to the remote DVRs in the DrView site. All of these new names are just for
DrView site and it won’t change the names in DVR site.
After finishing adding new DVRs, it will show the selected DVR information
including connected cameras and DVR configuration when you point one of the DVR
in the
DVR list
.
Besides, you can adjust network speed based on real speed status, just click “ 56k”,
“128k” , “256k”, “512k”, “768k” , “1M” for adjustment on the ComboBox. If you use
company’s or school’s LAN, we suggest you can choose “ 1M” for quick
display. For ADSL , Cable Modem , and Dial-up service , please adjust the setup
based on real ISP speed.
You also can adjust the image quality, just click “low”, “Medium”, “High” modes for
adjustment on the ComboBox .We suggest you choose “High” for higher image
Quality. However higher quality will occupy more system resources, network
bandwidth, and it also cause to reduce the display speed.


