


INSTRUCTIONS
INSTRUCTIONS
07
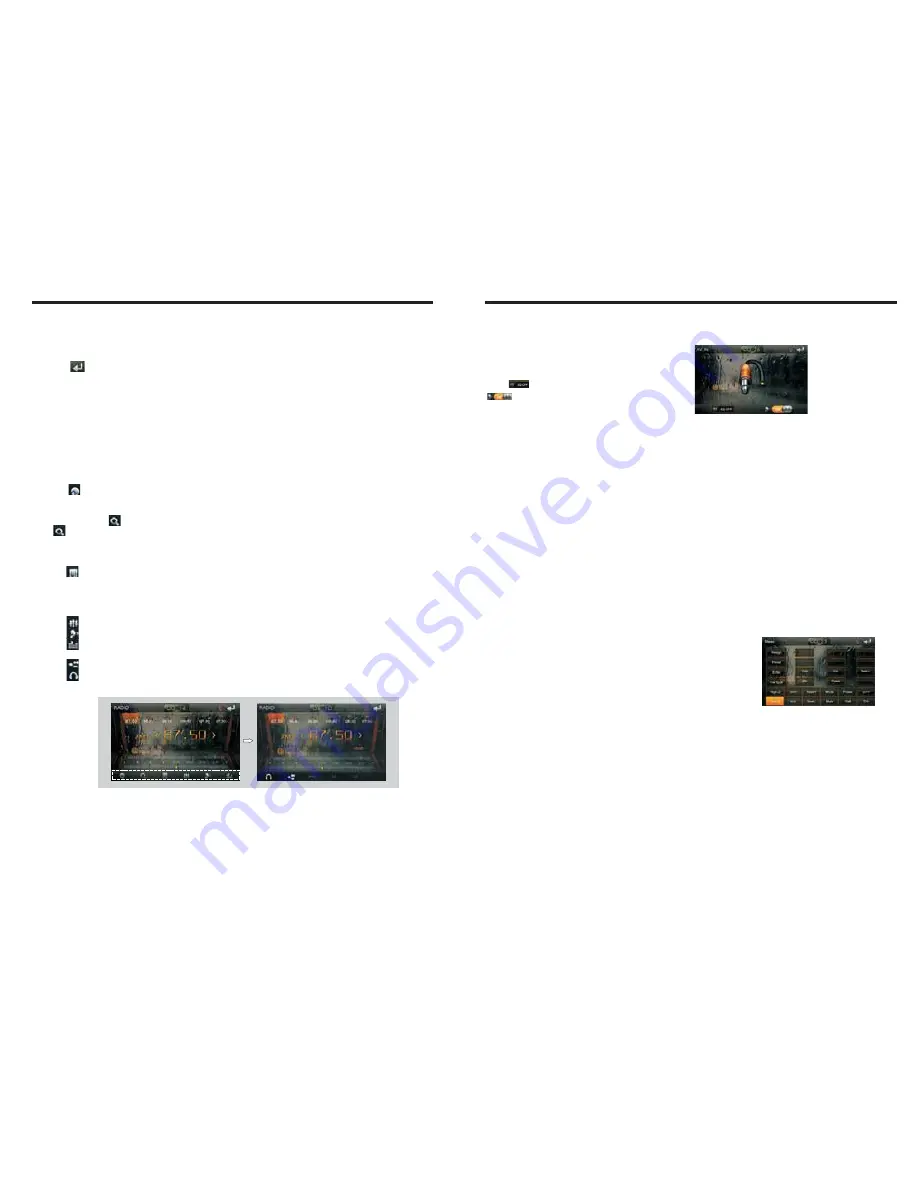
Radio Function Operation
12
1. Enter/exit
Touch [Radio] icon in the main interface to enter into the radio interface.
2. Operation stored radio
Each band can be stored six radio stations, radio stations can be stored directly click
(P1-P6) choice, and will be displayed on the screen.
3.
How to save radio stations
Select a band, and then select a radio station. Press and hold button (P1-P6) to select
the preset number will appear in the corresponding number button on the screen.
Touch [
5. Search/Save radio stations
Short touch the [ ] button, browse 1-6 sets of bits stored on the radio, Long touch
the [ ] button to long-automatic station search, and the strongest radio signals P1-P6
are stored in the display position on the table.
6. Play radio station selection
Touch [ ] icon pop-up selection sets the keyboard input radio frequency selectable
radio frequency spectrum or you can drag directly touch the icon to select a stored radio
station.
Touch [ ] can enter icon spectrum interface.
Double-click the spectrum can switch over the spectrum style.
Touch [ ] icon to return to main interface, and then touch other function icons so
as to exit radio mode.
4. Band selection
] icon so as to switch among FM1, FM2, FM3, AM1, AM2 bands.
7. Other Functions
Touch [ ]
icon to access sound setting interface.
Touch [ ] icon so as to turn on/off loudness function.
Touch [ ] icon so as to turn on/off Long/Short-Range function.
Touch [ ] icon to turn on/off stereo.
Sliding around
COMPASS
CALCULATOR function operation
In the main interface touch [Calculator] icon, into the counter interface.
function operation
In the main interface touch [Compass] icon, into a compass interface.
External input operation
Connect the video input plug with external video input jack, and connect the audio input
plug with external audio input jack.
Touch [AV-IN] icon on main interface to access
external input interface.
Click icon into the sound settings screen.
Loudness on / off.
Steering wheel setting
Click the settings interface [STEER] icon into the steering wheel settings interface.
Steering steps:
The original line of control of the vehicle side, the positive,
the negative and machine side control line cathode, anode
connection after connection:
①
Touch [Reset] and press
above the steering wheel buttons one by one, and record the
appropriate sequence and function, touch [allocation].
The steering wheel buttons
②
Touch the desired distribution voltage value (such as: 2.00V).
③
select the appropriate settings (such as: ).
④
completed the steering wheel buttons will display the corresponding function.
⑤
After completing the settings, touch [OK] to save the settings.
⑥
For the reset function, can touch [Reset] (the original settings
will all be cleared), and repeat Step
② ~
Step
④
for resetting.
⑦
You can also choose to set a good model of the steering wheel.
Click the models select] icon pop-up model selection interface,
select your car type click OK icon to save the settings.


