


INSTRUCTIONS
Version
Touch the icon [ ]in setting interface to enter the
interface below to check the software version number
of DISC/MCU/TFT (
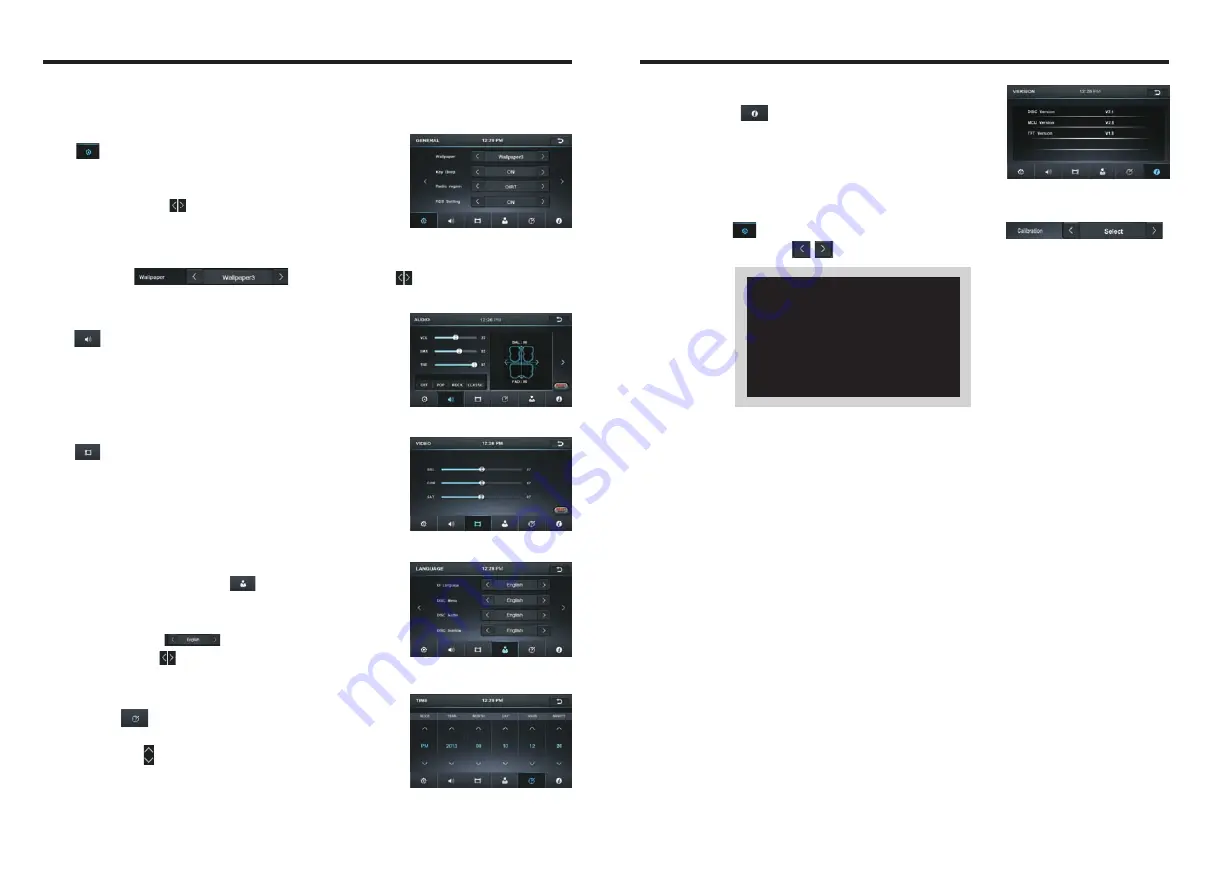
Touch calibration
If the touch position is biased, you may touch the icon “Calibrate” for calibration.
Touch the icon
[ ]in setting interface to find the setting bar[ ],
and then touch any icon
[ ]to enter the following calibrating interface.
Touching methods
Use touch pen to click the center of “+” icon, and move along with center of “+” icon so
as to calibrate the screen. It shall automatically save data and exit after screen calibration.
Please accurately click all positions on screen, or the accuracy of touch calibration shall
be affected.
The version information is displayed
please prevail in kind.)
十
Access setup interface
Click [Setting] icon on main interface to access setup interface.
General setting
Click icon on setup interface to access general setting
interface, as shown in below PIC 1 diagram:
In General setting interface, you may set the functions On or
Off, or click the icon [ ]to preview the wallpapers up and
down and set your favorite wallpaper
Wallpaper
Touch the icon[ ]in wallpaper bar[ ]to change the wallpaper.
Audio setting
Click icon on setup interface to access audio setting
interface, as shown in right (PIC 2) diagram:
You can turn on or turn off the existing functions on audio
setting interface and adjust the rearview volume.
Video setting
Click icon on setup interface to access video setting
interface, as shown in right (PIC 3) diagram:
At video setting interface, you can adjust brightness,
contrast, saturation and hue of the video.
Language setting
During use, you can select your familiar language to display
menu by language setup. Click icon on setup interface to
access language setting interface, as shown in right (PIC 4)
diagram:
In the languagebar [ ] you need to set, touch the
correspondingicon[ ]to select your familiar language.
Time
setting
Click icon on setup interface to access time setting
interface.as shown in right (PIC 5) diagram:
Touch the icon [ ]of Time mode, Year, Month,
Date, Hour, Minute for setting.
PIC 1
PIC 2
PIC 3
PIC 4
PIC
5


