


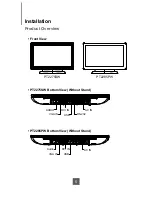
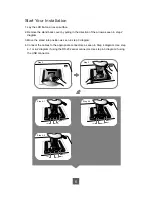


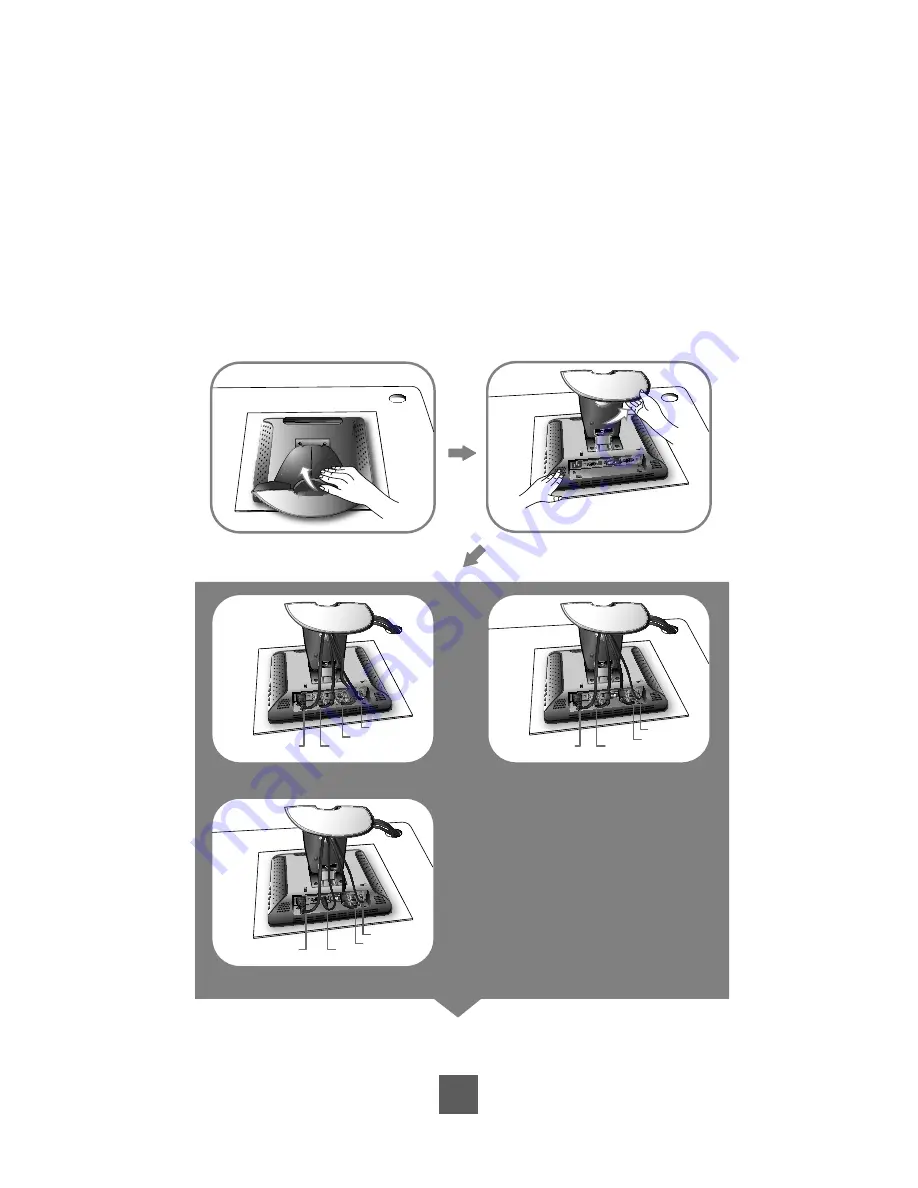
Start Your Installation
1. Lay the LCD
fl
at on an even surface.
2. Remove the stand back cover by pulling in the direction of the arrow as seen in step 2
diagram.
3. Move the stand into position as seen in step 3 diagram.
4. Connect the cables to the appropriate connectors as seen in Step 4 diagram. Use step
4-1 or 4-2 diagram if using the RS-232 serial connector. Use step 4-3 diagram if using
the USB connector.
K
Step 2
Step 3
K
RS-232
VGA
Audio
Power
K
RS-232
DVI
Audio
Power
Step 4-1
K
USB
VGA
Power
Audio
Step 4-2
Step 4-3
6
Содержание PT2275SW
Страница 1: ...PT2275SW PT2285PW Touch Screen LCD Monitor USER S GUIDE www planartouch com ...
Страница 12: ...9 Figure 9 1 PT2275SW PT2285PW ...
Страница 15: ...12 Remove the Deskstand Remove 4 screws and then remove hinge ...
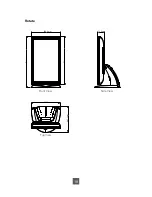
Страница 22: ...Rotate 330 0 mm 73 2 mm 573 1 mm 538 5 mm 287 1 mm 327 7 mm Top View Front View Side View 19 ...
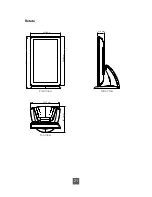
Страница 23: ...PT2285PW 539 2 mm 384 1 mm 330 6 mm 71 9 mm 327 7 mm 287 1 mm Top View Front View Side View 20 ...
Страница 24: ...Rotate 330 6 mm 71 9 mm 573 4 mm 539 2 mm 287 1 mm 327 7 mm Top View Front View Side View 21 ...
Страница 28: ...25 ...