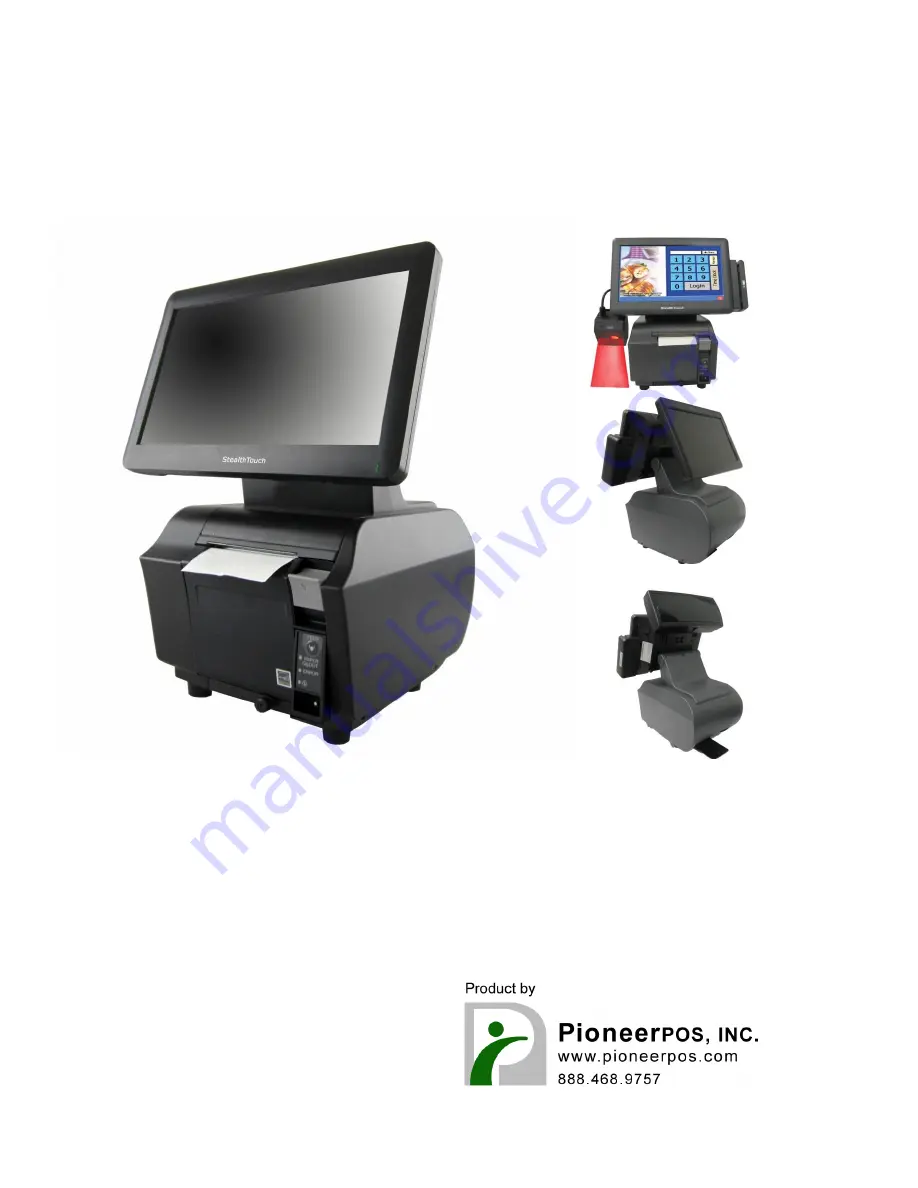
background image

Manual for Stealth M1 v1.0 


Page 1 


User Manual   

Stealth-M1  


If you need further assistance, use one of the following: 
 
Web: http://www.pioneerposftp.com 
 
Pioneer POS Support line:  
Call: (909) 468-9757  
Email: [email protected] 


Содержание Stealth-M1

Страница 1: ... for Stealth M1 v1 0 Page 1 User Manual Stealth M1 If you need further assistance use one of the following Web http www pioneerposftp com Pioneer POS Support line Call 909 468 9757 Email support pionerpos com ...

Страница 2: ...neerPOS and PioneerPOS Logo are trademarks of Pioneer POS Solutions Inc Microsoft Windows Windows are trademarks of Microsoft Corporation 2014 PioneerPOS Solutions Inc All rights reserved Target Audience This Manual is written for technically qualified personnel It is not intended for general audiences Warranty Exclusions The warranty will NOT apply to damages caused by Unauthorized modification o...

Страница 3: ...lth M1 system 12 Chapter 3 Touch screen panel 12 Chapter 4 Network 13 Chapter 5 Serial port RS232 COM ports 15 Section C Using Stealth M1 accessories 17 Chapter 6 Using Customer Display Rear Display optional part number 46B RBRJ 17 Section D Solving problems 19 Chapter 7 Before working on your system 19 Chapter 8 Stealth M1 System Problems 20 Chapter 9 Stealth M1 Accessories Problems 24 Section E ...

Страница 4: ... as touch monitor with different sizes About this guide This manual is intended to be use as a reference for field service as well as workshop repair It is prepared to our best to represent the current version of our production In our effort to continuously our product there may be changes that are not represented in this manual Please contact us directly if further assistance is required Please h...

Страница 5: ... USB 2 0 5 Speakers 2 Watts Stereo optional Mounting Options Wall mounting Desktop Security Lock Bolted 4mm screw or Kensington MicroSaver Bezel Color Standard Black Operating Temperature 0C to 40C Operating Humidity 20 to 80 Power Supply External 150W AC 100 240V Agency Approvals FCC CE Built in Printer optional Epson TM T70II 3 Thermal printer Driver Epson ESC OPOS Windows Linux JPOS Integrated ...

Страница 6: ...Page 6 Section A Getting started with Stealth M1 system Chapter 1 Identifying controls ports and peripherals Front View With FX Base With Standard Slim Base Left View Right View Card Reader Port Optional Thermal Printer Optional ...

Страница 7: ... Number Description Illustration STLH PSFSP1501 Dimension 171mm x 40mm x 72 mm Output DC Cable Length 1 8m Power LED YES blue Power Input AC 100 240V 2A 50 60Hz Power Output DC Power 24V 5 0A Max Power 150W Power Input 24V Power Output COM1 COM2 LAN On Off Switch I O Ports Power Output 24V USB 2 0 E SATA ...

Страница 8: ... Reader Descriptions Biometric Reader Black Part Number 4FB M1 F32 3 Customer Display VFD 2x20 Descriptions Integrated Rear Customer Display Part Number 46B RBRJ XXX XXX Emulation type 4 Second LCD Display customer facing Descriptions 10 1 Rear 2 nd LCD Part Number 1H100002H1 5 Standard Slim base stand Description Slim base stand Part number 1EB B10 Power Supply Unit LED Light ...

Страница 9: ...ruptible power supply UPS Unit Caution Do not plug in the unit directly into a wall outlet Lightning or power surge may damage the system Always connect the power through a surge protector or uninterruptible power supply UPS unit 2 2 Connecting cables to I O panel 1 Tilt the terminal 2 Slide to remove the vertical cover 3 Route cables of peripherals through the base 4 Route cables of peripherals t...

Страница 10: ...n TM T70II thermal printer Power cable and USB cable for printer are included and pre installed with the shipment of Stealth M1 See link below for step by step installation guide https www youtube com watch v R1HAp8WQvmw 2 4 Connecting network The LAN network port is located on the I O Panel Stealth M1 also comes with optional build in wireless LAN 2 5 Wall mount Option Purchase wall mounting plat...

Страница 11: ...Manual for Stealth M1 v1 0 Page 11 2 7 VESA 75 mount built in Stealth M1 also come with built in VESA 75 mounting pattern located behind the metal back bezel see arrows ...

Страница 12: ...stalled the driver software you may need to open TouchKit utility to re calibrate the touch screen 1 Go to Start All Programs eGalaxTouch Configure Utility 2 Click on Tools when you need to calibrate 3 Perform 4 point calibration when you see the calibration screen Use a touch screen stylus pen or your finger to touch each point for about 1 2 seconds until you hear a beep sound Note Linearization ...

Страница 13: ...hould work In case you need to check your network setting you can follow the instruction below 1 Start Control Panel System 2 Under Hardware Tab select Device Manager 3 Expand Network adapters selection 4 In Intel 82574L Gigabit Network Connection Properties you can check items such as MAC Address IP Address Link Status 5 To perform Network Test and Diagnostic under the table Link Speed Then click...

Страница 14: ... Program Intel PROset Wireless 2 Click on Intel PROset Wireless to setup wireless utility 3 You can also access Intel PROSet Wireless Utility by double clicking the Intel PROSet Wireless Utility task tray icon on the notification area on taskbar see picture below The icon gives us visual indication of the current wireless connection state ...

Страница 15: ... Port PIN Serial Port Signal Description 1 DCD Data Carrier detect 2 RX Receive data 3 TX Transmit data 4 DTR Data Terminal Ready 5 GND Signal Ground 6 DSR Data Set Ready 7 RTS Request to send 8 CTS Clear to send 5 2 Using RJ45 to DB9 adapter with serial port COM port If you are using devices with DB9 Connector you can use RJ45 to DB9 adapter Please see picture below Picture RJ45 Male to DB9 Male ...

Страница 16: ...ceive data Pin 3 Pin 3 Transmit data Pin 4 Pin 4 Data Terminal Ready Pin 5 Pin 5 Signal ground Pin 6 Pin 6 Data set ready Pin 7 Pin 7 Request to send Pin 8 Pin 8 Clear to send Pin 9 Note Call PioneerPOS tech support at 909 468 9757 or email support pioneerpos com for detail info on how to make changes ...

Страница 17: ... PD3000 6 2 Reprogram rear display protocol emulation Please obtain the utility to reprogram Rear Display Protocol by contacting PioneerPOS Technical Support If you need to re program the rear display firmware you may connect the display to COM1 COM2 COM3 COM4 or COM5 After that run the PPOSx EXE x stands for version number for example PPOS4 exe utility Please follow the steps below when after PPO...

Страница 18: ...II you may leave the field blank or you can type any sentence you would like for the scroll data 4 When you are ready click Write to EEPROM Y 5 A new pop up window will show up The new emulation is being written to the rear display 6 You may now verify the new emulation by viewing at the Rear Display ...

Страница 19: ... Protect your own safety with insulating glove 3 Warning To prevent electric shock DO NOT open up Power Supply Unit CRT Monitor Unit 7 3 Protecting your data 1 Make sure that you have backed up important data You may also create a backup image of your system 2 You may back up important data on a USB Memory Drive 3 If you have important system settings such as password make sure you keep your passw...

Страница 20: ...rce electrical outlet By pass power strips or power extension or UPS Uninterrupted Power Supply to verify that the system turns on Verify that the electrical outlet is working by connecting it to equipment such as a radio 2 Check if the LED light on Power Supply Unit is on If it is not on double check the connection of power chord to the Power Supply Unit 3 Make sure that the power cord is plugged...

Страница 21: ... POST Screen the problem may be caused by improper setting in Display Driver Follow the following steps to get into Window s safe mode to uninstall display driver a You could switch off the system manually by pressing the on off button b After that turn on the system again Start tapping the F8 key repeatedly Note Sometimes computer may display a keyboard error message if you begin tapping the F8 k...

Страница 22: ...ter again 4 A bad sector on hard drive may cause system to freeze or Blue Screen if you are using Windows Try to use Windows Check Disk to check if your system has a bad sector To further diagnose the issue you may install hard drive s utilities depending on the brand of the hard drive in the system For example if you are using Western Digital hard drive you may use Data Lifeguard Tools available ...

Страница 23: ...ove the cursor go to step 2 If you are not able to use mouse keyboard to activate cursor the system may have lockup problem Restart the computer again 2 Be sure that Touch adapter is detected in touch utility If touch adapter not detected press Add on the Touchkit utility screen to add touch adapter 3 Re install Touchkit utility driver TouchKit utility driver can be downloaded from PioneerPOS com ...

Страница 24: ... is not set to mute 2 Built in speaker is optional Check the part number on the FCC label on your system to see if your system is configured with built in speaker 3 Try to re install sound driver Chapter 9 Stealth M1 Accessories Problems 9 1 Magnetic Stripe Reader MSR issue Problem description Magnetic Stripe Reader MSR cannot read cards 1 Verify the issue by trying to swipe MSR with a different c...

Страница 25: ...lay unit is fully inserted to the correct COM Port 3 Make sure that the POS application software setting is set to use the correct com port 4 Refer to Chapter 8 Using Customer Display Rear Display Optional Part Number 46 RxRJ only if you need to change the type of emulation on the Customer Display Rear Display unit ...

Страница 26: ...Manual for Stealth M1 v1 0 Page 26 Section E System Board description Chapter 10 System Board Layout Connector Placement Top view SPK1 Right channel SPK2 Left channel ...

Страница 27: ...Manual for Stealth M1 v1 0 Page 27 Connector Placement Bottom view I O Description ...

Страница 28: ...ing may result in damages of device PioneerPOS will not be responsible for loss and damages on StealthTouch terminal and any other devices due to user modification Call 909 468 9757 or email support pioneerpos com for help JP1 LVDS LCD Power Select JP1 LVDS Power 1 2 3 3V default 2 3 5V JP4 LED and CCFL Inverter Select JP4 LVDS Power 1 2 CCFL Inverter 2 3 LED Inverter default JCMOS1 Clear CMOS JCM...

Отзывы: