23
Selecting the theme colour
A theme colour can be selected from 3 different colours.
1 Display the “
Theme
” screen.
2 Touch [
Theme
].
3 Touch the colour you want.
Registering your favourite menu items in shortcuts allows you to
quickly jump to the registered menu screen by a simple touch on
the “
Favorites
” screen.
p
Up to 12 menu items can be registered in the favourite
menu.
Creating a shortcut
1 Display the “
Settings
” screen.
2 Touch the star icon of the menu item that you
want to add to the favourite menu.
The star icon for the selected menu is filled in.
To cancel the registration, touch the star icon in
the menu column again.
Selecting a shortcut
1 Display the “
Favorites
” screen.
2 Touch the desired menu item.
Removing a shortcut
1 Display the “
Favorites
” screen.
2 Touch and hold the favourite menu column you
want to remove.
The selected menu item is removed from the “
Favorites
” screen.
You can also remove a shortcut by touching the
star icon in the registered menu column.
AUX
48
21
Full
6/10
2
1
1
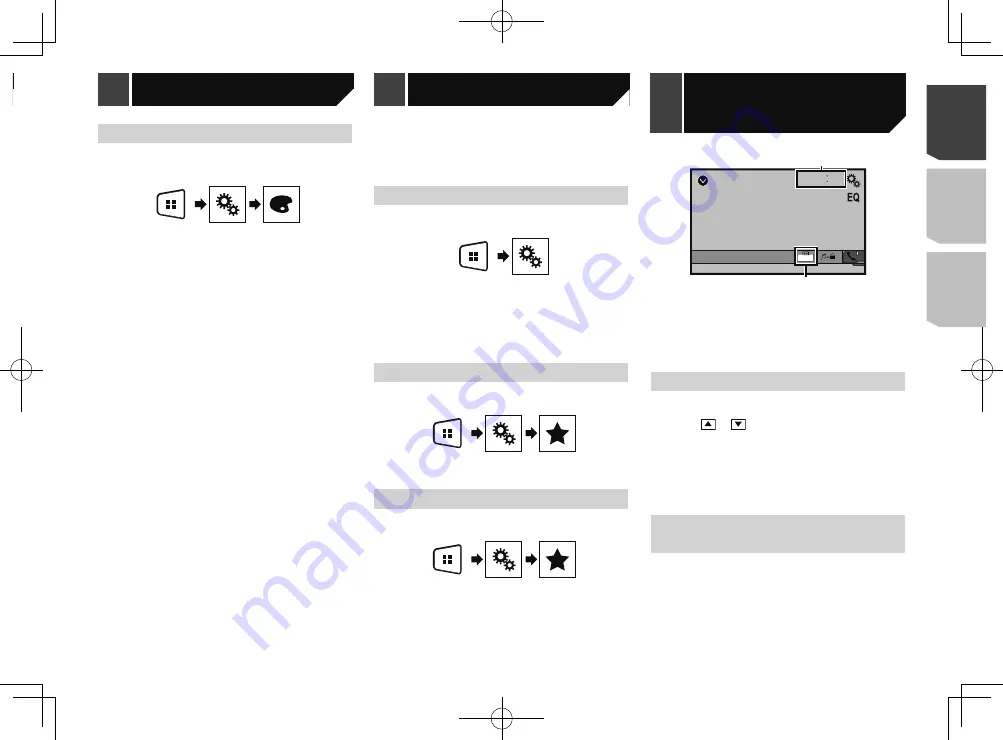
Clock display
Displays the time and date setting screen
Setting the time and date
on page 23
2
Screen display mode key
Changes the wide screen mode
Changing the wide screen mode
on page 23
Setting the time and date
1 Touch the current time on the screen.
2 Touch or
to set the correct time and
date.
You can operate the following items: Year, month, date, hour,
minute.
p
You can change the time display format to “
12hour
” (default)
or “
24hour
”.
p
You can change the order of date display format: Day-month-
year, Month-day-year.
Changing the wide screen
mode
You can set the screen size for the video and JPEG/BMP images.
p
The default setting is “
Full
”, and for JPEG/BMP images is
“
Normal
”.
p
When there are touch panel keys on the screen, images are
displayed with the “
Full
” mode regardless of your setting.
1 Touch the following key.
p
The appearance of this key changes according to the current
setting.
Theme menu
Favourite menu
Common operations
Customising the equaliser curves
You can adjust the currently selected equaliser curve setting
as desired. Adjustments can be made with a 5-band graphic
equaliser.
p
If you make adjustments when a curve “
S.Bass
”, “
Powerful
”,
“
Natural
”, “
Vocal
”, or “
Flat
” is selected, the equaliser curve
settings will be changed to “
Custom1
” mandatorily.
p
If you make adjustments when the “
Custom2
” curve is
selected for example, the “
Custom2
” curve will be updated.
p
“
Custom1
” and “
Custom2
” curves can be created common
to all sources.
1 Display the “
Audio
” setting screen.
Displaying the “
Audio
” setting screen on page 21
2 Touch [
Graphic EQ
].
3 Select a curve that you want to use as the basis
of customising.
4 Touch the frequency for which you want to
adjust the level.
p
If you trail a finger across the bars of multiple equaliser
bands, the equaliser curve settings will be set to the value of
the touched point on each bar.
23
< QRD3363-A >
Audio adjustments
Theme menu
Favourite menu
Common
operations
Содержание MVH-AV285BT
Страница 111: ...111 111 QRD3363 A ...


