Automatically enhances compressed audio and re-
stores rich sound.
1
Press
M.C.
to display the setting mode.
2
Turn
M.C.
to select the desired setting.
Off
(off)
—
1
—
2
1
is effective for low compression rates, and
2
is
effective for high compression rates.
3
Press
M.C.
to confirm the selection.
Time Search
(time search)
1
Press
M.C.
to display the setting mode.
2
Turn
M.C.
to find the part you want to play.
3
Press
M.C.
to confirm the selection.
ABC Search
(alphabet search mode setting)
When this setting is on, you can switch to alphabet
search mode by turning
M.C.
twice while using the
browse function of the iPod. Refer to
1
Press
M.C.
to turn the setting for when
M.C.
is
turned twice on or off.
Notes
!
Switching the control mode to
App
pauses
song playback. Operate the iPod to resume
playback.
!
The following functions are still accessible
from the unit even if the control mode is set to
App
.
—
Volume, fast forward/reverse, track up/
down, pausing
!
When the control mode is set to
App
, opera-
tions are limited as follows:
—
Only
Play/Pause
(pause),
Control Mode
(control mode),
Wide Mode
(switching
the wide mode) and
Display
(display set-
ting) functions are available.
—
The browse function cannot be operated
from this unit.
Playing still images
When a USB/SD device that contains JPEG
picture files is connected, this unit starts a sli-
deshow from the first folder/picture on the de-
vice. The player displays the pictures in each
folder in alphabetical order.
Basic operations
16:54
2345 7890
Ph
ot
o
A-EQ
Text
Text
2
3
1
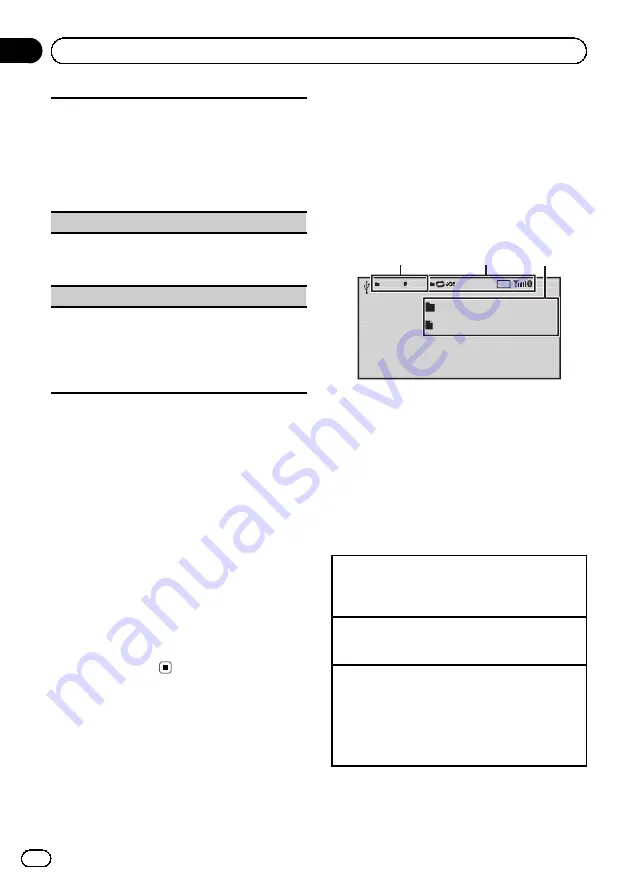
You can switch to the basic screen or the
image screen.
Refer to
1
Folder/file number indicator
2
Indicator display area
Refer to
3
Text information area
!
Folder name
!
File name
Playing files on a USB storage device
1
Open the USB port cover.
2
Plug in the USB storage device using a USB
cable.
Stopping playback of files on a USB storage device
1
You may disconnect the USB storage device at
any time.
Playing files on an SD memory card
1
Remove the front panel.
2
Insert an SD memory card into the SD card slot.
Insert it with the contact surface facing down,
and press on the card until it clicks and comple-
tely locks into place.
3
Re-attach the front panel.
En
20
Section
03
Operating this unit


