3.6 Getting started
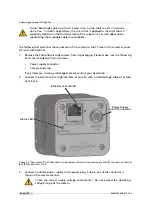
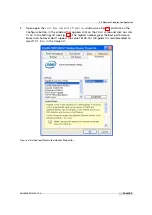
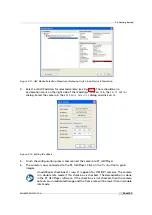
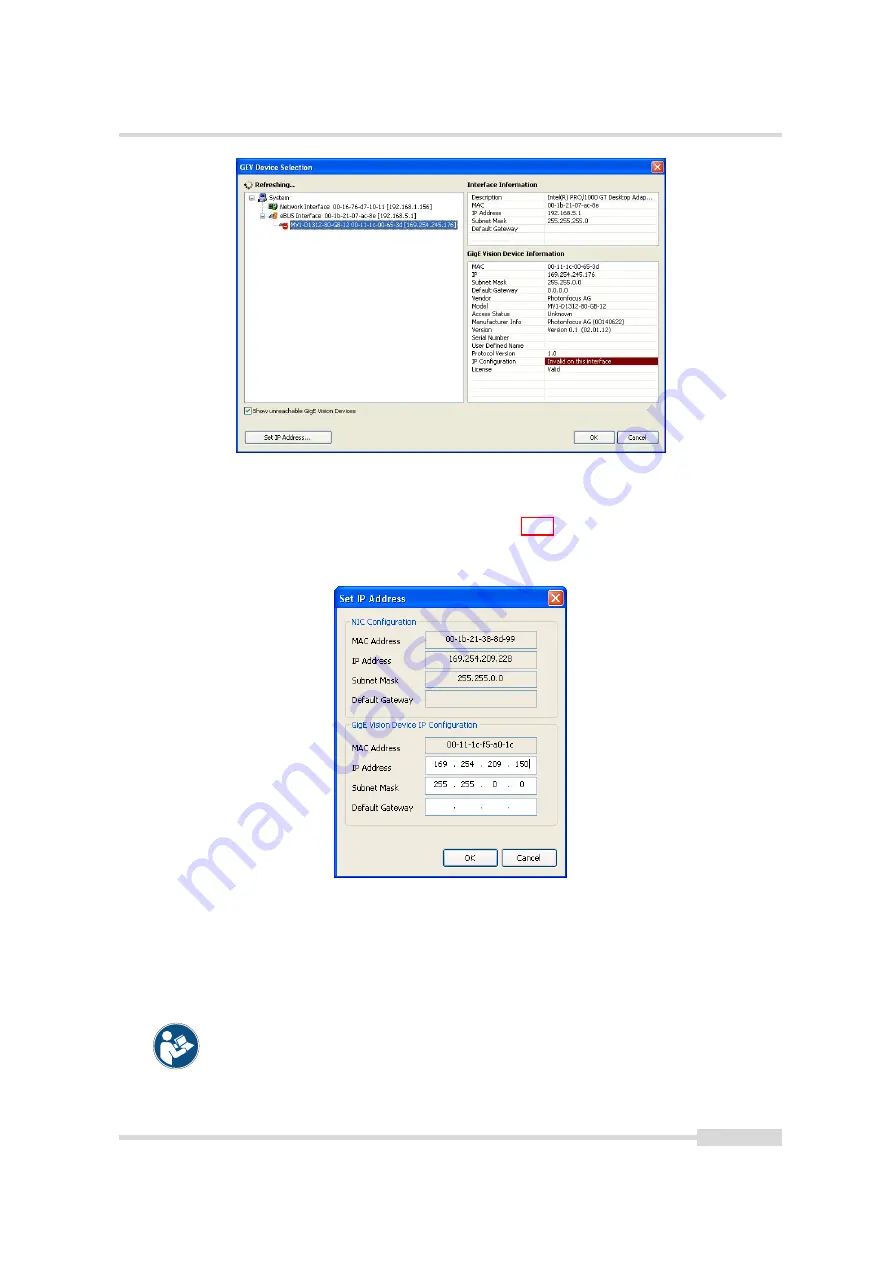
Figure 3.11: GEV Device Selection Procedure displaying GigE Vision Device Information
4.
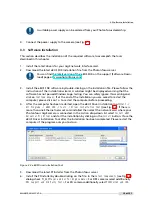
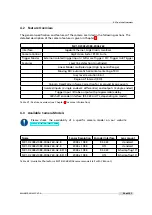
Select a valid IP address for selected camera (see Fig. 3.12). There should be no
exclamation mark on the right side of the IP address. Click on
Ok
in the
Set IP Address
dialog. Select the camera in the
GEV Device Selection
dialog and click on
Ok
.
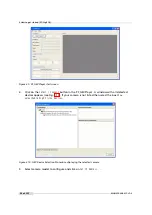
Figure 3.12: Setting IP address
5.
Finish the configuration process and connect the camera to PF_GEVPlayer .
6.
The camera is now connected to the PF_GEVPlayer. Click on the
Play
button to grab
images.
An additional check box
DR1
resp.
QR1
appears for DR1/QR1 cameras. The camera
is in double rate mode if this check box is checked. The demodulation is done
in the PF_GEVPlayer software. If the check box is not checked, then the camera
outputs an unmodulated image and the frame rate will be lower than in double
rate mode.
MAN075 05/2017 V1.0
23 of 127
Содержание MV1-D2048-3D06 series
Страница 1: ...Photonfocus MV1 D2048 3D06 Camera Series 3D CMOS camera with GigE interface MAN075 05 2017 V1 0...
Страница 10: ...1 Preface 10 of 127 MAN075 05 2017 V1 0...
Страница 12: ...2 Introduction 12 of 127 MAN075 05 2017 V1 0...
Страница 16: ...3 How to get started 3D GigE G2 Figure 3 3 PFInstaller components choice 16 of 127 MAN075 05 2017 V1 0...
Страница 26: ...3 How to get started 3D GigE G2 26 of 127 MAN075 05 2017 V1 0...
Страница 32: ...4 Product Specification 32 of 127 MAN075 05 2017 V1 0...
Страница 66: ...5 Functionality 66 of 127 MAN075 05 2017 V1 0...
Страница 82: ...6 Precautions 82 of 127 MAN075 05 2017 V1 0...
Страница 120: ...12 Support and Repair 120 of 127 MAN075 05 2017 V1 0...
Страница 122: ...13 References 122 of 127 MAN075 05 2017 V1 0...
Страница 127: ...C Revision History Revision Date Changes 1 0 May 2017 First version MAN075 05 2017 V1 0 127 of 127...


