


Web manager interface
4022_en_A
PHOENIX CONTACT
55
4.
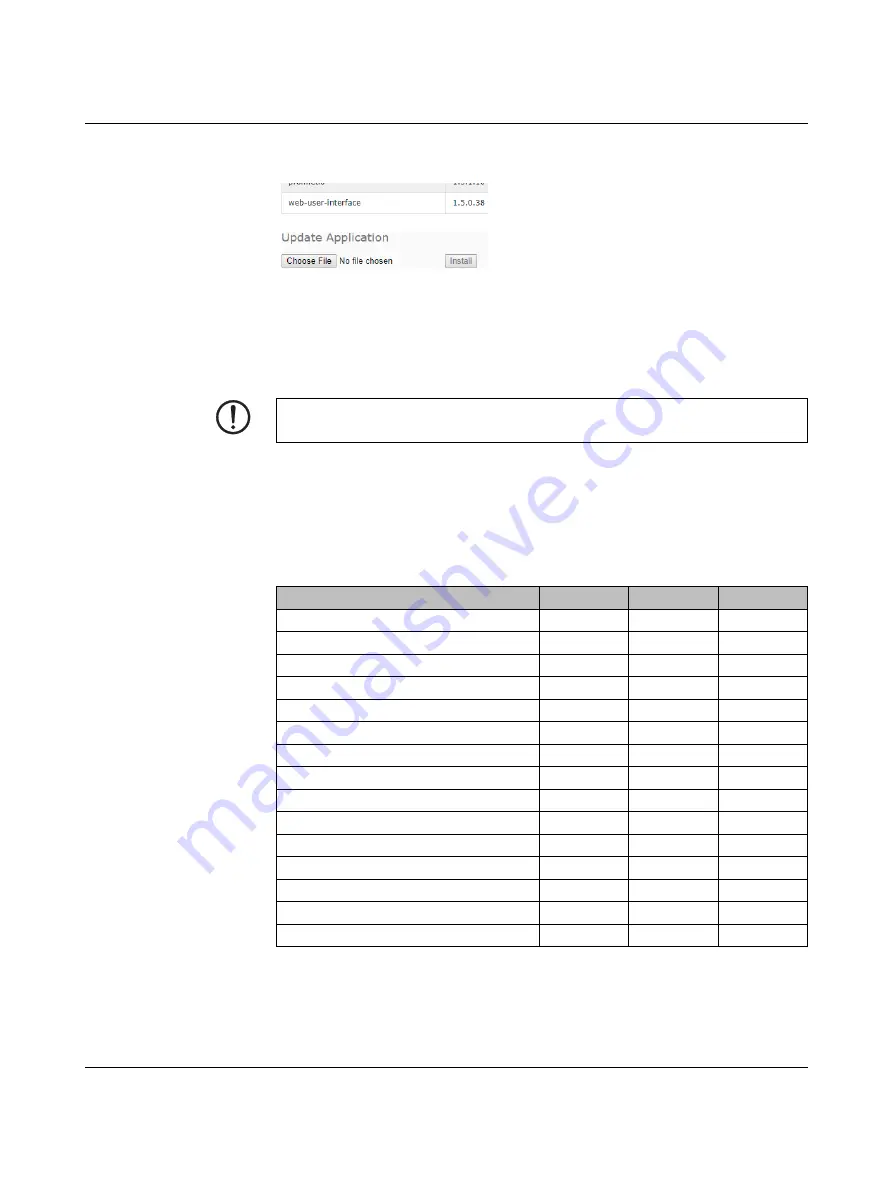
Click the “Choose File” button at the bottom of the page, navigate to the file location
using the “Browse” window, and click the “Open” button.
Figure 5-24
Application update
5.
Click the “Install” button.
6.
Click the “CONTINUE” button in the “Update Image” message.
7.
When finished, click the “OK” button to close the “Update Image Successful” message.
8.
Click the “Reboot” button.
5.3.2
Accounts
The IOL MA8 PN DI8 is shipped from the factory without passwords. If desired, user
accounts may be configured to limit read and write access. See
to see how
permissions are granted.
NOTE:
After an application subassembly is updated, always reboot the device.
Table 5-9
User privilege descriptions
Page
Admin
Operator
User
Login
Yes
Yes
Yes
Home
Yes
Yes
Yes
Diagnostics - All
Yes
Yes
Yes
Configuration - IO-Link settings
Yes
Yes
View only
Configuration - Digital I/O settings
Yes
Yes
View only
Configuration - Modbus TCP settings
Yes
Yes
View only
Configuration - OPC UA settings
Yes
Yes
View only
Configuration - Network
Yes
View only
No
Configuration - Misc
Yes
Yes
Yes
Configuration - Load/Save
Yes
Yes
View only
Configuration - Clear settings
Yes
No
No
Advanced - Software
Yes
No
No
Advanced - Accounts
Yes
No
No
Advanced - Log Files
Yes
Yes
Yes
Advanced - Licenses
Yes
Yes
Yes
Содержание IOL MA8 PN DI8
Страница 1: ...User manual UM EN IOL MA8 PN DI8 IO Link to PROFINET and Modbus TCP gateway...
Страница 14: ...IOL MA8 PN DI8 12 PHOENIX CONTACT 4022_en_A...
Страница 18: ...IOL MA8 PN DI8 16 PHOENIX CONTACT 4022_en_A...
Страница 76: ...IOL MA8 PN DI8 74 PHOENIX CONTACT 4022_en_A...
Страница 82: ...IOL MA8 PN DI8 80 PHOENIX CONTACT 4022_en_A...


