


IOL MA8 PN DI8
14
PHOENIX CONTACT
4022_en_A
4.2.1
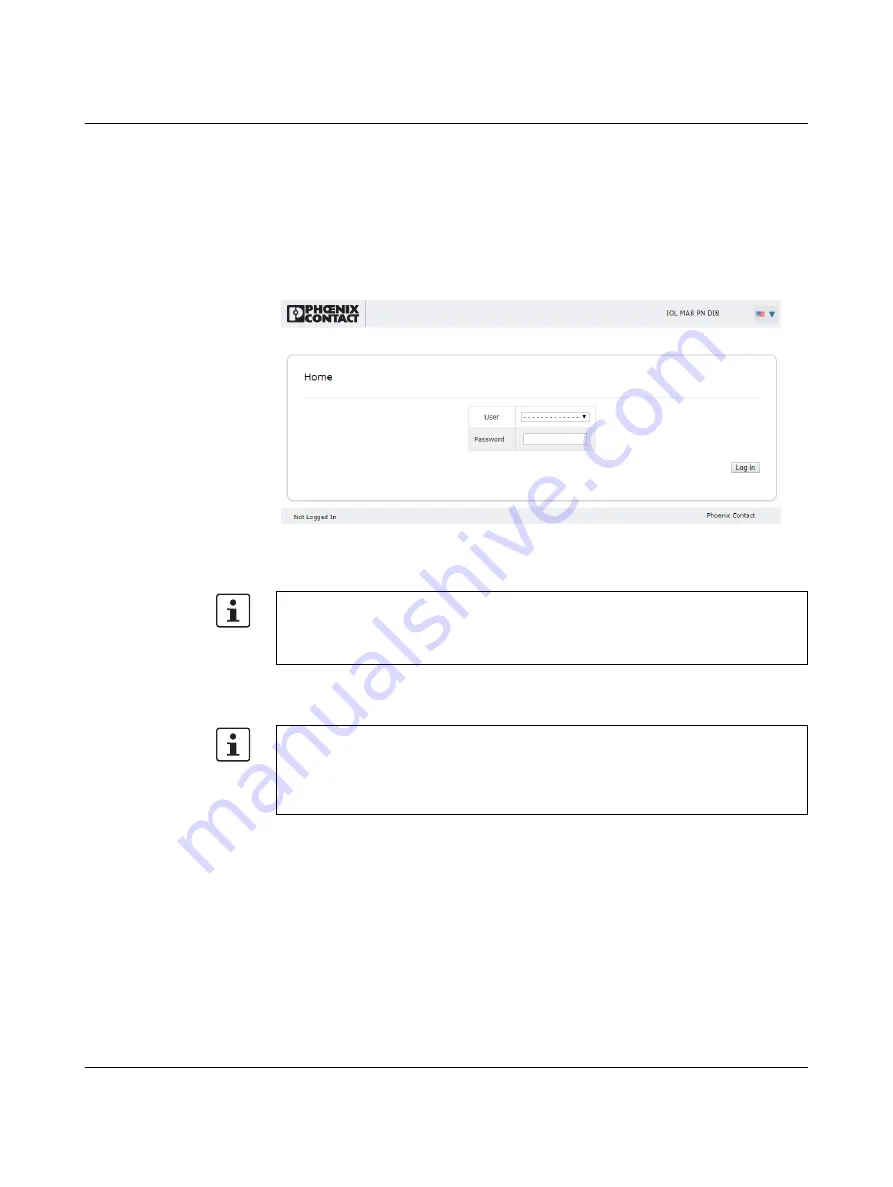
Login
To log in:
1.
Set the IP address of the connected PC to the subnetwork of the IOL MA8 PN DI8. For
example:
IP = 192.168.254.10
Subnetwork = 255.255.255.0
2.
Open a browser and enter the IP address of the IOL MA8 PN DI8 in the “Address” field
(default = 192.168.254.254).
Figure 4-2
“Login” screen
The web server responds immediately.
3.
By default, a user name and password are not required. If user accounts have been
configured (see
), enter the appropriate values in the
corresponding fields to log in.
4.
Complete the IOL MA8 PN DI8 configuration as necessary for the application.
–
Set the IP address (see
).
–
Load the appropriate IODD files (see
).
–
Configure the IO-Link ports (see
“IO-Link configuration” on page 31
If the web server does not load, first check the IP parameters of the PC. If everything is set
correctly, check to see if there are any proxy settings loaded in the browser. The proxy
setting must be set to “Load automatically” or “Deactivated” to properly establish
communication.
Powering multiple devices with factory default IP addresses causes a network conflict, and
incorrect parameters may be set in the IOL MA8 PN DI8 modules. When programming
modules for the first time, it is important to apply power to only one at a time, and change
the IP address of each module to a unique IP address. Once all devices have a unique IP
address, they can be powered on together while on the same network.
Содержание IOL MA8 PN DI8
Страница 1: ...User manual UM EN IOL MA8 PN DI8 IO Link to PROFINET and Modbus TCP gateway...
Страница 14: ...IOL MA8 PN DI8 12 PHOENIX CONTACT 4022_en_A...
Страница 18: ...IOL MA8 PN DI8 16 PHOENIX CONTACT 4022_en_A...
Страница 76: ...IOL MA8 PN DI8 74 PHOENIX CONTACT 4022_en_A...
Страница 82: ...IOL MA8 PN DI8 80 PHOENIX CONTACT 4022_en_A...


