Notes:
–
Batteries are already installed in the remote control.
–
If you wish to set up the remote control for operating your TV, you can skip step
3
.
–
If your device is a Philips device, you can skip step
5
.
–
You can exit setup mode at any time by keeping
SETUP pressed for three seconds.
–
Once installed, a device cannot be deleted from the device list. Only the brand name can
be changed (e.g. if you wish to operate a device type of a different brand).
To delete a device you have to clear the entire memory. For this,
see ‘Restoring the original functions of the remote control’ under 4. ‘Extra possibilities’.
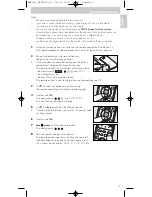
1
Switch on the device you wish to set up the remote control for. If the device is a
DVD-player/recorder or video recorder, insert a disk or tape and start playback.
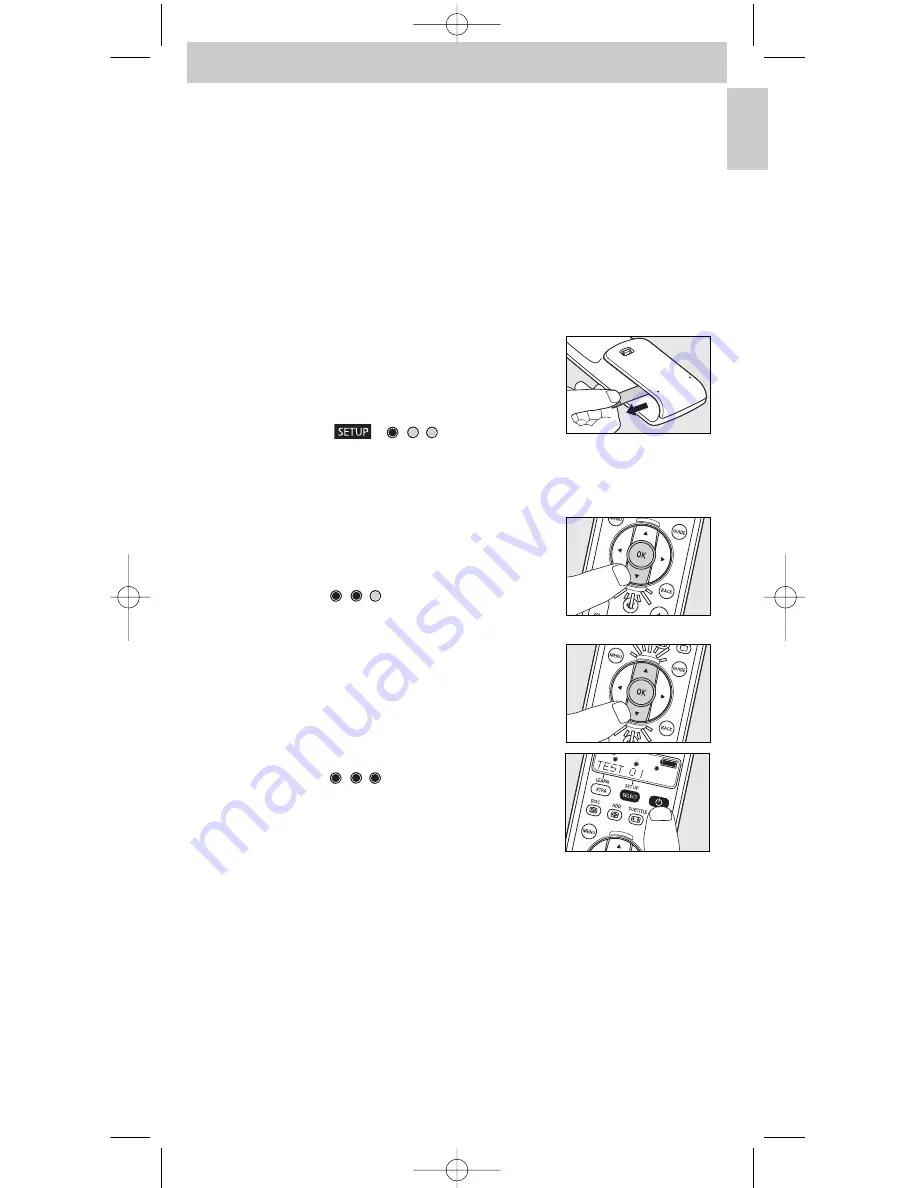
2
Pull out the protective strip from the battery
compartment to activate the batteries.
•
If the strip does not come out easily, open the battery
compartment to get better access to the strip.
–
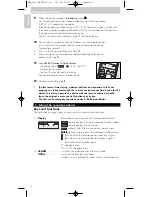
The remote control will immediately enter setup mode:
- the display shows ‘
’, ‘
’ and ’
TV?
’;
- the backlight turns on;
- the keys that can be used are blinking.
–
The remote control is now ready to be set up for operating your TV.
3
Use
4
to select the device you wish to set up
the remote control for (see table on previous page).
4
Confirm with
OK
.
–
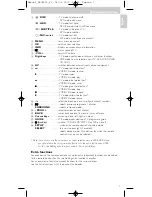
The display shows ‘
’ and ’
PHILIPS?
’.
The keys that can be used are blinking.
5
Use
4
and
3
to select the brand of your device.
•
If the brand of your device is not on the list, you can select
any other brand.
6
Confirm with
OK
.
7
Keep
y
y
pressed
until the device responds.
–
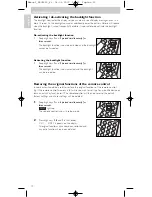
The display shows ‘
’.
8
Point the remote control at the device.
–
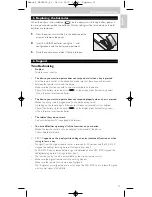
The remote control now starts emitting all known ‘off
(standby)’ codes, one by one. Each time a code is sent,
this is shown on the display: ’
TEST 01
,
0 2
,
03
’, etc.
5
English
Instructions for use
Manual_SRU5150_86 24-04-2007 15:42 Pagina 5

