C
losed Captioning allows you
to read the voice content of
television programs on the TV
screen. Designed to help the
hearing impaired, this feature
uses on-screen text boxes to
show dialogue and conversa-
tions while the TV program is in
progress.
Note: Broadcast stations will
often use spelling abbreviations,
symbols, dropouts and other
grammatical shortcuts in order
to keep pace with the on-screen
action. These factors vary with
the source of the captioned text
material and do not indicate a
need for TV service.
Closed
Captions will be
delayed briefly when
you mute or adjust
the volume, change
channels, or press
the STATUS/EXIT
button.
S
MART
H
ELP
F
EATURES
(C
ONT
’
D
)
C
LOSED
C
APTIONING
- 7 -
Notes:
• Usually CAPTION 1 is the preferred Closed Caption mode.
CAPTION 1 or 2: Dialogue (and descriptions) for the action
on the captioned TV program will appear on the screen.
TEXT 1 or 2: A black box appears on the TV screen. If the
TEXT mode is available with the current TV program, text or
information will appear.
CAPTION MUTE: Closed Captions will appear only when
you mute the volume.
CAPTION OFF: Closed Captions will be completely off.
• Captions and texts may not match the TV voice broadcast
exactly.
• Interference or a weak antenna/cable signal may cause the
Closed Captioning system to function improperly.
• The caption or text characters will not appear if the menu is on
the screen.
• Remember, not all TV programs and commercials are broadcast
with Closed Captioning. Neither are all Closed Caption modes
necessarily being used by a broadcast station during the trans-
mission of a program. Refer to your area's TV program listings
for the stations and times of shows with Closed Captioning.
• If a black box appears on the screen, you have selected TEXT 1
or TEXT 2. To remove the black box, select CAPTION 1,
CAPTION 2, CAPTION MUTE or CAPTION OFF.
Press the CC button
repeatedly until the desired
Closed Caption mode
appears on the screen.
You may choose CAPTION 1,
CAPTION 2, TEXT 1, TEXT 2,
CAPTION MUTE or CAPTION
OFF.
3
2
1
6
5
4
9
8
7
0
POWER
STATUS/EXIT
CC
CLOCK
SMART
PICTURE
SMART
SOUND
SURF
SLEEP
TV/AUX
MENU
MUTE
VOL.
VOL.
CH.
CH.
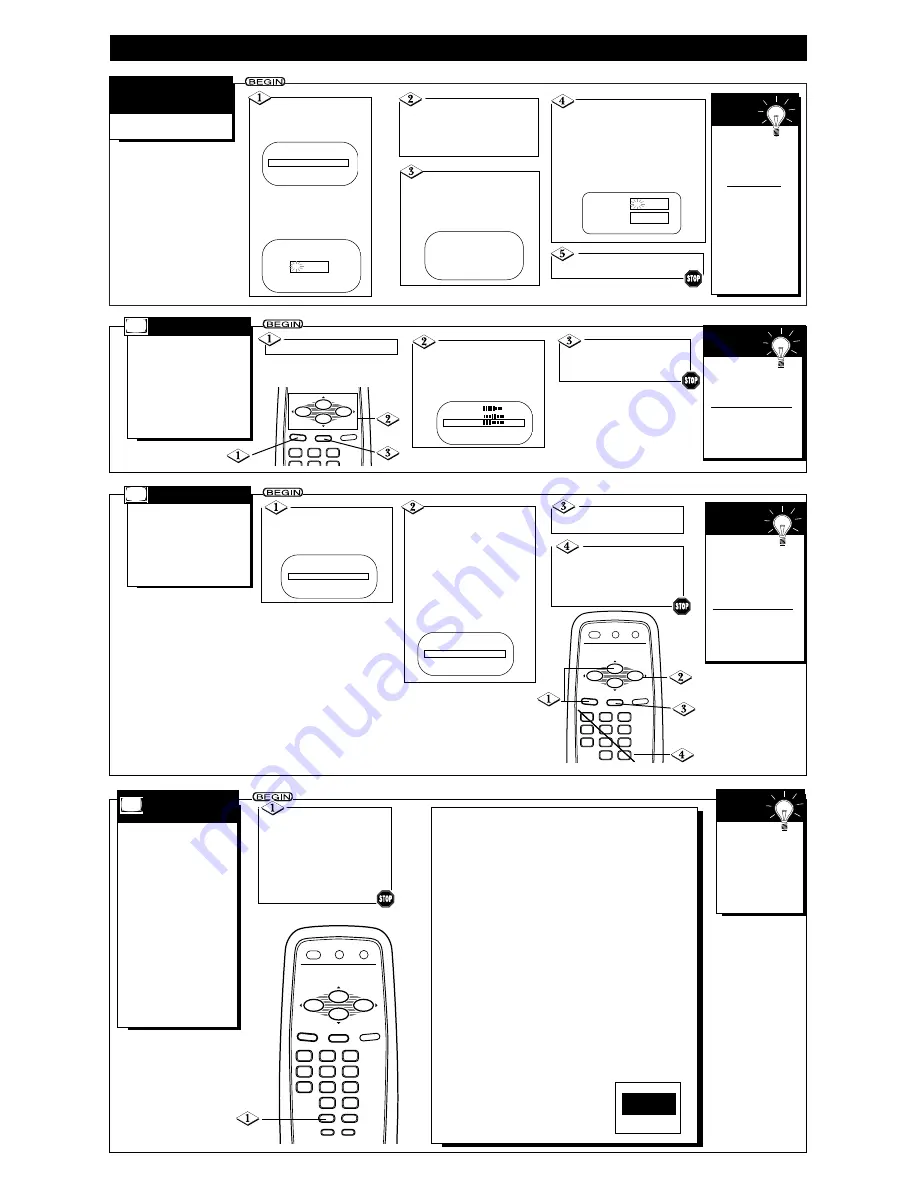
Press the MENU but-
ton, then press the
CH(annel)
▲
/
▼
buttons to
select SmartLock.
Press the VOL(ume)
B
or
{
button to continue. The
SmartLock Access Code screen
will appear.
Press the Number but-
tons to enter your old access
code. If you have never set up
your personal access code, use
0711.
Use the Number buttons to
enter your desired access code in
the New Code space. Then, enter
the same code in the Confirm
Code space.
Your new access code should be
recorded. You will return to the
SmartLock menu.
New Code
Confirm Code
– – – –
– – – –
Press the STATUS/EXIT
button.
You cannot
use the default code
after you set up
your personal access
code.
To restore 0711 as
your personal access
code, unplug the
TV’s power cord for
10 seconds, then
plug it in again.This
is helpful when you
forget your personal
access code.
S
MART
H
ELP
T
o change the access code,
follow these steps.
S
MART
L
OCK
A
CCESS
C
ODE
Press the CH(annel)
▲
/
▼
buttons to select CHANGE
CODE. Then, press the
VOL(ume)
B
or
{
button to
continue.
SmartLock
BLOCK
B
CHANGE CODE
CLOCK
B
SURF
A/CH
SmartLock
B
SmartLock REVIEW
B
SETUP
B
SmartLock
Enter Your Access Code
– – – –
T
here are two ways to adjust
the TV’s volume. Follow
these steps to adjust the volume
using the on-screen menu.
Or, you can adjust the volume
using the VOL(ume)
B
/
s
but-
tons on the remote control or
the VOLUME
o
/
p
buttons on
the TV.
Press the MENU button.
Press the CH(annel)
▲
/
▼
buttons to select
VOLUME. Then, press the
VOL(ume)
B
/
{
buttons to
adjust the volume level.
Press the
STATUS/EXIT button to
remove the menu.
The Volume indi-
cator should appear on
the screen briefly when
you adjust the volume.
The simplest way to
adjust the volume is by
pressing the VOL(ume)
B
/
s
buttons.
S
MART
H
ELP
V
OLUME
3
2
1
6
5
4
STATUS/EXIT
MENU
MUTE
VOL.
VOL.
CH.
CH.
SHARPNESS
34
TINT
-5
VOLUME
13
AVL
OFF
SLEEPTIMER
OFF
I
f you have a few favorite chan-
nels, you can set them as Surf
channels. Then, using the SURF
button on the remote control, you
can flip through only the Surf
channels. Follow these steps to
set up the Surf channels.
Press the
STATUS/EXIT button.
Press the MENU but-
ton. Then, press the
CH(annel)
▲
/
▼
buttons to
select SURF.
Press the VOL(ume)
B
/
{
buttons to set SURF
to SURF.
If you set SURF to A/CH (alter-
nate channel), pressing the
SURF button will allow you to
switch between the current
channel and the one you chose
just before choosing the cur-
rent channel.
Use the Number but-
tons to select a channel.
Then, press the SURF but-
ton. The channel will become a
SURF channel.
You can memo-
rize eight channels as
Surf channels. If you
try to memorize nine,
one of the other Surf
channels will be erased.
Surf channels will be
lost if the power fails
or if you set SURF to
A/CH in the menu.
S
MART
H
ELP
S
URF
SLEEPTIMER
OFF
CLOCK
B
SURF
A/CH
SmartLock
B
SmartLock REVIEW
B
3
2
1
6
5
4
9
8
7
0
POWER
STATUS/EXIT
CC
CLOCK
SURF
SLEEP
TV/AUX
MENU
MUTE
VOL.
VOL.
CH.
CH.
SLEEPTIMER
OFF
CLOCK
B
SURF
SURF
SmartLock
B
SmartLock REVIEW
B


