INSTRUCTIONS FOR PHILIPS X-RAY GENERATOR
TURNING ON THE X-RAY GENERATOR
1) SIGN THE LOG SHEET!
2) Turn on the water chiller and wait 1 minute. The water pressure should be
≥
40 psi.
3) On the x-ray generator, set the voltage and current to the lowest available setting (i.e., turn
the kV and mA knobs all of the way to the left).
4) Turn on the x-ray generator by depressing the [ON] button on the display console (see Fig
A).
5) Press the start button and then wait for the yellow “X-ray On” light to illuminate. This will
occur approximately 30 seconds after you depress the button.
6) Wait 1 minute. Turn voltage up to 25 kV.
7) Wait 15 minutes. Gradually turn voltage and then the current to the desired data collection
settings (example, V = 40 kV, I = 35 mA). Be careful not exceed 45 kV and 40 mA
8) Mount your sample in a suitable X-ray specimen holder. I suggest our Plexiglas holders or
glass slides. Double stick tape or Vaseline can be used to attach powder specimens. Clean
silly putty can be used for bulk specimens. If using aluminum sample holders, make sure
you are using the holders with the larger openings; otherwise you will get aluminum peaks in
your XRD pattern.
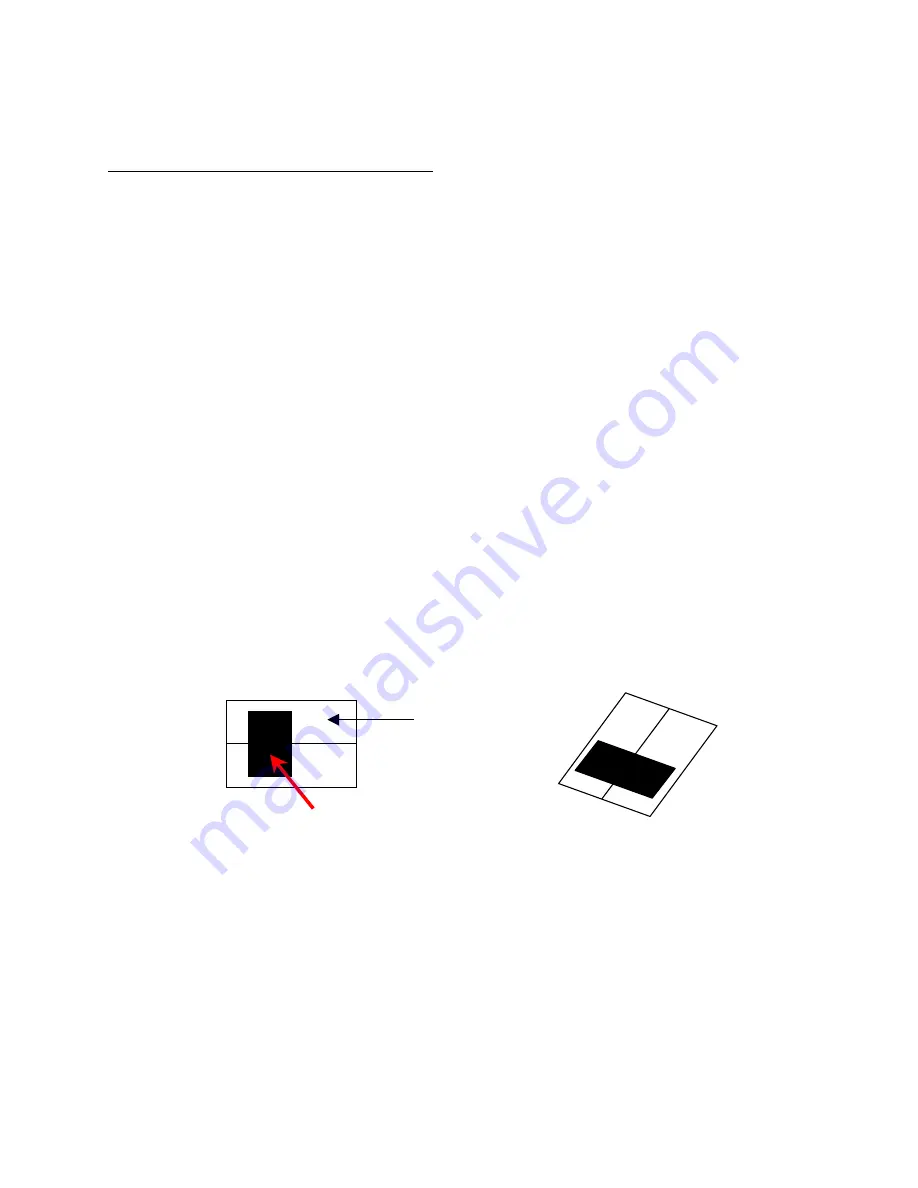
9) Load specimen into goniometer. This is accomplished as follows:
a) Loosen the locking screw on the sample chamber (Figure B) and removing the door.
b) Insert the large end of the specimen holder between the guide block and the mounting
clip such that the center line of the specimen lines up with the centering line on the guide
block.
c) Replace the door and tighten the locking screw.
Sample
Sample Holder:
Aluminum
Plexiglass
Glass slide


